
 WhatsApp: +86 16626708626
 Email:
  Phone: +86 16626708626
Description
Key Technical Specifications
- Article Number: 3BSE048845R1
- Protocol: IEC 61850 (Edition 2 compliant)
- Role: MMS Client, GOOSE Publisher & Subscriber
- Transmission Speed: 10/100 Mbit/s
- Ethernet Ports: 1 (via TP867 baseplate)
- Line Redundancy: No
- Module Redundancy: No
- Hot Swap: Yes
- Max Units on CEX Bus: 12
- Compatible with HI Controller: Yes
- Power Supply: 24 V DC (via CEX bus)
- Dimensions (W × H × D): 59 mm × 186 mm × 127.5 mm
- Weight: Approximately 0.7 kg (including baseplate)
- Operating Temperature: -40 to +70 °C (typical for AC 800M modules)
Product Introduction
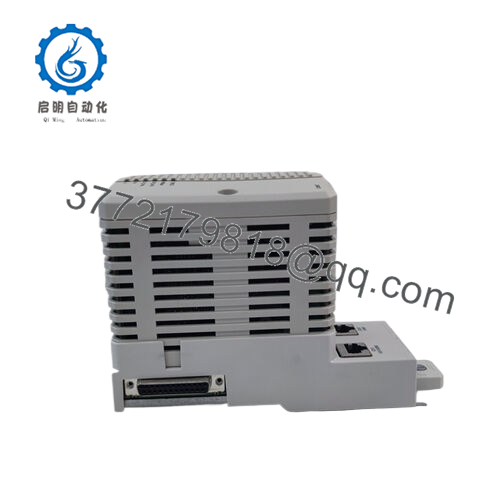
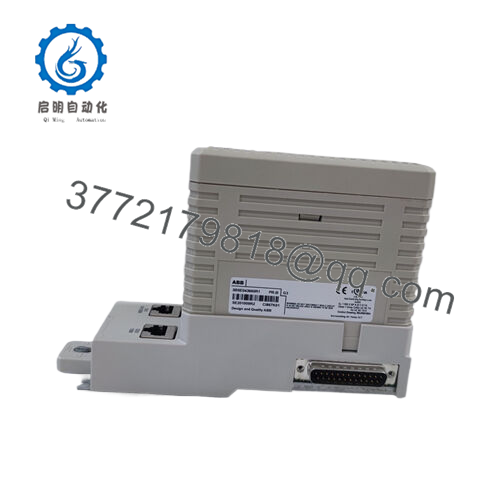
The ABB CI868K01 (3BSE048845R1) is an IEC 61850 communication interface module for the AC 800M controller family. It connects the controller to substation devices such as IEDs over Ethernet, handling client/server MMS traffic and GOOSE messaging for protection and control applications in utility and power generation plants.
This module stands out in IEC 61850 Edition 2 networks because it supports up to 40 IEDs per interface while integrating directly into the CEX bus. Engineers choose it over third-party gateways to maintain native ABB tool chain compatibility in Control Builder and avoid extra protocol converters that add latency and failure points.

- CI868K01 3BSE048845R1
Installation & Configuration Guide
Stage 1: Pre-Installation Preparation (10–15 minutes) ⚠️ Safety First: Notify operations of planned downtime. Verify the controller is in a safe state. Lock out/tag out 24 V power to the rack. Wait at least 5 minutes for capacitor discharge. Tools Required: Grounded ESD wrist strap, PH1 screwdriver, Fluke multimeter or equivalent, wire labels, smartphone for photos. Data Backup: Use Control Builder to export the running project. Document IP settings, GOOSE datasets, and MMS client configurations. Photograph the old module’s DIP switches (if any visible) and Ethernet cable connections.
Stage 2: Removing the Old Module (5–10 minutes)
- Power down the rack.
- Remove the front cover/bezel if present.
- Label and carefully disconnect the Ethernet cable(s) from the TP867 baseplate.
- Release the CEX bus locking tabs and pull the module straight out—avoid twisting to prevent bending backplane pins.
- Inspect the CEX bus connector for dust, bent pins, or corrosion. Clean gently if needed. ⚠️ Note: Keep the old module on the ESD mat for reference until the new one runs without faults.
Stage 3: Installing the New Module (10–15 minutes)
- Ground yourself with ESD strap. Confirm the replacement is exactly CI868K01 (3BSE048845R1).
- Configuration Clone (Crucial): Match any hardware settings from your photos (though CI868K01 typically has minimal DIP switches; most config is software).
- Align and insert firmly into the CEX bus slot until it clicks and locks.
- Reconnect the Ethernet cable using the labeled ports. Torque screw terminals to spec (usually 0.5–0.6 Nm). Self-Checklist: [ ] Model matches exactly, [ ] Ethernet securely connected, [ ] Locking tabs fully engaged.
Stage 4: Power-On & Testing (10–20 minutes) Pre-Power Check: Use multimeter to verify no shorts on the 24 V rail. Power-On Steps:
- Energize the rack (keep field devices isolated initially).
- Watch LEDs: Power OK (green), RUN (green flashing/steady), no solid ERR (red).
- Connect Control Builder via Ethernet. Verify module appears in hardware tree, check firmware version (should match project).
- Download the project if needed (IEC 61850 configs are in Control Builder hardware definitions).
- Monitor GOOSE status and MMS connections. Perform dry-run I/O and protection signal tests. ⚠️ Troubleshooting Note: Solid red ERR often means firmware mismatch or CEX bus fault—recheck seating. No network link? Verify cable, port, and IP/subnet in the module config. GOOSE timeouts usually trace to dataset mismatches.
Frequently Asked Questions (FAQ)
Is the CI868K01 hot-swappable? No. You must power down the rack before swapping. Hot-swapping risks damaging the CEX bus backplane or corrupting active communications. Always kill power first—I’ve seen backplanes fried from live insertion attempts.
Is this model obsolete, and is the stock genuinely new? CI868K01 remains active in ABB’s portfolio for AC 800M systems as of 2026, though newer variants exist. Units offered as New Original or New Surplus come from verified OEM surplus channels with full traceability. We perform inbound anti-counterfeit checks and 24+ hour load testing; test reports and photos available on request.
What is the direct replacement if this is out of stock? Check ABB for CI868 variants or consult the latest System 800xA hardware selector. In many cases, the CI868A (newer revision) serves as a functional successor—verify firmware and 800xA version compatibility before substituting.
Will I lose my IEC 61850 configuration (GOOSE/MMS) when swapping the module? No—the configuration lives in the AC 800M controller project, not on the CI868 itself. After swap, download the project again if needed; the module pulls settings from the controller. Always export before pulling the old one.
Why is the price lower than ABB’s direct list price? These are genuine new surplus units from decommissioned projects or excess OEM inventory. No refurbishing involved—just full functional verification on an AC 800M test rack. You get factory quality at reduced cost, with the same 1-year warranty we stand behind.
Can this module support line or module redundancy? No—CI868K01 does not support line redundancy or module-level redundancy. For redundant Ethernet, use dual modules with separate networks and appropriate controller setup.


