
 WhatsApp: +86 16626708626
 Email:
  Phone: +86 16626708626
Description
3. Key Technical Specifications
- Processor Type: MPC860, clock frequency 48 MHz
- Performance: 0.23 ms per 1000 boolean operations (a:=b AND c)
- Memory: 16 MB total RAM; ≈10.3 MB available for application (from System 800xA 5.1 FP4 onward); 2 MB Flash for firmware
- Power Supply: 24 V DC (19.2–30 V DC), typ. consumption 250/430 mA (6.0 W dissipation)
- Redundancy Support: Yes (pair with matching unit, RCU link via TB852/TB853, switchover ≤10 ms)
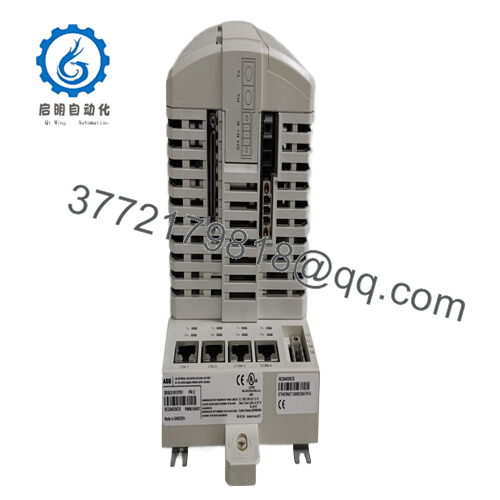
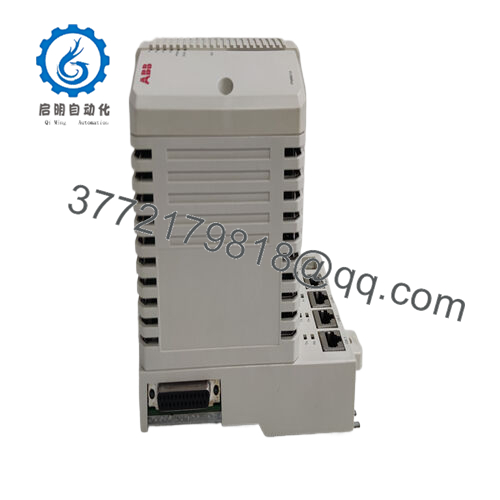
- Communication: Built-in Ethernet (1 channel, 10 Mbit/s RJ-45); supports CEX-bus for up to 12 comm modules (e.g., CI853, CI854); ModuleBus for local I/O
- I/O Capacity: ModuleBus max 96 modules (non-red.) / 84 (red.); PROFIBUS DP up to 99 stations
- Operating Temperature: +5 to +55 °C (+41 to +131 °F)
- Storage Temperature: −40 to +70 °C (−40 to +158 °F)
- Dimensions (incl. TP830 base): Width ≈135 mm, Height 186–189 mm, Depth 94–119 mm
- Weight (incl. base): ≈1.2 kg (2.6 lbs)
- Mounting: DIN-rail via TP830 baseplate; includes TB850 CEX-bus terminator, TB807 ModuleBus terminator
- Backup: Internal lithium battery (3.6 V, 0.95 Ah) for real-time clock and RAM; optional SB822 external

- PM861AK01 3BSE018157R1
4. Product Introduction
The ABB PM861AK01 (3BSE018157R1) is a processor unit in the AC 800M family, serving as the central controller for industrial process automation in System 800xA environments. It handles logic execution, I/O scanning, communication, and redundancy in mid-size to large applications requiring reliable performance without high-integrity SIL certification.
This unit stands out for its redundancy capability (pair two for hot-standby), solid scan times on boolean-heavy logic, and compatibility with extensive CEX-bus communication interfaces like PROFIBUS DP, Modbus, and Ethernet/IP. Plant teams often select it over lower-end models like PM860A when they need extra RAM and faster execution while staying within the classic AC 800M platform—though newer PM866/PM891 series offer more power for greenfield or upgrades.
5. Installation & Configuration Guide
Stage 1: Pre-Installation Preparation (10–15 minutes) ⚠️ Safety First: Schedule downtime with operations. Lock out/tag out 24 V DC power to the rack. Wait 5 minutes minimum for discharge. Tools Required: Grounded ESD wrist strap, PH1/PH2 screwdriver, Fluke multimeter, wire labels, smartphone for photos. Data Backup: Use Control Builder M (or 800xA Engineering Studio) to connect via Ethernet or COM3 service port. Export full controller project, hardware config, application programs, and settings. Photograph DIP switches (none on PM861A), baseplate jumpers, RCU-link cables if redundant, and all CEX/ModuleBus connections.
Stage 2: Removing the Old Module (5–10 minutes)
- Power down the rack completely.
- Label all connected cables (CEX-bus, ModuleBus, Ethernet, power).
- Disconnect cables carefully—note torque (typically 0.5–0.8 Nm on screw terminals).
- Release DIN-rail clips on TP830 base; slide or lift unit straight out to avoid damaging backplane pins.
- Inspect baseplate for dust, corrosion, or bent pins; clean with dry air if needed. ⚠️ Note: Retain the old unit labeled and intact until the replacement runs without issues for 24+ hours.
Stage 3: Installing the New Module (10–15 minutes)
- Apply ESD strap. Verify replacement is PM861AK01 3BSE018157R1 (check nameplate).
- Configuration Clone (Crucial): Pre-load project if possible via service port before insertion. Confirm firmware matches existing (e.g., System 800xA 5.1 or later—mismatch breaks redundancy or comms). For redundancy, mirror RCU-link setup (TB852/TB853 cables).
- Mount on DIN-rail: align TP830 base, snap in, ensure secure seating.
- Reconnect all cables per photos/labels; torque terminals properly. Self-Checklist: [ ] Firmware/project version matches, [ ] Wiring exact to original, [ ] Base locked on rail.
Stage 4: Power-On & Testing (15–30 minutes) Pre-Power Check: Multimeter verify no shorts on 24 V input, check ground continuity. Power-On Steps:
- Energize rack power only (isolate field I/O if possible).
- Observe LEDs: Power green, Run green (after boot); no steady ERR or BATT low.
- Connect Control Builder, verify IP (if Ethernet configured), firmware, no faults in diagnostics.
- Download project if not pre-loaded; go online and force logic for dry test.
- Test redundancy switchover if paired (pull primary, confirm seamless). Inject test signals to verify I/O scan and logic execution. ⚠️ Troubleshooting Note: Steady red ERR usually firmware mismatch or hardware fault—reload project. No Run LED? Check power draw (shouldn’t exceed supply capacity). Redundancy fail? Verify RCU cable continuity and terminations.
6. Frequently Asked Questions (FAQ)
Can this PM861AK01 be hot-swapped? No, never under power. Removing or inserting with 24 V applied risks backplane damage or arc. Always kill power to the rack first—I’ve seen a live swap take out multiple modules.
Is this model obsolete, and are your units genuinely new? It’s listed as Classic lifecycle in 2026—still supported but not the newest (PM866/PM891 offer higher performance). New surplus units come from OEM excess or decommissioned stock; we verify unused condition via serial check, visual inspection, 24-hour powered test with comms and load simulation. Full test reports/photos available.
What is a direct replacement if this exact unit is out of stock? PM861AK02 for dual-redundant pair equivalent, or upgrade to PM866AK01 (higher speed, more memory) or PM891 for modern projects. Match firmware range and redundancy needs exactly—don’t assume drop-in without re-validation.
Will swapping the CPU erase my application logic? No, if you export the full project first and reload it. The CompactFlash (if used) or internal flash holds firmware, but applications live in RAM backed by battery—always back up via Control Builder. Skipping export has caused many extended outages.
Why is the price lower than ABB factory new? Surplus bypasses full distribution markup. These are authentic ABB units, not repaired or counterfeit—we trace serials, run functional tests, and stand behind them with our 1-year warranty after burn-in. No official ABB warranty seal, but field-proven reliability.
Follow these steps carefully during swap-out and you’ll dodge most typical AC 800M headaches. Cross-check exact specs and firmware compatibility with the current ABB hardware selector or datasheet before commissioning.


