
 WhatsApp: +86 16626708626
 Email:
  Phone: +86 16626708626
Description
3. Key Technical Specifications
- Supply Voltage: 24 V DC
- Power Consumption: ≤ 5 W
- Interface Type: Backplane-mounted module
- Signal Handling: Digital/analog interface (application-dependent)
- Operating Temperature: 0 to +60°C
- Storage Temperature: −20 to +70°C
- Mounting: Rack/slot installation
- Communication: Proprietary control bus
- Isolation Rating: 500 V (typical industrial standard)
- Housing: Industrial-grade PCB with shielding
- Lifecycle Status: Discontinued (EOL)
- Country of Origin: OEM European manufacturing
4. Product Introduction & Supply Chain Strategy
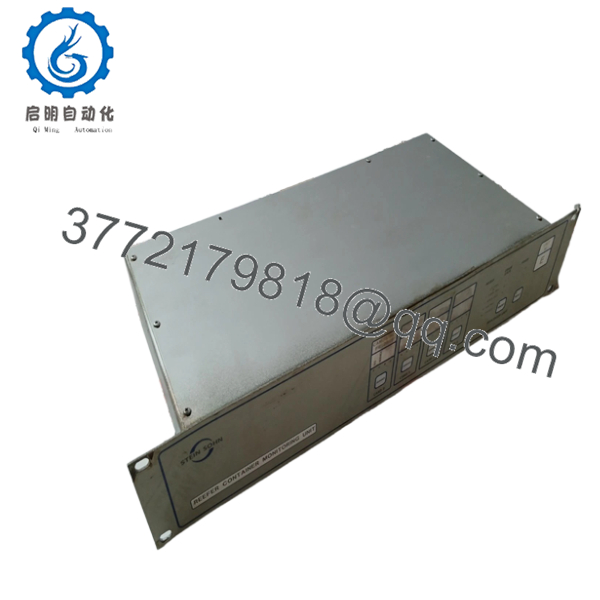
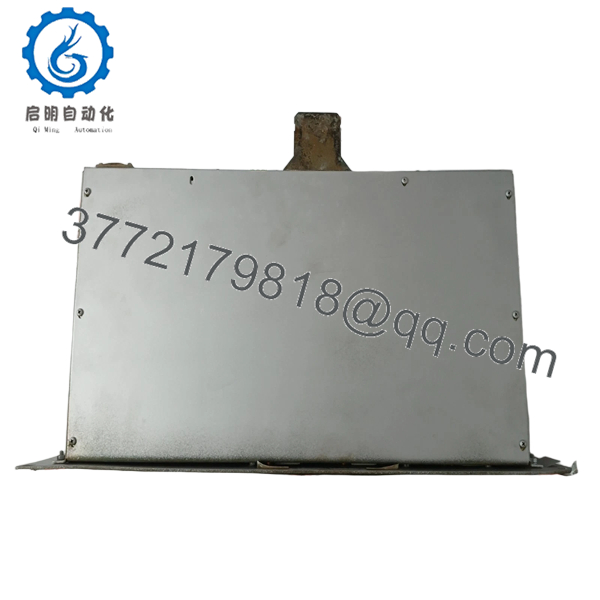
The H.M. STEIN SOHN 96-1395 B801001A is an industrial control module designed for integration into legacy automation systems, handling signal interfacing and control logic communication within a rack-based architecture.
This product is a Brand New Surplus unit. It is not used, not pulled from a decommissioned plant, and not refurbished. For EOL components like this, maintaining buffer stock is critical to avoid unplanned downtime. Investing in New Surplus inventory reduces Total Cost of Ownership (TCO) by eliminating failure risks tied to aging refurbished parts and mitigating lead time variability.

- H.M. STEIN SOHN 96-1395 B801001A
- H.M. STEIN SOHN 96-1395 B801001A
5. Installation & Configuration Guide
Stage 1: Pre-Installation (Prep & Safety)
- Execute lock-out/tag-out (LOTO) procedures on the control panel.
- Use an ESD wrist strap and grounded work surface.
- Photograph existing module wiring and DIP switch settings.
- Verify part number match and firmware label before installation.
Stage 2: Removal
- Release retaining clips or screws carefully.
- Pull the module straight out to avoid bending backplane pins.
- Inspect connector pins for damage or contamination.
Stage 3: Installation (Clone & Seat)
- Replicate DIP switch or jumper settings exactly from the original module.
- Align module guides and insert evenly into the rack slot.
- Apply firm, even pressure until fully seated.
Stage 4: Power-On & Testing
- Reapply power and monitor 24 V DC rail stability.
- Check LED indicators (RUN = normal, ERR = fault).
- Verify communication with PLC/DCS system.
- Perform I/O simulation or functional validation before full operation.
6. Firmware/Software Versions & Upgrade Notes
- Recommended Firmware: Match existing system firmware exactly (version parity required).
- Compatibility Note: Newer firmware revisions may not communicate correctly with legacy control buses.
- Risk Advisory:
- Upgrading firmware during replacement can introduce protocol mismatches.
- Downgrading may disable newer diagnostic features.
- Best Practice: Always document original firmware version before removal and maintain identical configuration to avoid system faults.
7. Frequently Asked Questions (FAQ)
Q1: Is this module truly new or surplus stock?
Yes. This is a New Surplus unit sourced from OEM-authorized channels. It has no operational history, no wear on connectors, and no repaired components.
Q2: Why is the price higher than refurbished alternatives?
Refurbished parts carry hidden failure risks—aging capacitors and relays can fail without warning. A 500 saving can result in 50,000 downtime. New Surplus ensures reliability and predictable lifecycle performance.
Q3: Is this part obsolete or still in production?
This model is discontinued (EOL). That makes proactive last-time-buy and buffer stock strategies essential to avoid future stock-outs.
Q4: Can this module be hot-swapped?
No. Always power down the system before replacement. Hot-swapping can damage the backplane or corrupt system communication.
Q5: Will I lose configuration or programming during replacement?
Configuration is typically stored in the controller, not the module. However, DIP switch settings must be replicated exactly to maintain node addressing and communication parameters.
Q6: What warranty is provided?
This unit includes a 12month warranty, significantly longer than the typical 30-day coverage offered with refurbished parts.
Q7: What is the recommended stocking strategy for this part?
Due to EOL status and lead time variability, maintain at least 1–2 units as buffer stock on-site. For multi-plant operations, consider cross-site inventory pooling and vendor consolidation to reduce carrying cost while ensuring availability.


