
 WhatsApp: +86 16626708626
 Email:
  Phone: +86 16626708626
Description
- Key Technical Specifications
- Part Number: 3BHB007211R116
- Alternate Designation: XVC768116
- Supply Voltage: 24 V DC (typical for ABB I/O modules)
- Operating Temperature: 0 to +55 °C (standard industrial range; confirm per system)
- Storage Temperature: -40 to +70 °C
- Communication/Interface: Supports ABB proprietary bus or fieldbus integration (e.g., potential Modbus/Profibus compatibility in rack)
- Mounting: Rack or chassis insertion (ABB S800 I/O style or similar)
- Dimensions: Approx. 250 × 160 × 120 mm (approximate from listings)
- Weight: Approx. 1.2–1.5 kg
- Protection: Conformal coated PCB for humidity/corrosion resistance
- Firmware/Configuration: DIP switches or jumpers for addressing (if applicable); verify on unit

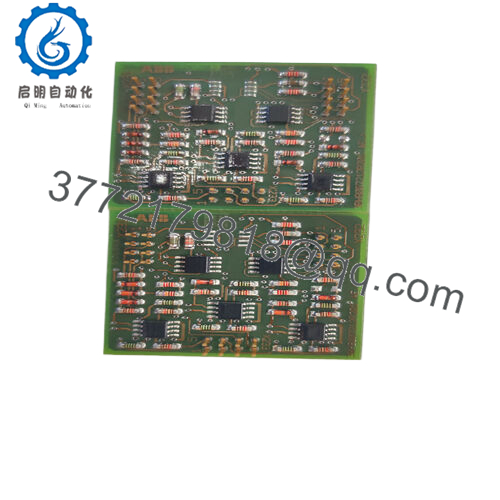
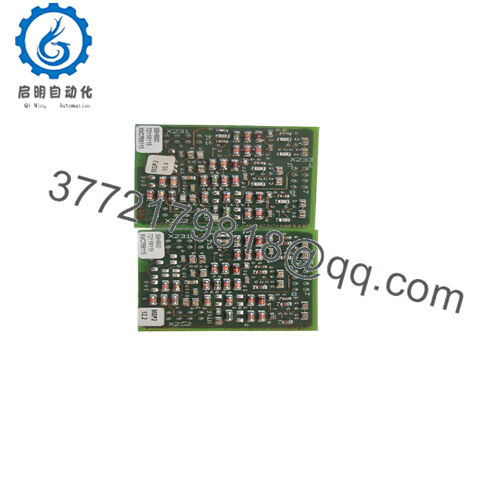
- XVC768116 3BHB007211R116
- Product Introduction The ABB XVC768116 (3BHB007211R116) is a printed circuit board module used in ABB’s Advant Controller and AC 800M DCS platforms, primarily as an input/output interface or communication board for signal handling in process control applications like power generation, chemical plants, and manufacturing.
In field replacements, this board stands out for maintaining compatibility with existing ABB racks without major rewiring. Engineers choose it over third-party alternatives because it preserves protocol timing and backplane integrity—critical when mixing modules in redundant setups. Availability is mostly through surplus channels since it’s not a current-production catalog item.
- Installation & Configuration Guide
Stage 1: Pre-Installation Preparation (10–15 minutes) ⚠️ Safety First: Notify operations of planned downtime. Verify process in safe state. Lock out/tag out 24 V power to the rack. Wait 5 minutes for capacitors to discharge. Tools Required: Grounded ESD wrist strap, PH1 or PH2 screwdriver, Fluke multimeter, wire labels, smartphone for photos. Data Backup: Export controller logic via Control Builder or Composer. Document rack slot, photograph existing DIP switches/jumpers, terminal wiring, and LED status on old board. Record any node address or baud rate settings.
Stage 2: Removing the Old Module (5–10 minutes)
- Remove front cover or bezel if present.
- Label and disconnect field wiring terminals—use torque screwdriver; do not pull wires without labels.
- Release rack locking tabs or screws. Pull module straight out slowly to avoid damaging backplane connector pins.
- Inspect backplane slot for dust, bent pins, or corrosion—clean with compressed air if needed. ⚠️ Note: Bag and tag the old module. Keep it on-site until the new one runs flawlessly for side-by-side comparison if issues arise.
Stage 3: Installing the New Module (10–15 minutes)
- Ground yourself with ESD strap. Confirm new module part number matches exactly (XVC768116 3BHB007211R116).
- Configuration Clone (critical): Match all DIP switches, jumpers, or rotary addresses to the photo of the old unit—node address, bus termination, and mode settings must align or comms will fail.
- Align module with rack guides and insert firmly until it seats (listen for click; ensure backplane pins engage fully). Secure locking tabs.
- Reconnect field wiring exactly as labeled—double-check torque (typically 0.5–0.8 Nm) and shielding/ground connections. Self-Checklist: [ ] DIPs/jumpers match photo, [ ] Wiring torqued and secure, [ ] Module fully seated and locked.
Stage 4: Power-On & Testing (10–20 minutes) Pre-Power Check: Use multimeter to verify no shorts on 24 V rail and ground continuity. Power-On Steps:
- Energize rack power only (keep field devices isolated initially).
- Observe LEDs—green POWER/RUN good; red ERR or COMM fault indicates problem.
- Connect to programming tool (Control Builder M). Verify module detected, check firmware version if readable, confirm I/O addressing.
- Download logic if required; perform force/test on channels.
- Enable field power and monitor dry-run signals. ⚠️ Troubleshooting Note: Solid red ERR often means firmware mismatch or wrong slot config—recheck DIPs. No communication? Verify backplane seating and rack bus termination. If LEDs flash erratically, suspect ESD damage from handling.
- Frequently Asked Questions (FAQ)
Can this module be hot-swapped under power? No. ABB rack-based I/O like this risks backplane damage or module failure if inserted live. Always kill rack power first. I’ve seen a hot-swap attempt arc across pins and take out adjacent modules—downtime jumped from hours to days.
Is this model obsolete, and is your stock genuinely new? Yes, it’s legacy—not in current ABB catalogs. We source new surplus/original sealed stock from decommissioned projects or OEM overstock. Each unit goes through inbound verification (OEM labels, serial check), 24+ hour powered load test in an ABB rack simulation, insulation test (>10 MΩ at 500 V), and firmware read. Test photos/videos available on request.
What is the direct replacement if this is out of stock? No drop-in successor exists in all applications—depends on your rack and firmware. Check ABB Migration guides; some migrate to S800 I/O series (e.g., DI880/DO880 equivalents) but require adapter or reconfiguration. Confirm exact function (digital vs analog) with your loop diagrams before substituting.
Will I lose my programming logic when I pull the old module? No—the logic resides in the controller CPU (e.g., PM8xx), not this I/O board. The module swap affects only I/O addressing and signal paths. Backup the project anyway; reload if comms drop during test.
Why is your price lower than OEM list price? This is surplus stock—not factory-direct new production. ABB no longer manufactures it, so pricing reflects availability from decommissioned systems. We test rigorously to match OEM function, but it’s not covered by ABB factory warranty—ours is 1 year from shipment on verified functionality.
How do you test these before shipping? We power each on a genuine ABB rack or simulation bench >24 hours, run comms pings, simulate I/O signals end-to-end, monitor thermals, and Megger insulation. Firmware version documented. Full test report included; we don’t ship untested boards.
Keep photos of the old setup and double-check configs—you’ll avoid 90% of swap headaches.


