
 WhatsApp: +86 16626708626
 Email:
  Phone: +86 16626708626
Description
3. Key Technical Specifications
| Parameter | Value |
|---|---|
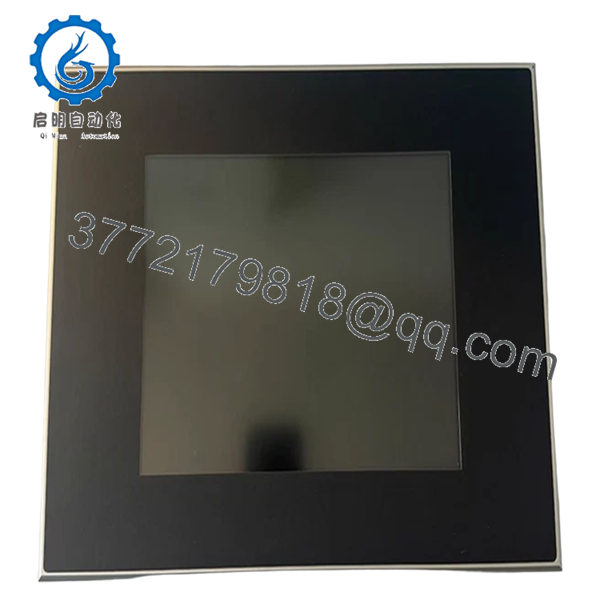
| Display Size | 10.4 inch TFT |
| Resolution | 640 × 480 (VGA) |
| Touch Type | 4-wire resistive |
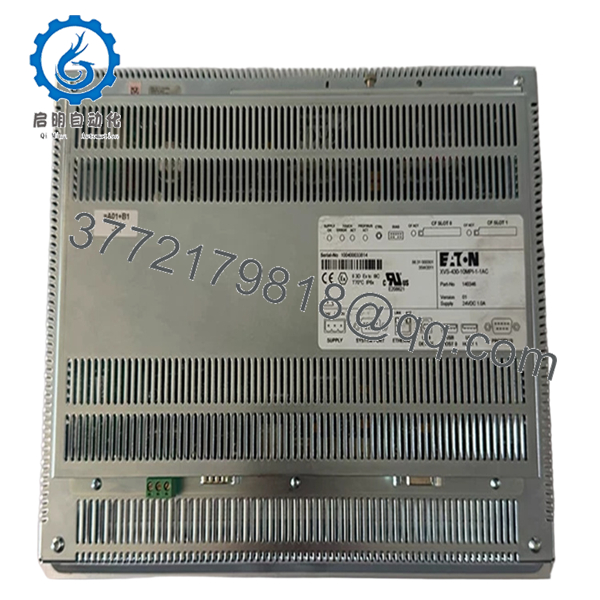
| Supply Voltage | 24 V DC |
| Power Dissipation | ~24 W |
| Memory | 64 MB DRAM |
| Operating System | Windows CE |
| Communication Ports | Ethernet, RS232, Profibus/MPI |
| USB Interfaces | 2 × USB host, 1 × USB device |
| PLC Capability | Optional via license (CoDeSys) |
| Mounting | Flush panel mount |
| Protection Rating | Front IP65 |
| Operating Temperature | 0 to +50 °C |
Note: Specs aligned with XVS-430 series baseline; verify exact suffix (-1-1AC) variations before installation.
4. Product Introduction
The Eaton XVS-430-10MPI-1-1AC is a 10.4-inch HMI panel from the XVS400 series, originally developed under Micro Innovation and later integrated into Eaton’s automation portfolio. It provides operator visualization with optional PLC functionality for machine-level control.
In practice, this unit shows up in legacy European machinery—especially systems using Profibus/MPI networks. It supports Ethernet, serial, and fieldbus integration, making it suitable for retrofits where Siemens S7-based communication still exists.
5. Installation & Configuration Guide
Stage 1: Pre-Installation Preparation (Estimated: 10 minutes)
- ⚠️ Safety First: Notify operations, shut down system, apply lockout/tagout, wait 5 minutes.
- Tools Required: ESD strap, PH1 screwdriver, multimeter, wire markers, smartphone.
- Data Backup:
- Export visualization project (Galileo / CoDeSys V2 typical)
- Record Profibus/MPI node address
- Photograph wiring and communication ports
Stage 2: Removing the Old Module (Estimated: 5–10 minutes)
- Remove rear mounting clamps.
- Label all cables (especially Profibus/MPI).
- Disconnect connectors carefully — avoid stressing terminals.
- Push unit out from panel cutout.
- Inspect gasket and panel opening.
⚠️ Note: Keep the old unit until full communication is confirmed.
Stage 3: Installing the New Module (Estimated: 10 minutes)
- Apply ESD protection.
- Confirm exact model: XVS-430-10MPI-1-1AC (suffix matters).
- Insert panel and align gasket.
- Tighten clamps evenly to maintain IP65 sealing.
- Reconnect:
- 24 V DC supply
- Ethernet
- Profibus/MPI cable (correct orientation + termination)
Self-Checklist:
- Profibus connector seated and terminated
- Node address matches old unit
- Power polarity correct
- Panel properly sealed
Stage 4: Power-On & Testing (Estimated: 10–15 minutes)
Pre-Power Check:
- Verify stable 24 V DC supply
Power-On Steps:
- Power HMI only.
- Observe boot (Windows CE load).
- Connect engineering software.
- Verify:
- IP configuration
- Profibus/MPI communication
- Download project if needed.
- Test operator screens and PLC interaction.
⚠️ Troubleshooting Note:
- No bus communication → check Profibus termination resistor
- Blank screen → likely backlight aging (common on this series)
- Runtime error → project/firmware mismatch

- XVS-430-10MPI-1-1AC
- XVS-430-10MPI-1-1AC
6. Frequently Asked Questions (FAQ)
Q1: Can this panel communicate directly with Siemens S7 PLCs?
Yes, via MPI/Profibus. That’s exactly what this model was designed for. Just ensure node address and baud rate match.
Q2: Is this model obsolete?
Yes. The XVS400 series is discontinued. Most units available today are surplus or refurbished stock. Availability depends on secondary market inventory.
Q3: Can I upgrade this to a newer Eaton HMI?
Not directly. Newer XV300/XV102 platforms use different software and communication stacks. Expect project rewrite and possible network redesign.
Q4: Does it include PLC functionality out of the box?
Not always. PLC runtime requires a license (CoDeSys). Many units in the field were deployed as HMI-only.
Q5: Can I hot-swap this unit?
No. Removing under power risks damaging communication ports and internal power circuits.
Q6: Why is Profibus communication failing after replacement?
Most common causes:
- Incorrect node address
- Missing termination resistor
- Cable shielding not properly grounded
I’ve seen teams chase “PLC faults” for hours — it was just a missing terminator.
Q7: What’s the typical failure mode?
Backlight degradation and CompactFlash-related boot issues. After ~40,000–50,000 hours, screen brightness drops significantly.
SOP Quality Transparency (Inspection & Testing Process)
1. Inbound Inspection & Traceability
- Verified against OEM labeling and Micro Innovation part codes
- Serial number checked for authenticity
- Visual inspection: no LCD burn-in, no corrosion, no connector wear
- Accessory check (mounting hardware, seals)
2. Live Functional Testing
- Tested on 24 V DC regulated supply
- Boot sequence verified (Windows CE load time monitored)
- Ethernet communication tested via Modbus TCP simulation
- Profibus/MPI tested using Siemens-compatible test rig
- Touchscreen calibration verified
- 24-hour continuous runtime test
3. Electrical Parameter Testing
- Insulation resistance >10 MΩ @ 500 V
- Ground continuity verified
- Power draw measured under load
4. Firmware & Configuration Verification
- Firmware version recorded
- PLC license presence checked (if applicable)
- Communication defaults documented
5. Final QC & Packaging
- QC sign-off with trace ID
- ESD anti-static packaging
- Foam-protected double-wall carton
- QC Passed label applied
Test reports, startup videos, and inspection photos available upon request.
Technical Pitfalls & Survival Guide
❗ 1. Profibus/MPI Address Mismatch
This is the #1 issue.
Avoidance: Copy node address exactly from old unit.
I’ve seen entire lines down because two devices shared the same address.
❗ 2. Termination Resistor Errors
Profibus requires proper termination at both ends.
Avoidance: Check connector switches — don’t assume they’re correct.
❗ 3. CompactFlash Dependency
This series relies on CF cards for storage.
Avoidance: Clone the card before replacement.
If it fails, you’re rebuilding from scratch.
❗ 4. Power Supply Load
These units draw more power (~24 W) than smaller HMIs.
Avoidance: Verify PSU capacity with 20% margin.
❗ 5. ESD Handling Damage
Older boards are less protected than modern designs.
Avoidance: Always use grounding strap.
I’ve personally seen a unit fail immediately after installation due to static.


