
 WhatsApp: +86 16626708626
 Email:
  Phone: +86 16626708626
Description
3. Key Technical Specifications
| Parameter | Value |
| Input Voltage | 115 / 230 V AC (Auto-ranging or Jumper selected) |
| Output Rails | +3.3 V, +5 V, +12 V, -12 V DC |
| Max Power Output | System dependent (typically 300W – 450W class) |
| Form Factor | Proprietary Sperry Marine chassis-mount |
| Cooling | Integrated high-MTBF ball-bearing fan |
| Protection | Over-voltage, Short-circuit, and Thermal shutdown |
| Operating Temp | -15 to +55 °C |
| Certification | IEC 60945 (Type Approved for bridge use) |
4. Product Introduction
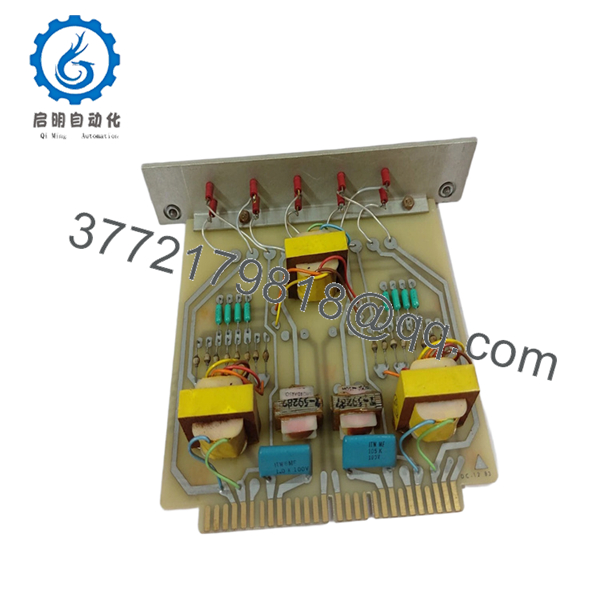
The Sperry Marine 03956-1884705-1 is a ruggedized power supply module specifically designed for the VisionMaster FT navigation series. Unlike standard PC power supplies, this unit is built with high-grade industrial capacitors and enhanced electromagnetic shielding to ensure the radar processor remains stable during engine starts or heavy electrical load switching on the ship’s main bus.
Engineers favor the 1884705-1 for its high MTBF (Mean Time Between Failures) in humid, high-vibration maritime environments. It serves as the electrical heart of the bridge workstation, providing the “clean” DC power necessary for the radar interface cards and main CPU to function without data corruption or spontaneous system reboots.

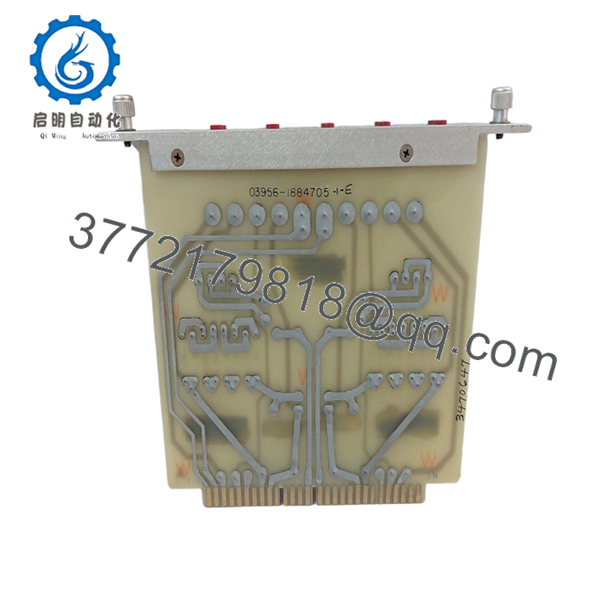
- 03956-1884705-1
- 03956-1884705-1
5. Installation & Configuration Guide
Stage 1: Pre-Installation Preparation (Estimated Time: 10 mins)
- ⚠️ Safety First: Disconnect the ship’s AC shore power or UPS feed to the workstation. Verify with a multimeter that no residual voltage remains on the input terminals.
- Tools Required: PH2 Phillips screwdriver, zip ties (for cable management), and a vacuum or compressed air.
- Data Backup: While the PSU does not hold data, a sudden power loss during replacement can corrupt the OS. Ensure the system was shut down gracefully through the VisionMaster software before pulling the plug.
Stage 2: Removing the Old PSU
- Open the processor cabinet or pedestal door.
- Unplug the multi-pin ATX-style motherboard connector and any peripheral power leads (SATA/Molex).
- Unscrew the rear mounting bolts securing the 03956-1884705-1 to the chassis.
- Slide the unit out carefully. ⚠️ Note: Check the old fan for dust buildup; if the cabinet is filthy, clean it now to prevent the new PSU from overheating.
Stage 3: Installing the New 03956-1884705-1 (Estimated Time: 15 mins)
- Voltage Check: Verify the input voltage selector (if present) is set correctly for your ship’s supply (115V vs 230V).
- Mounting: Slide the new unit into the guide rails and tighten the mounting bolts.
- Cabling: Connect the main power harness to the motherboard and distribution boards. Ensure the connectors “click” and the locking tabs are engaged.
- Self-Checklist: [ ] Voltage switch set, [ ] Cables secured away from fan blades, [ ] Grounding wire attached.
Stage 4: Power-On & Testing
- Re-energize the AC circuit.
- Visual Check: Verify the PSU fan is spinning freely and the “Power” LED on the front of the workstation is illuminated.
- Multimeter Check: If the system fails to boot, measure the +5V and +12V rails at a spare connector to ensure the unit is outputting within ±5% tolerance.
- ⚠️ Troubleshooting: If the system “cycles” (starts and stops), check for a short circuit in one of the I/O interface cards (like the 65825816 or 029798 boards).
6. Frequently Asked Questions (FAQ)
Q: Can I replace this with a standard ATX power supply from a computer store?
A: I wouldn’t risk it. While the connectors might look similar, the 03956-1884705-1 has specific mounting points and, more importantly, marine-grade EMI filtering. Standard “office” PSUs often fail under the vibration of a ship and can leak electrical noise into the radar video signal, causing interference patterns on your screen.
Q: Is this unit “New Original” or a repair?
A: This is New Original (New Surplus). In my experience, “repaired” power supplies in marine environments are a liability. Capacitors age even when sitting on a shelf, but a repaired unit has already seen thousands of thermal cycles. We only provide unused stock for critical bridge equipment.
Q: My VisionMaster keeps rebooting when the radar starts scanning. Is the PSU at fault?
A: Frequently, yes. When the transceiver begins to draw more load for the magnetron/solid-state trigger, a weak PSU (specifically the 12V rail) will “sag,” causing the processor to reset. If your reboots coincide with the radar entering “Transmit” mode, replace the 1884705-1.
Q: Does this PSU come with a warranty?
A: Yes, we provide a 1-year warranty on all New Original spares. If the unit fails under normal operating conditions within the first year, it’s covered.
Q: Is this PSU compatible with BridgeMaster E systems?
A: Some later-model BridgeMaster E “Tactical” units used this power architecture, but many older ones used a different cage. Always cross-reference the 1884705-1 part number on your existing unit’s label before ordering.


