
 WhatsApp: +86 16626708626
 Email:
  Phone: +86 16626708626
Description
3. Key Technical Specifications
| Parameter | Value |
|---|---|
| Model | S-093H |
| Order Number | 3BHB030478R0309 |
| Manufacturer | ABB |
| Product Type | Phase Module |
| Primary Function | Voltage and Current Phase Measurement |
| Application System | ABB Excitation Control Systems |
| Measured Signals | Generator Voltage Phase, Generator Current Phase |
| Typical Integration | UNITROL AVR Systems |
| Installation Type | Rack-Mounted Industrial Module |
| Industry Use | Power Generation and Industrial Drives |
| Feedback Function | Excitation Controller Input |
| Product Status | Active Spare / Legacy Installed Base |
The most consistent references across ABB spare-part distributors identify 3BHB030478R0309 as an ABB S-093H Phase Module used within generator excitation and power-control systems. The module measures phase relationships between generator voltage and current and provides feedback to the excitation controller.
4. Product Introduction
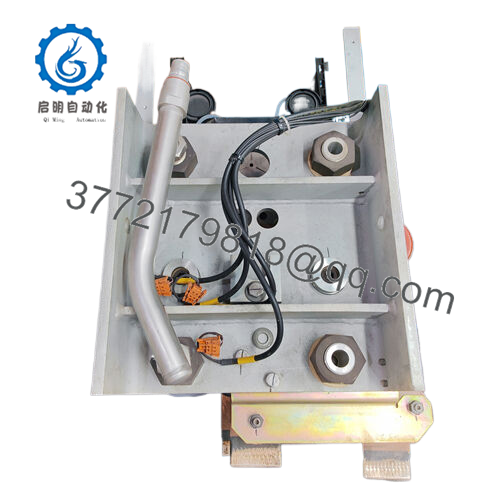
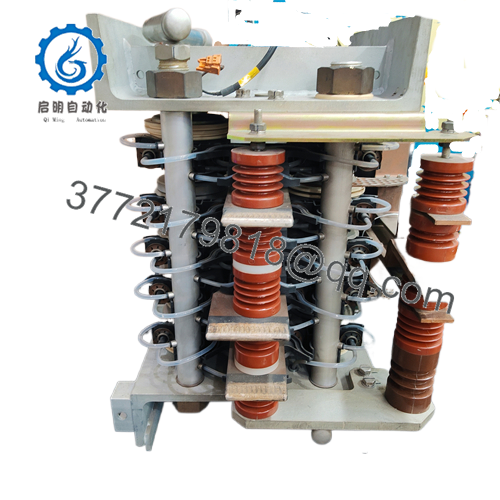
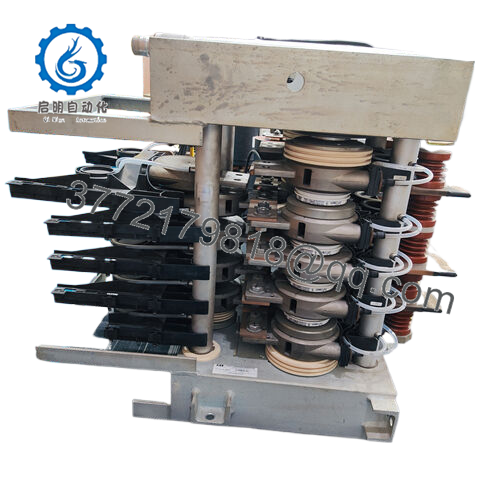
The ABB S-093H 3BHB030478R0309 is a phase measurement module used in ABB excitation systems for synchronous generators. Its primary role is to acquire voltage and current phase information and provide precise feedback signals to automatic voltage regulators and excitation controllers.
In field deployments of generator excitation systems, phase information directly affects reactive power control, power-factor regulation, and voltage stability. The S-093H module is commonly found in power generation facilities, industrial captive power plants, and medium-voltage drive systems where accurate phase feedback is required for stable operation.

- S-093H 3BHB030478R0309
- S-093H 3BHB030478R0309
5. Installation & Configuration Guide
Stage 1: Pre-Installation Preparation (10 Minutes)
⚠️ Safety First
- Notify operations personnel of planned downtime.
- Place the generator or drive system in a safe operating condition.
- Apply lockout/tagout procedures.
- Isolate control power and excitation power circuits.
- Wait at least 5 minutes for capacitor discharge.
Tools Required
- ESD wrist strap
- PH1 screwdriver
- Fluke 115 multimeter
- Insulated test leads
- Wire markers
- Smartphone camera
Data Backup
- Export excitation-controller configuration.
- Record AVR parameters.
- Photograph all terminal wiring.
- Record module location and rack position.
- Document firmware revisions of associated controllers.
Stage 2: Removing the Old Module (5 Minutes)
- Open the excitation cabinet.
- Identify the S-093H module location.
- Label all field wiring and connectors.
- Disconnect connectors carefully.
- Release retaining hardware.
- Pull the module straight out.
⚠️ Note
Keep the original module available until full excitation-system testing is complete.
Inspection
- Check connector pins.
- Inspect rack contacts.
- Remove dust accumulation.
- Verify cabinet grounding integrity.
Stage 3: Installing the New Module (10 Minutes)
Critical Steps
- Wear an ESD wrist strap.
- Verify part number 3BHB030478R0309 exactly matches the original.
- Compare all jumpers and configuration settings.
- Insert the replacement module into the rack.
- Ensure connectors seat fully.
- Reconnect all wiring.
- Tighten retaining hardware.
Configuration Clone (Crucial)
This is the most common rookie mistake, but it happens constantly.
Before removing the original module, photograph every connector and hardware setting. In excitation systems, a single misplaced feedback connection can create unstable AVR behavior that looks like a controller fault.
Self-Checklist
- Part number verified
- Connectors fully seated
- Wiring verified
- Grounding checked
- Rack secured
- ESD procedures followed
Stage 4: Power-On & Testing (15 Minutes)
Pre-Power Check
- Verify control-power voltage.
- Check insulation integrity.
- Confirm no wiring shorts exist.
Power-On Steps
- Energize the excitation cabinet.
- Observe module status indicators.
- Verify controller communication.
- Confirm phase-signal acquisition.
- Verify AVR operation.
- Check generator voltage regulation.
- Validate reactive-power control.
⚠️ Troubleshooting Note
If the excitation controller reports invalid phase signals, inspect CT/PT wiring before replacing additional hardware. In many cases the problem originates from field-signal wiring rather than the phase module itself.
6. Frequently Asked Questions (FAQ)
Q1. What does the S-093H module actually do?
The module measures generator voltage and current phase relationships and supplies that information to the excitation controller. This feedback is essential for voltage regulation and reactive-power control.
Q2. Is the S-093H used in ABB excitation systems?
Yes.
Available references consistently associate the module with ABB generator excitation platforms and AVR systems where phase measurement is required.
Q3. Is this model obsolete?
For most installations, yes.
The S-093H is typically encountered as a spare part supporting existing installed systems rather than new projects. Availability is generally through ABB spare-parts channels and specialist surplus inventory providers.
Q4. Can I hot-swap the module?
No.
Even if cabinet architecture permits module replacement, excitation systems are critical control systems. De-energizing the cabinet and following plant procedures remains the safest approach.
Q5. What is the most common installation mistake?
Incorrect CT/PT feedback wiring.
I’ve seen engineers replace perfectly functional modules only to discover a polarity error on a current-transformer circuit after maintenance work.
Q6. Why is exact part-number matching important?
ABB excitation systems often contain revision-specific hardware.
Installing a visually similar module with a different suffix can introduce calibration, compatibility, or signal-scaling issues.
Always match 3BHB030478R0309 exactly unless ABB engineering documentation specifies an approved substitute.
Q7. What documentation should be requested when purchasing?
Request:
- Test report
- Serial-number photographs
- Physical condition photos
- Traceability information
- Warranty documentation
For critical power-generation applications, these documents are often more important than the purchase price.
Technical Pitfall & Survival Guide
❗ Firmware Revision Mismatch
I’ve seen a replacement module power up normally while the excitation controller continuously rejected its signals.
The root cause was a revision mismatch elsewhere in the excitation platform.
Avoidance: Record all associated controller and system revisions before ordering.
❗ DIP Switch / Jumper Misconfiguration
Many excitation systems still rely on hardware configuration.
One incorrect setting can affect phase scaling or signal interpretation.
Avoidance: Photograph every switch and jumper before removal.
❗ Terminal Block / Wiring Errors
Phase modules depend on accurate CT and PT feedback.
Reversed polarity can create unstable AVR operation.
Avoidance: Verify wiring diagrams and polarity markings. Never reconnect from memory.
❗ Power Supply Verification
Excitation cabinets often contain multiple DC control supplies.
Low control voltage can produce intermittent faults that resemble module failures.
Avoidance: Verify all power rails under load before replacing hardware.
❗ Electrostatic Discharge (ESD)
I once watched an engineer pull a generator control module during winter maintenance without an ESD strap. The module appeared normal after installation but failed intermittently whenever cabinet humidity dropped.
Avoidance: Use a grounded wrist strap and ESD-safe work surface whenever handling the module.**
Keep these checks in mind and you’ll save yourself 90% of typical rework time.
SOP Quality Transparency
1. Inbound Inspection & Traceability
Every S-093H module should undergo:
- OEM label verification.
- Serial-number recording.
- Anti-counterfeit inspection.
- Visual inspection for corrosion, scratches, repaired traces, and UV discoloration.
- Accessory verification and documentation review.
2. Live Functional Testing
Recommended testing environment:
- Genuine ABB excitation-system simulator or test rack.
Testing sequence:
- Power-on self-test.
- Phase-signal acquisition verification.
- Controller communication check.
- Input-signal simulation.
- Continuous operation under load for 24 hours.
- Thermal monitoring during operation.
- Test-report generation.
Test videos and photos should be available upon request.
3. Electrical Parameter Testing
- Insulation resistance test using 500 V Megger (>10 MΩ).
- Ground continuity verification.
- Input-circuit validation.
- Power-consumption measurement.
4. Firmware & Configuration Verification
- Record hardware revision.
- Document configuration settings.
- Photograph switches and jumpers.
- Archive test results.
5. Final QC & Packaging
- QC inspector approval.
- Anti-static ESD packaging.
- Bubble-wrap protection.
- Heavy-duty corrugated carton.
- QC Passed label with inspection date.
Verified fully functional under load testing is a meaningful acceptance criterion. No industrial electronic module should be described as “failure-proof.” Continuous testing and documented traceability provide far more value than marketing claims.


