
 WhatsApp: +86 16626708626
 Email:
  Phone: +86 16626708626
Description
Key Technical Specifications
| Parameter | Specification Value |
|---|---|
| Catalog Number | 1756-EN2T |
| Communication Protocol | EtherNet/IP (CIP Messaging, Implicit I/O, Explicit Messaging) |
| Media Interface | 1x RJ45 Category 5e/6 Shielded Twisted Pair (10/100 Mbps) |
| Local Programming Port | USB 2.0 Port (Type-B female connector on front faceplate) |
| TCP/IP Connections | Up to 128 TCP connections |
| CIP Connections | Up to 256 connections (128 Logix implicit I/O + 128 explicit) |
| Packet Rate Capacity | Up to 25,000 packets per second (I/O) |
| Backplane Current (5.1V DC) | 1.0 A |
| Backplane Current (24V DC) | 3 mA |
| Power Dissipation | 5.1 W max |
| Status Display | 4-Character Alpha-Numeric Display + LED Array (OK, LINK, NET) |
Product Introduction & Supply Chain Strategy
This product is a Brand New Surplus unit. It is not used, not pulled from a decommissioned plant, and not refurbished. All modules undergo rigorous quality verification to ensure OEM-level reliability. The Allen-Bradley 1756-EN2T is a high-performance EtherNet/IP bridge card for ControlLogix chassis. It provides twice the connection density and packet-per-second processing capacity of older legacy modules like the 1756-ENBT, making it the industry standard for bridging ControlLogix CPUs to HMIs, SCADA platforms, distributed I/O racks, and variable frequency drives (VFDs).
Sourcing the 1756-EN2T as New Surplus provides an ideal balance of fast availability and long-term operating life. Refurbished Ethernet modules often suffer from degraded RJ45 physical connector jacks, thermal stress on internal Ethernet PHY chips, and worn backplane connector pins that cause random connection timeouts, packet retries, and costly intermittent system trips. Installing factory-fresh surplus stock ensures 100% hardware integrity, guarantees reliable high-speed CIP data throughput, and protects your capital infrastructure for years to come.
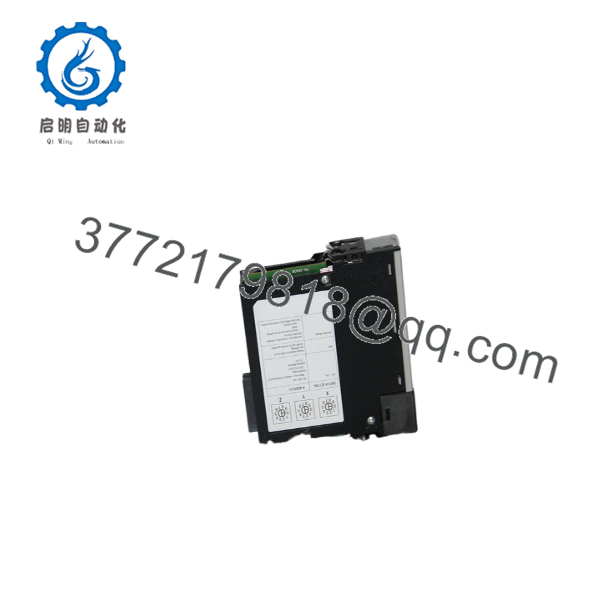
1756-EN2T
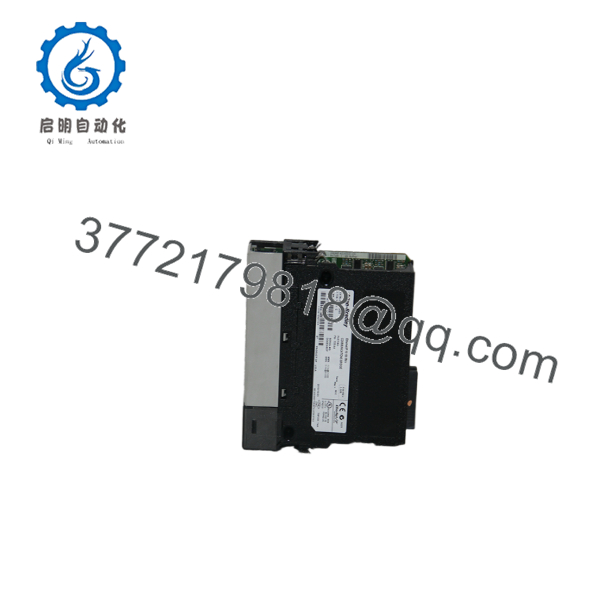
1756-EN2T
Installation & Configuration Guide
1
Stage 1: Pre-Installation (Prep & Safety)
Disconnect rack power, use ESD protection, and record rotary IP switches
1.Stage 1: Pre-Installation (Prep & Safety):Disconnect rack power, use ESD protection, and record rotary IP switches.
- Execute strict Lock-Out/Tag-Out (LOTO) procedures on the target ControlLogix chassis power supply.
- Wear a grounded Electrostatic Discharge (ESD) wrist strap connected to an unpainted metal surface on the cabinet panel.
- Set the 3-digit rotary switches on the top/side of the 1756-EN2T to your target last octet IP address (e.g.,
105forx.x.x.105), or set to999to enable DHCP/BOOTP configuration via software.
2
Stage 2: Removal
Unplug network cables and safely remove existing card from chassis
2.Stage 2: Removal:Unplug network cables and safely remove existing card from chassis.
- Disconnect the RJ45 Ethernet patch cable from the bottom port of the faceplate.
- Disconnect any USB programming cables attached to the front USB port.
- Depress the upper and lower module retention clips simultaneously.
- Slide the module horizontally straight out of the chassis slot to protect the backplane pins.
3
Stage 3: Installation (Clone & Seat)
Verify switch settings, slide module into guide rails, and lock latches
3.Stage 3: Installation (Clone & Seat):Verify switch settings, slide module into guide rails, and lock latches.
- Ensure the replacement 1756-EN2T rotary switches match the hardware setting of the removed module.
- Align the circuit board edges with the top and bottom guide rails of the target chassis slot.
- Push the module firmly into the chassis until both retaining latches click securely into place.
- Re-insert the Cat5e/Cat6 RJ45 patch cable into the lower Ethernet port until the RJ45 clip locks.
4
Stage 4: Power-On & Testing
Power up chassis, observe boot sequence, and verify network node status
4.Stage 4: Power-On & Testing:Power up chassis, observe boot sequence, and verify network node status.
- Apply power to the ControlLogix chassis power supply.
- Monitor the 4-character alpha-numeric display as it completes initialization and displays the configured IP address (e.g.,
192.168.1.105). - Check that the OK LED shows solid green and the LINK/NET LEDs indicate active link status.
- Open RSLinx Classic / FactoryTalk Linx or Studio 5000 to verify that all CIP connections and scheduled I/O modules are communicating normally without packet errors.
Firmware/Software Versions & Upgrade Notes
- Software Compatibility: Fully supported across Studio 5000 Logix Designer and RSLogix 5000 versions. When upgrading from a 1756-ENBT to a 1756-EN2T, you can utilize electronic keying set to “Compatible Module” or update the module profile in the Studio 5000 I/O tree to match the 1756- catalog number.
- Firmware Flashing via USB: The front-panel USB 2.0 port provides a fast local connection for flashing module firmware using ControlFLASH or ControlFLASH Plus without requiring network access or setting an IP address first.
- 1756- vs 1756-EN2TR: Note that the features one RJ45 Ethernet port for standard star or tree network topologies. If your application requires a Device Level Ring (DLR) topology with dual built-in Ethernet ports, the 1756-EN2TR module is required instead.
Frequently Asked Questions (FAQ)
Why is this New Surplus 1756- priced lower than factory OEM list but higher than used units?
Our price reflects true market availability for unused OEM stock sourced from plant reserves and cancelled expansion projects. Used or refurbished units are inexpensive because they carry hidden risks from continuous thermal exposure and worn connectors. New Surplus guarantees 100% factory lifespan and pin integrity without OEM lead times or list price markups.
Are these 1756- modules completely unused?
Yes. Every 1756- unit is original Allen-Bradley hardware, completely unused, with zero connector wear and pristine backplane contact pins. Packages are opened strictly inside ESD-safe environments for quality inspection and automated bench testing before shipment.
What is the major functional upgrade of the 1756- compared to the legacy 1756-ENBT?
The 1756- increases processing capability dramatically: packet capacity rises from 5,000 pps to 25,000 pps, TCP/IP connections increase from 64 to 128, and total CIP connections double from 128 to 256. It also adds a convenient front USB port for setup and firmware updates.
Can I set the IP address without using the BOOTP/DHCP software tool?
Yes. You can set the last octet of the IP address (192.168.1.xxx range by default) directly using the three rotary switches at the top of the module (e.g., setting 0–1–5 yields .015). Alternatively, leave the switches at 999 to configure static IP, Subnet Mask, and Gateway settings via BOOTP server or RSLinx.
What warranty coverage is included with this New Surplus card?
We back this unit with a 1-Year hardware warranty (depending on your service agreement level). If the module encounters any hardware fault under normal operating conditions, we immediately send a replacement unit directly from our stocked inventory reserves.



