
 WhatsApp: +86 16626708626
 Email:
  Phone: +86 16626708626
Description
Key Technical Specifications
| Parameter | Specification |
|---|---|
| Catalog Number | 1756-L73 |
| Product Family | ControlLogix 5570 |
| Controller Type | ControlLogix L7 Series Controller |
| User Memory | 8 MB |
| I/O Memory | 0.98 MB |
| Nonvolatile Storage | 1 GB Secure Digital card, 1784-SD1 |
| Local Programming Port | 1 × USB |
| Embedded Ethernet Port | No |
| Digital I/O Capacity | Up to 128,000 |
| Analog I/O Capacity | Up to 4,000 |
| Total I/O Capacity | Up to 128,000 |
| Motion Axis Capacity | Up to 100 axes |
| Backplane Current | 800 mA @ 5.1 V DC; 5 mA @ 1.2 V DC |
| Power Dissipation | 2.5 W at full load |
| Controller Series | Series A |
| Minimum Firmware | Revision 19.x |
| Energy Storage | 1756-ESMCAP / compatible energy-storage module |
| Chassis Installation | ControlLogix chassis |
| Lifecycle Status | Active Mature |
Rockwell’s current technical data lists the 1756-L73 with 8 MB user memory and 0.98 MB I/O memory, while the 5570 controller documentation specifies up to 128,000 digital I/O, 4,000 analog I/O, and 100 motion axes for the L7 controller family.
Rockwell’s current product page also lists 800 mA at 5.1 V DC and 5 mA at 1.2 V DC for the power requirement.
Product Introduction
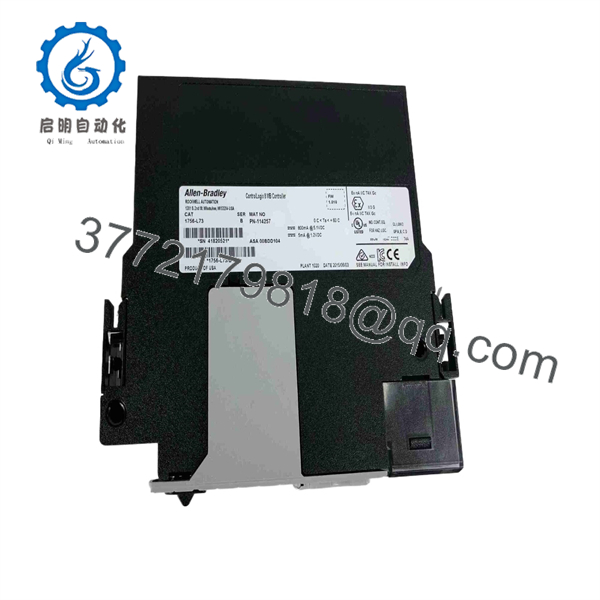
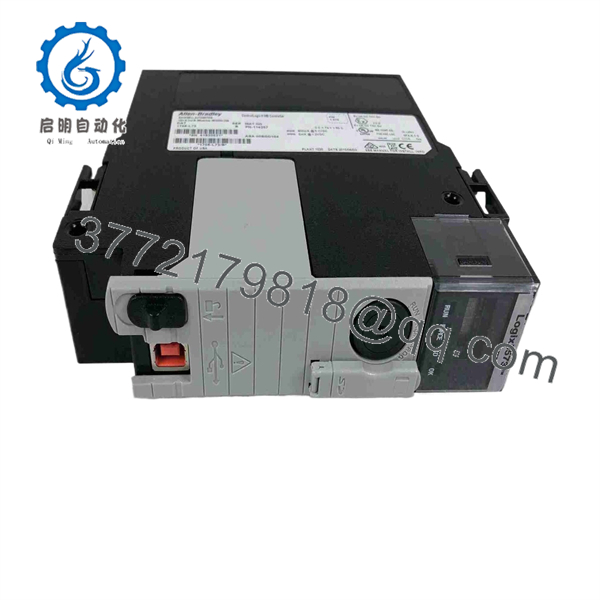
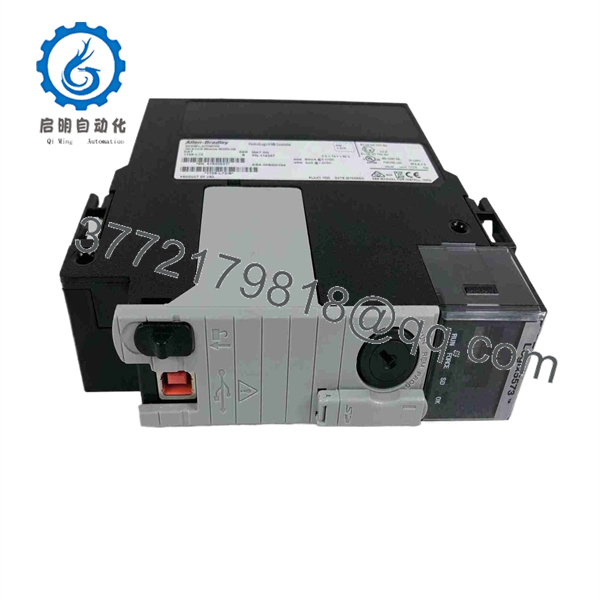
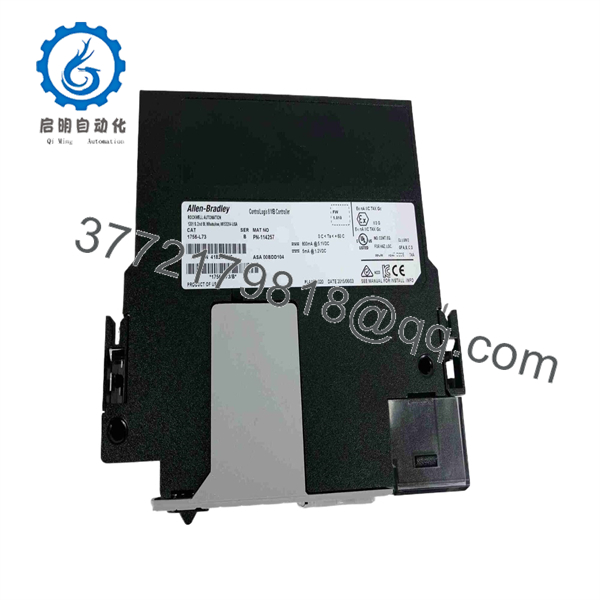
The Allen-Bradley 1756-L73 is an 8 MB ControlLogix 5570 controller used as the central CPU in ControlLogix automation systems. It provides 8 MB of user memory, 0.98 MB of I/O memory, USB programming access, and support for large digital/analog I/O configurations and motion applications.
The controller has no embedded Ethernet port, so Ethernet-based ControlLogix architectures normally use a separate communication module such as a 1756-EN2T or equivalent architecture-specific interface. Firmware compatibility deserves particular attention: Rockwell specifies revision 19 or later as the minimum firmware requirement for the 1756-L73.
Installation & Configuration Guide
Stage 1: Pre-Installation Preparation — 15–30 Minutes
⚠️ Safety First: Place the controlled process in its approved safe state. Follow plant LOTO procedures and the applicable ControlLogix maintenance procedure before removing the controller.
Tools Required:
- ESD wrist strap
- Phillips screwdriver
- Digital multimeter
- Wire labels
- Laptop with Studio 5000 Logix Designer / compatible software
- Smartphone or camera for documentation
Data Backup:
- Upload and save the current controller project.
- Record the controller catalog number, Series, serial number, and firmware revision.
- Record the chassis slot.
- Document communication modules and network topology.
- Save controller tags, configuration, and I/O tree.
- Photograph the controller and chassis before removal.
- Record the SD card status and contents if one is installed.
Rockwell identifies the 1756-L73 as a Series A controller requiring firmware revision 19.x or later.
Stage 2: Removing the Old Controller — 10–20 Minutes
- Put the process into a safe condition.
- Follow the approved controller shutdown procedure.
- Isolate power as required by the plant procedure.
- Do not remove the controller under power unless the applicable Rockwell installation procedure explicitly permits the operation for your chassis/application.
- Disconnect any connected programming or communication cables.
- Release the controller from the ControlLogix chassis.
- Pull the controller straight out.
- Inspect the backplane connector for bent pins, contamination, or mechanical damage.
- Keep the old controller available until commissioning is complete.
⚠️ Important: Do not discard the original controller immediately. Its firmware, SD card, labels, and configuration information can be essential if the replacement does not initialize correctly.
Stage 3: Installing the New Controller — 10–20 Minutes
- Confirm the replacement label reads 1756-L73.
- Verify the Series and firmware compatibility.
- Inspect the controller connector and housing.
- Confirm the correct energy-storage module is installed.
- If an SD card is being transferred, verify that the card contains the intended application before installation.
- Insert the controller into the correct ControlLogix chassis position.
- Ensure the controller is fully seated.
- Secure the controller according to the chassis procedure.
- Reconnect required communication/programming cables.
- Do not assume the replacement controller contains the same program as the original.
Self-Checklist:
- 1756-L73 catalog number verified
- Series verified
- Firmware compatibility verified
- SD card contents checked
- Energy-storage module checked
- Controller fully seated
- Chassis connections secure
Stage 4: Power-On & Testing — 30–90 Minutes
- Perform a final visual inspection.
- Restore ControlLogix chassis power.
- Observe controller status indicators.
- Connect the programming computer.
- Verify the controller’s firmware revision.
- Establish communication with the processor.
- Download the approved project if required.
- Confirm the I/O tree initializes correctly.
- Verify communication modules.
- Verify remote I/O connections.
- Test critical interlocks and sequences.
- Confirm HMI/SCADA communication.
- Return the controller to Run mode only after the approved commissioning checks pass.
⚠️ Firmware Warning: If the replacement controller firmware differs from the project’s expected revision, do not immediately download or upgrade it. Check Studio 5000 project compatibility and Rockwell’s firmware requirements first.
Rockwell’s current user manual states that the controller must be in Remote Program or Program mode and have recoverable faults cleared before accepting a firmware upgrade.
Common Replacement Pitfalls
❗ 1. Firmware Revision Mismatch
The 1756-L73 supports multiple firmware generations. Rockwell specifies revision 19.x or later as the minimum firmware requirement. A controller with an incompatible revision can create project-compatibility problems during commissioning.
❗ 2. Confusing L73 With L73S or L73XT
The suffix matters. 1756-L73, 1756-L73S, and 1756-L73XT are different controllers. The L73S is a GuardLogix safety controller, while the L73XT uses conformal coating. Do not substitute based only on the “L73” portion of the catalog number.
❗ 3. Expecting an Embedded Ethernet Port
The standard 1756-L73 does not have an embedded Ethernet port. Rockwell lists “Embedded Network Port: False.” Ethernet connectivity therefore normally comes through a separate communication module.
❗ 4. Ignoring SD Card Contents
The 1756-L73 uses Secure Digital nonvolatile storage. If the replacement controller comes with an SD card, establish whether it is blank, contains an old project, or contains the intended application before using it for recovery.
❗ 5. Power-Budget Oversight
The controller consumes approximately 800 mA at 5.1 V DC. When replacing a controller in an older chassis, recalculate the complete backplane load rather than checking only the CPU rating.
1756-L73
1756-L73
Frequently Asked Questions (FAQ)
1. What is the Allen-Bradley 1756-L73?
The 1756-L73 is an Allen-Bradley ControlLogix 5570 controller with 8 MB of user memory and 0.98 MB of I/O memory. It functions as the CPU for ControlLogix-based industrial automation systems.
2. Does the 1756-L73 have an Ethernet port?
No. The standard 1756-L73 has no embedded Ethernet port. Ethernet communication is normally provided through a separate ControlLogix communication module.
3. How much memory does the 1756-L73 have?
The controller provides 8 MB of user memory and 0.98 MB of I/O memory. The 5570 platform also supports a 1 GB Secure Digital card for nonvolatile storage.
4. What firmware does the 1756-L73 require?
For the 1756-L73, Rockwell’s current ControlLogix user manual specifies firmware revision 19 or later. The exact firmware to use should still be matched to the Studio 5000 project and the rest of the ControlLogix system.
5. Is the 1756-L73 discontinued?
Rockwell currently lists the standard 1756-L73 as Active Mature, not discontinued. Its product page also indicates that a replacement is available.
6. Can I replace a 1756-L73 with a 1756-L73S?
Not as a simple like-for-like substitution. The 1756-L73S is a GuardLogix safety controller, with safety-specific functionality and requirements. Rockwell lists it separately from the standard L73. Verify the complete controller type and application architecture before substitution.
7. What should I verify when purchasing a surplus 1756-L73?
Verify the complete catalog number, Series, firmware revision, serial number, front-panel condition, backplane connector, energy-storage module, and SD card status. For a production spare, a power-up test plus controller communication test is preferable to visual inspection alone.
If the unit is sold as New Surplus, confirm that the physical condition and packaging support that description. If it is Refurbished, ask for the test procedure and recorded results rather than assuming refurbishment means the controller was tested under an actual ControlLogix project.



