
 WhatsApp: +86 16626708626
 Email:
  Phone: +86 16626708626
Description
Key Technical Specifications
| Parameter | Value / Specification |
| Catalog Number | 1756-OB16D |
| Outputs Per Module | 16 diagnostic sourcing outputs (2 groups of 8) |
| Operating Voltage Range | 19.2 to 30V DC |
| Output Current Rating | 1 A max per point @ 60°C; 4 A max per module @ 60°C |
| Backplane Current Draw | 250 mA @ 5.1V DC, 140 mA @ 24V DC |
| Total Backplane Power | 4.64 W |
| Isolation Voltage | 250V AC continuous, output-to-backplane and group-to-group |
| Off-State Leakage Current | 1 mA max per point |
| On-State Voltage Drop | 1.2V DC @ 2 A max |
| Surge Current | 4 A per point for 10 ms, repeatable every 1 s |
| Compatible Terminal Blocks | 1756-TBCH (36-pin screw clamp), 1756-TBS6H (36-pin spring clamp) |
| Operating Temperature | 0 to 60°C (32 to 140°F) |
Product Introduction & Supply Chain Strategy
The Allen-Bradley 1756-OB16D is a ControlLogix 16-point 24V DC diagnostic sourcing output module designed for process monitoring and high-reliability automation systems. It delivers point-level diagnostic feedback—including wire-off detection and short-circuit faults—to safeguard critical field devices.
Maintaining this module as New Surplus inventory ensures immediate plant recovery without taking on the severe risk of refurbished hardware. Sourcing verified New Surplus mitigates long OEM lead times, guarantees full expected service life, and lowers Total Cost of Ownership by eliminating catastrophic downtime caused by worn or degraded components.
Installation & Configuration Guide
Stage 1: Pre-Installation (Prep & Safety)
- Execute full Lock-Out/Tag-Out (LOTO) procedures on cabinet field power and chassis supplies.
- Put on an anti-static wrist strap connected to cabinet earth ground.
- Remove the front housing door of the existing module and take clear photographs of the Removable Terminal Block (RTB) wiring and channel assignments.
- Verify field supply voltage remains within the safe 19.2 to 30V DC operational envelope.
Stage 2: Removal
- Unfasten the top and bottom RTB retaining screws or spring latches.
- Carefully pull the RTB arm forward to disengage it from the module housing without pulling on field conductors.
- Depress the top and bottom chassis locking latches on the 1756-OB16D card.
- Slide the module straight out of the 1756 slot, ensuring no twisting motion that could bend or stress the backplane connector pins.
Stage 3: Installation (Clone & Seat)
- Unbox the new 1756-OB16D module inside the ESD-protected area.
- Verify mechanical keying tabs on the new module match the existing RTB setup.
- Align the module card edges with the chassis slot guides and slide it in firmly until both chassis latches click cleanly into place.
- Align the RTB onto the module housing and press firmly until seated, then tighten the securing screws.
Stage 4: Power-On & Testing
- Restore 24V DC field power and verify no short-circuit conditions exist on the terminal arm.
- Restore power to the ControlLogix chassis.
- Monitor the module display: confirm the OK LED transitions to solid green, indicating a successful backplane handshake.
- Verify channel diagnostic LEDs show expected field device states with zero diagnostic fault indicators active.
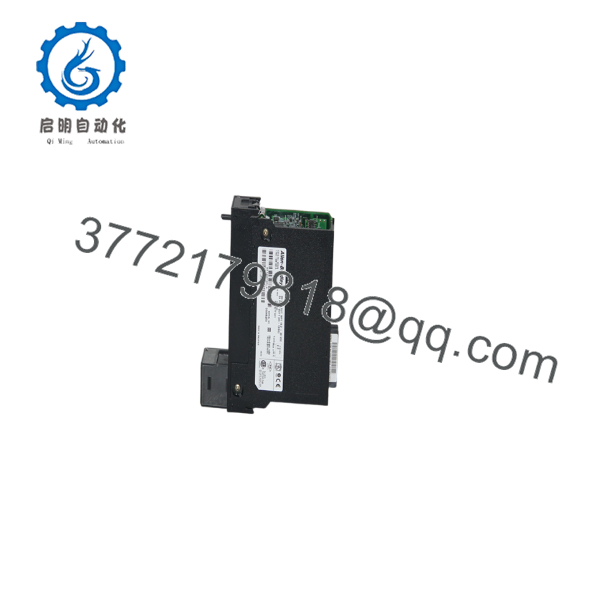
1756-OB16D
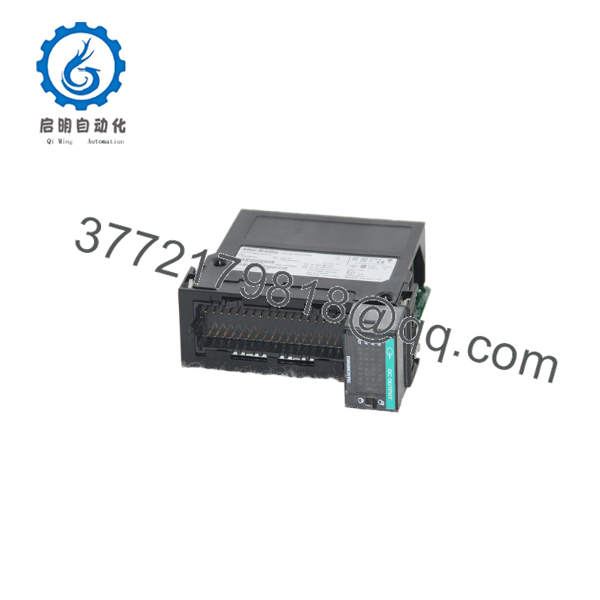
1756-OB16D
Firmware/Software Versions & Upgrade Notes
- Recommended Firmware: Major Revision 2.001 or higher (match major revision level with Studio 5000 / RSLogix 5000 I/O tree configuration).
- Compatibility: Fully backward compatible with early ControlLogix backplanes and L6/L7/L8 processors. Ensure Electronic Keying settings in Studio 5000 are set to “Compatible Module” to allow minor revision drops without system halts.
- Upgrade Warning: Do not interrupt backplane power or communication during a firmware flash. Upgrading or downgrading firmware during a live swap can corrupt the onboard flash memory, leading to an unusable state. Always record the firmware revision of the target hardware prior to deployment.
Frequently Asked Questions (FAQ)
Why is this module priced higher than refurbished parts on the market?
This product is a genuine New Surplus unit with zero operational hours and full factory lifespan. Refurbished parts carry hidden risks—such as thermal degradation of onboard power components and aged relays—that frequently lead to premature failure. Investing in New Surplus guarantees OEM-level reliability and protects your facility against costly downtime incidents that far outweigh initial purchase savings.
Are these units truly original and new?
Yes. Every unit we supply is guaranteed Original New Surplus. It comes from surplus factory inventories, canceled projects, or verified backup spares. All modules remain in original factory packaging and undergo visual, mechanical, and electrical verification in our static-controlled testing lab prior to shipment.
Can I hot-swap the 1756-OB16D while the chassis is powered?
The 1756 ControlLogix chassis supports Removal and Insertion Under Power (RIUP). However, caution is required: field-side 24V DC power to the RTB should be isolated before disconnecting the terminal arm to avoid arcing, accidental short-circuits, or unwanted actuator trips on adjacent channels.
Will changing out this card cause a loss of PLC logic or channel programming?
No. Configuration data—such as pulse widths, fault states, and diagnostic masks—is stored in the controller’s memory and pushed down to the 1756-OB16D across the backplane upon power-up and connection establishment. The hardware swap itself requires no programming changes, provided the catalog number and Electronic Keying match.
What warranty coverage comes with this New Surplus unit?
We back this 1756- module with a comprehensive 1-year replacement warranty. If any functional defect occurs under standard operating conditions within 12 months of purchase, we issue an immediate replacement unit from stock.



