
 WhatsApp: +86 16626708626
 Email:
  Phone: +86 16626708626
Description
Key Technical Specifications
| Parameter | Value |
|---|---|
| Product Type | Digital DC Output Module |
| Series | ControlLogix 1756 |
| Number of Outputs | 16 Individually Isolated Outputs |
| Output Voltage | 10–30 VDC |
| Output Current | 1 A per channel (continuous) |
| Isolation | 250 V continuous between outputs and backplane |
| Backplane Current | Approximately 350 mA @ 5.1 VDC |
| Module Power Dissipation | 3.6 W (typical) |
| Operating Temperature | 0 °C to 60 °C |
| Mounting | 1756 ControlLogix Chassis |
| Configuration Software | Studio 5000 / RSLogix 5000 |
| Compatible Controllers | ControlLogix 55xx, 556x, 5570, 5580 families |
The 1756-OB16I is an active product in the ControlLogix family. It provides sixteen individually isolated 10–30 VDC outputs rated at 1 A per point and 250 V continuous isolation between outputs and the backplane.
Product Introduction
The Allen-Bradley 1756-OB16I is a ControlLogix digital output module designed for applications requiring isolated 24 VDC discrete outputs. Individual channel isolation makes it suitable for systems where field devices operate on separate power circuits or where electrical noise isolation is important.
Compared with standard shared-common output modules, the 1756-OB16I simplifies wiring for independently powered loads and reduces the chance of ground loop problems. It integrates directly into ControlLogix chassis and is configured using Studio 5000 Logix Designer.
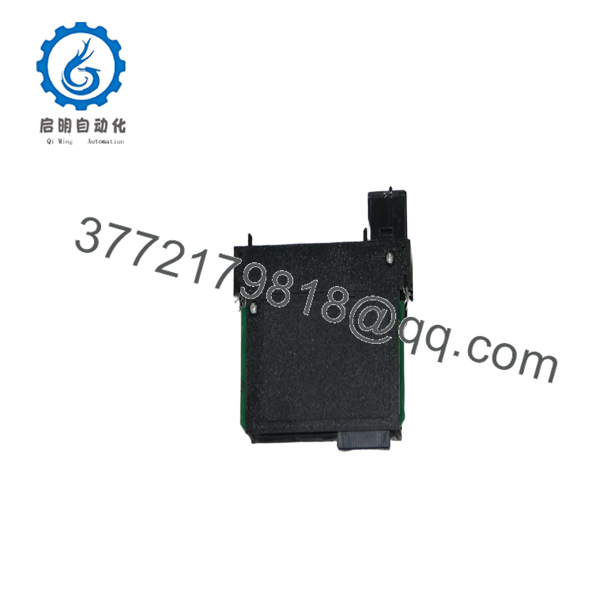
1756-OB16I
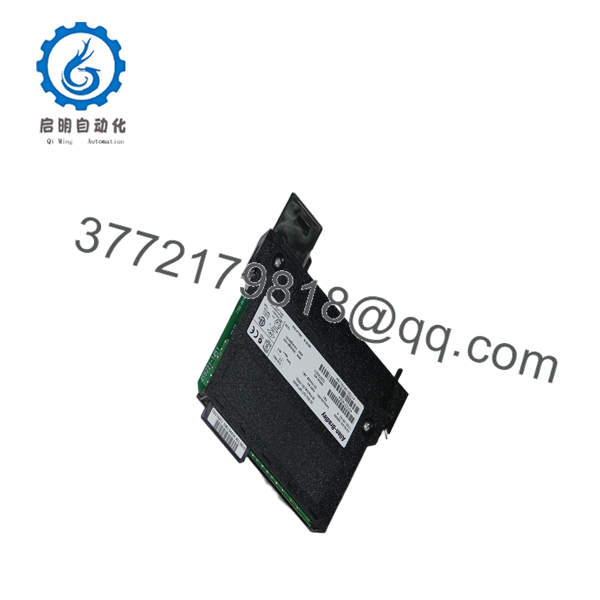
1756-OB16I
Installation & Configuration Guide
Stage 1 – Pre-Installation Preparation (5–10 minutes)
⚠️ Safety First
- Notify operations before shutdown.
- Apply Lock-Out/Tag-Out procedures.
- Remove system power.
- Wait at least five minutes for stored energy to discharge.
Tools Required
- ESD wrist strap
- Phillips screwdriver
- Digital multimeter
- Wire markers
- Smartphone for documentation
Before Removal
- Back up the PLC project.
- Record firmware revision.
- Photograph field wiring.
- Record slot location and chassis configuration.
Stage 2 – Remove Existing Module (5 minutes)
- Verify power is OFF.
- Label all field wiring.
- Disconnect the RTB carefully.
- Release locking tabs.
- Pull the module straight out.
- Inspect chassis connectors for bent pins or contamination.
⚠️ Keep the original module available until commissioning is complete.
Stage 3 – Install the New Module (10 minutes)
- Wear an ESD wrist strap.
- Verify the replacement is 1756-OB16I.
- Insert the module fully into the chassis.
- Reinstall the removable terminal block.
- Tighten wiring to the recommended torque.
- Verify field supply voltage is within specification.
Checklist
- ✔ Correct slot
- ✔ Wiring verified
- ✔ Module fully seated
- ✔ Terminal block locked
Stage 4 – Power-Up & Functional Test (10–15 minutes)
- Power the ControlLogix chassis.
- Verify module status LEDs.
- Confirm the module is recognized by Studio 5000.
- Check firmware compatibility.
- Test every output individually.
- Verify connected devices operate correctly.
⚠️ Troubleshooting
- Solid fault LED: verify firmware compatibility.
- No output: check external 24 VDC field power.
- Communication fault: confirm chassis configuration and module profile.
Frequently Asked Questions
Q1. Can the 1756-OB16I be hot-swapped?
Generally, no. Although some ControlLogix systems support removal under specific conditions, replacing I/O modules with power removed is the safer practice to avoid unexpected faults or backplane damage.
Q2. What makes the 1756-OB16I different from the 1756-OB16?
The 1756- provides individual isolation for each output channel, making it suitable for independently powered loads and applications requiring improved electrical isolation.
Q3. Will replacing the module erase my PLC program?
No. The application program resides in the ControlLogix controller, not in the output module. Replacing the module does not remove controller logic, although module configuration should be verified after installation.
Q4. Is this model still supported?
Yes. The 1756- remains an active ControlLogix product and continues to receive firmware, documentation, and support from Rockwell Automation.
Q5. Why are New Surplus units often less expensive than buying directly from the OEM?
New Surplus inventory typically comes from excess project stock or unused industrial inventory rather than current factory production. It has never been installed but is sold through independent channels, which can result in lower pricing.
Q6. What should I verify before ordering?
Verify:
- Exact catalog number ()
- Series revision (if required by your plant standards)
- Studio 5000 compatibility
- Required firmware revision
- Available chassis slot
- Output voltage and current requirements
Taking a few minutes to verify firmware revisions and field wiring before installation can prevent the majority of startup issues encountered during ControlLogix module replacements.



