
 WhatsApp: +86 16626708626
 Email:
  Phone: +86 16626708626
Description
Key Technical Specifications
| Parameter | Value |
|---|---|
| Product Type | Digital DC Output Module |
| Series | ControlLogix 1756 |
| Output Channels | 8 sourcing outputs |
| Output Voltage | 10–31.2 V DC |
| Nominal Voltage | 24 V DC |
| Isolation | Channel-to-backplane isolation |
| Mounting | ControlLogix chassis |
| Backplane Compatibility | 1756 ControlLogix chassis |
| Operating Temperature | 0 °C to +60 °C |
| Storage Temperature | -40 °C to +85 °C |
| Wiring | Removable Terminal Block (RTB required, sold separately) |
| Certification | CE, UL, cUL (depending on revision) |
Product Introduction
The Allen-Bradley 1756-OB8 is an eight-point DC digital output module designed for the ControlLogix PLC platform. It provides reliable switching of field devices such as solenoid valves, contactors, relays, pilot lights, and industrial actuators in manufacturing and process automation systems.
Engineers often select the 1756-OB8 when they need dependable discrete output performance, straightforward integration with existing ControlLogix controllers, and compatibility with Rockwell Automation backplane architecture. It is commonly used during system expansions, maintenance shutdowns, and legacy hardware replacement projects.
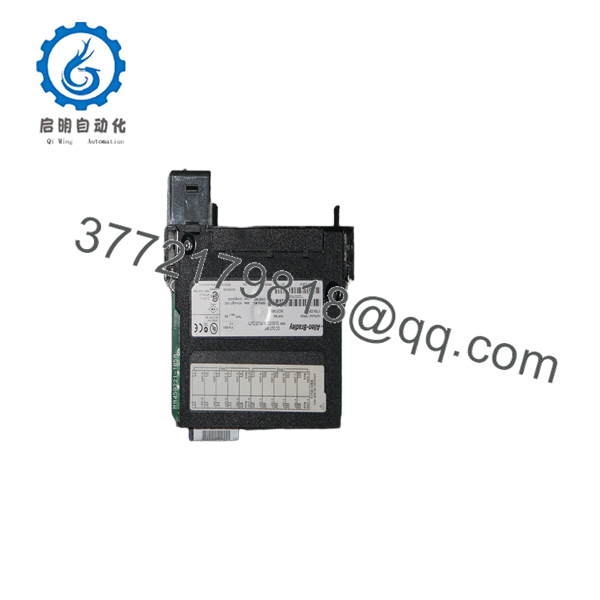
1756-OB8
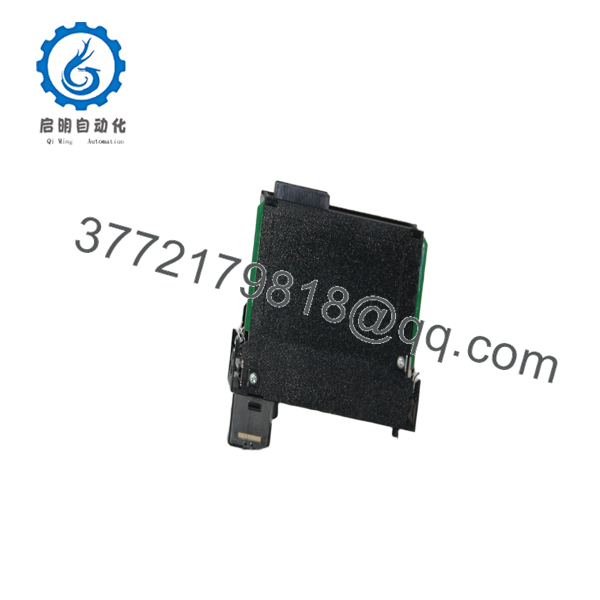
1756-OB8
Installation & Configuration Guide
Stage 1 – Pre-Installation Preparation (10 Minutes)
⚠️ Safety First
- Notify production personnel of the planned shutdown.
- Apply Lockout/Tagout (LOTO).
- Disconnect control power.
- Wait at least five minutes for stored energy to dissipate.
Required Tools
- ESD wrist strap
- Phillips screwdriver
- Digital multimeter
- Wire labels
- Smartphone for documentation
Before Removal
- Back up the PLC project using Studio 5000.
- Record slot assignment.
- Photograph all field wiring.
- Verify the replacement module revision.
Stage 2 – Removing the Existing Module (5 Minutes)
- Turn off chassis power.
- Label every field wire.
- Remove the RTB carefully.
- Unlock the module retaining latch.
- Pull the module straight from the chassis.
- Inspect the backplane connector for bent pins, dust, or damage.
⚠️ Keep the original module until the replacement has completed commissioning successfully.
Stage 3 – Installing the New Module (10 Minutes)
- Wear an ESD strap before handling the module.
- Confirm the replacement part number is 1756-OB8.
- Insert the module fully into the ControlLogix chassis until the locking mechanism clicks.
- Reinstall the RTB.
- Verify all field wiring matches the documented layout.
- Tighten terminal screws according to Rockwell specifications.
Installation Checklist
- ☑ Correct module installed
- ☑ RTB securely seated
- ☑ Wiring verified
- ☑ Module latch fully engaged
Stage 4 – Power-Up & Functional Testing (10 Minutes)
- Restore chassis power.
- Verify the module status LEDs.
- Open Studio 5000 and confirm module recognition.
- Check firmware compatibility.
- Force each output individually during commissioning.
- Verify proper operation of all connected field devices.
⚠️ Troubleshooting
- Solid red status LED often indicates a configuration or module fault.
- Communication issues typically require checking controller configuration, chassis slot assignment, or firmware compatibility.
- If field devices fail to energize, verify the external 24 V DC supply and field wiring.
Frequently Asked Questions (FAQ)
Q1. Can the 1756-OB8 be hot-swapped?
Generally, no. While some ControlLogix systems support removal under controlled conditions, replacing output modules during scheduled downtime is the safer approach. Removing an active output module can interrupt field devices and create unexpected machine behavior.
Q2. Is the 1756-OB8 still available?
Yes. Although it has been in service for many years, new surplus, factory-sealed inventory, and professionally tested units remain available through industrial automation suppliers. Availability varies depending on manufacturing revision.
Q3. Will replacing the module erase my PLC program?
No. The user program resides inside the ControlLogix controller, not the output module. However, always create a current backup before maintenance in case additional hardware changes are required.
Q4. Does the terminal block come with the module?
Not always. Many suppliers sell the module separately from the removable terminal block (RTB). Verify whether an RTB is included before placing an order.
Q5. Why should I verify the firmware and module revision?
Rockwell periodically updates firmware and hardware revisions. While the 1756-OB8 is generally backward compatible, validating the controller firmware and module revision before installation helps avoid unexpected commissioning delays.
Q6. Why are new surplus units often less expensive than OEM list price?
New surplus inventory usually comes from excess project stock, plant closures, or distributor overstock rather than current factory production. The hardware is unused, but pricing is often lower because it is sourced outside the standard OEM sales channel. Always verify the unit’s condition, testing documentation, and warranty before purchase.



