
 WhatsApp: +86 16626708626
 Email:
  Phone: +86 16626708626
Description
Key Technical Specifications
| Parameter | Value |
|---|---|
| Product Type | AC Chassis Power Supply |
| Series | ControlLogix 1756 |
| Input Voltage | 85–265 VAC |
| Input Frequency | 47–63 Hz |
| Backplane Output | 5 VDC @ 10 A |
| Auxiliary Output | 3.3 VDC @ 4 A |
| 24 VDC Output | 2.8 A |
| Mounting | Left side of 1756 ControlLogix chassis |
| Operating Temperature | 0 °C to 60 °C |
| Storage Temperature | -40 °C to 85 °C |
| Relative Humidity | 5–95% non-condensing |
| Configuration | Non-redundant power supply |
The 1756-PA72 is an active ControlLogix AC chassis power supply with an input range of 85–265 VAC, delivering 10 A at 5 VDC and 4 A at 3.3 VDC to the backplane.
Product Introduction
The Allen-Bradley 1756-PA72 is the primary AC power supply for ControlLogix chassis. It converts incoming AC power into regulated backplane voltages required by ControlLogix controllers, communication modules, motion controllers, and I/O modules.
Designed for continuous industrial operation, the 1756-PA72 supports high-capacity ControlLogix systems with substantial backplane current requirements. Before expanding an existing chassis, engineers should calculate the total backplane current to ensure the installed power supply provides adequate capacity with an appropriate design margin.
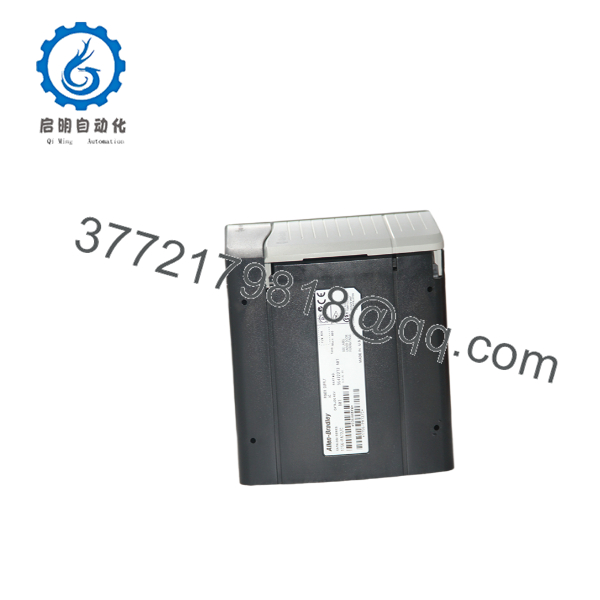
1756-PA72
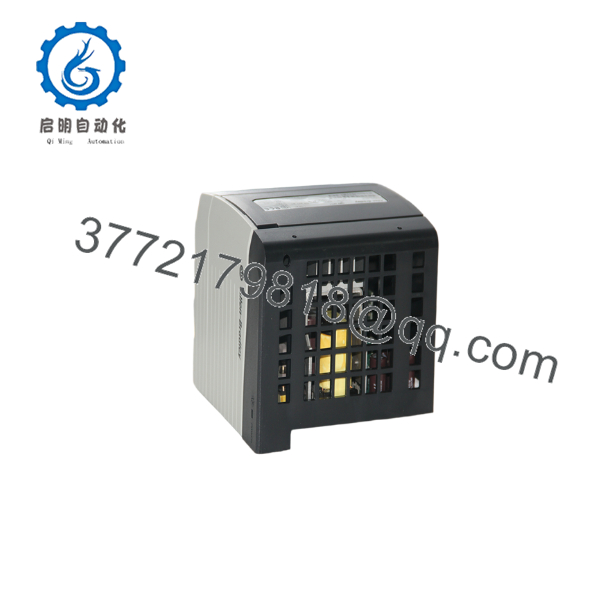
1756-PA72
Installation & Configuration Guide
Stage 1 – Pre-Installation Preparation (5–10 minutes)
⚠️ Safety First
- Notify plant operations of the planned shutdown.
- Perform Lock-Out/Tag-Out.
- Disconnect incoming AC power.
- Wait at least five minutes for internal capacitors to discharge.
Required Tools
- ESD wrist strap
- Phillips screwdriver
- Digital multimeter
- Torque screwdriver
- Smartphone for documentation
Before Removal
- Record chassis slot configuration.
- Measure incoming AC voltage.
- Inspect grounding conductors.
- Calculate existing backplane load.
Stage 2 – Remove Existing Power Supply (5 minutes)
- Confirm AC input is isolated.
- Disconnect input wiring.
- Release the retaining mechanism.
- Remove the power supply from the left side of the chassis.
- Inspect chassis connectors for damage or contamination.
⚠️ Do not energize the chassis until the replacement supply is fully secured.
Stage 3 – Install the New Power Supply (10 minutes)
- Verify the catalog number is 1756-PA72.
- Mount the supply securely.
- Connect the AC input according to the wiring diagram.
- Verify protective earth connection.
- Confirm all terminal screws are tightened to specification.
Installation Checklist
- ✔ Correct model installed
- ✔ AC voltage verified
- ✔ Ground connected
- ✔ Chassis connector fully engaged
Stage 4 – Power-Up & Functional Testing (10–15 minutes)
- Restore AC input power.
- Verify the Power OK indicator.
- Confirm controller startup.
- Check chassis diagnostics.
- Verify all installed modules initialize correctly.
- Monitor supply operation under normal system load.
⚠️ Troubleshooting
- No power LED: verify incoming AC supply and fuse protection.
- Intermittent chassis faults: check backplane current demand.
- Unexpected shutdowns: confirm the total power consumption does not exceed the supply rating.
Frequently Asked Questions
Q1. What is the primary purpose of the 1756-PA72?
It supplies regulated backplane power for ControlLogix chassis. Controllers and I/O modules cannot operate without a properly sized chassis power supply.
Q2. Is the 1756-PA72 still available?
Yes. Rockwell Automation currently lists the 1756- as an active product with standard documentation, support, and a one-year warranty.
Q3. Can one power supply support every chassis configuration?
No. Every installed module consumes backplane current. Before adding controllers, communication modules, or high-density I/O, calculate the total 5 VDC and 3.3 VDC current requirements to ensure they remain within the power supply’s capacity.
Q4. Does the 1756- support redundant operation?
No. The standard 1756- is a non-redundant power supply. Applications requiring power redundancy should use the appropriate redundant ControlLogix power architecture.
Q5. Can I replace the power supply while the chassis is energized?
No. Disconnect incoming AC power before replacing the power supply. Removing or installing the unit while energized can damage the chassis and connected modules.
Q6. What should I verify before ordering?
Verify the following:
- Catalog number ()
- Input power availability (85–265 VAC)
- Required backplane current
- Chassis compatibility
- Available installation space
- Total system power budget
A common mistake during ControlLogix upgrades is sizing the power supply based only on the controller. Always include every communication, motion, and I/O module in the backplane current calculation. This simple check can prevent nuisance shutdowns after system expansion.



