
 WhatsApp: +86 16626708626
 Email:
  Phone: +86 16626708626
Description
Key Technical Specifications
| Parameter | Value |
| Catalog Number | 1785-L80C15 |
| Processor Type | PLC-5/80C15 |
| User Memory Capacity | 100K Words SRAM (200 Kbytes) |
| Maximum Digital I/O | 3,072 total I/O (any combination of inputs and outputs) |
| Max I/O Chassis Slots | Up to 125 I/O racks across Remote I/O and ControlNet links |
| Communication Ports | 1x ControlNet (1.5 Mbps BNC), 1x DH+/RIO (Channel 1B), 1x RS-232C/422A/423A (Channel 0) |
| ControlNet Transfer Rate | 5.0 Mbps / 1.5 Mbps deterministic messaging |
| Backplane Current Load | 3.3 A at 5 VDC (3,300 mA) |
| Execution Time (Bit Logic) | 0.8 µs per instruction (typical) |
| Battery Back-up | 1770-XYC Lithium Battery |
| Operating Temperature | 0 to 60°C (32 to 140°F) |
Product Introduction & Supply Chain Strategy
The Allen-Bradley 1785-L80C15 (PLC-5/80C15) represents the apex of the PLC-5 processor architecture, engineered for high-density plant automation. Featuring a massive 100K-word memory capacity and high-speed ControlNet communication interfaces, this CPU executes complex control algorithms while managing deterministic real-time data delivery across up to 3,072 digital I/O points.
As Rockwell Automation has fully retired the 1785 platform, securing high-capacity ControlNet processors like the 1785-L80C15 presents a critical supply chain challenge. Opting for New Surplus over refurbished components eliminates risks associated with degraded internal backplane regulators, thermal memory stress, and worn coax transceiver ports. Maintaining verified spare units on-site safeguards multi-rack control topologies from catastrophic downtime, preserving your operational Total Cost of Ownership (TCO).
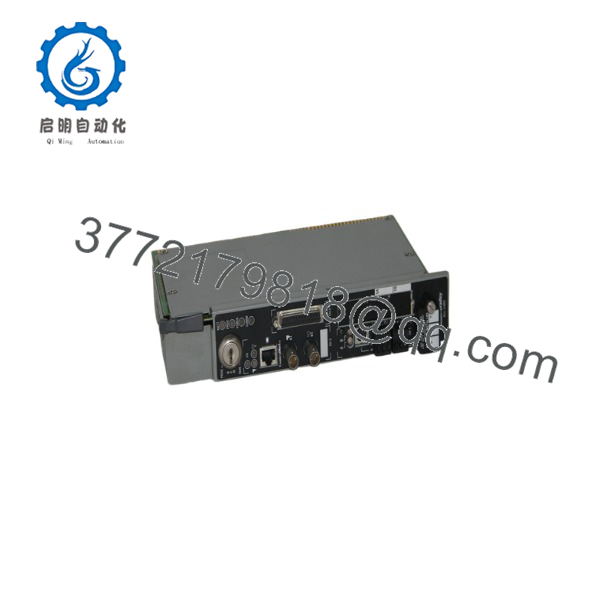
1785-L80C15
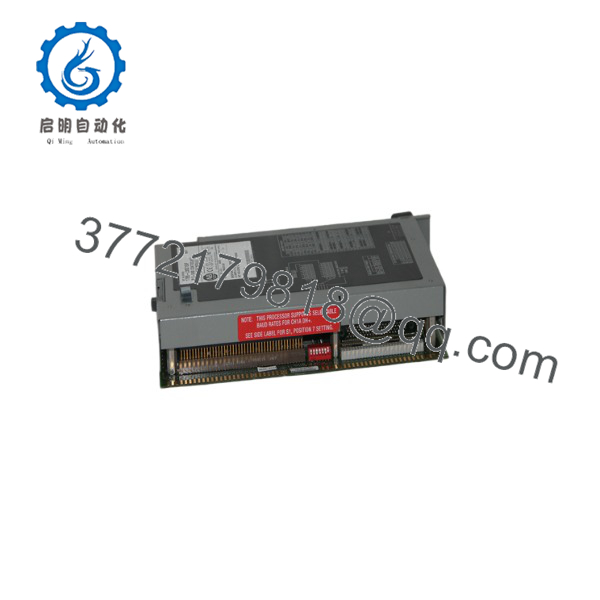
1785-L80C15
Installation & Configuration Guide
Stage 1: Pre-Installation (Prep & Safety)
- Lock-Out/Tag-Out (LOTO): De-energize all 120/230 VAC power supplies feeding the 1771 I/O chassis before installing or servicing the CPU card.
- Backup Logic File: Upload and archive the current controller memory (
.RSPproject file) using RSLogix 5 prior to hardware replacement. - ESD Safety: Wear a grounded anti-static wrist strap to avoid electrostatic damage to the processor’s micro-architecture and onboard memory circuits.
Stage 2: Removal
- Disconnect the BNC ControlNet cable tap, the DH+ Phoenix terminal block, and the serial programming interface cable.
- Release the top and bottom chassis locking levers on Slot 0 of the 1771 rack.
- Slide the legacy 1785-L80C15 module straight out of the slot guides to avoid bending or stressing backplane pin connections.
Stage 3: Installation (Clone & Seat)
- Verify that the chassis backplane keying bands match the edge connector notches of the 1785-L80C15.
- Install a fresh 1770-XYC 3.0V lithium battery into the front-accessible battery cavity.
- Slide the new 1785-L80C15 firmly into Slot 0 until the edge connector locks into the backplane, then snap the top/bottom retention clips closed.
- Reattach the BNC ControlNet coax connector and network lines to their dedicated communication headers.
Stage 4: Power-On & Testing
- Restore 5 VDC chassis backplane power; observe the front panel RUN LED to ensure it clears self-test checks.
- Establish a connection in RSLogix 5 via ControlNet or serial interface, and download the controller logic and network schedule file (
.xcf). - Switch the key switch to RUN mode; verify the RUN LED lights solid green and ControlNet OK LED stays green without flashing red fault codes.
Firmware/Software Versions & Upgrade Notes
- Software Support: Programmed exclusively via RSLogix 5 (v3.2 or higher) with RSNetWorx for ControlNet required to schedule deterministic network bandwidth.
- Firmware Constraints: Ensure the replacement module’s firmware revision matches your project file requirements. Running different firmware major revisions can result in ControlNet network scheduling mismatches or unscheduled I/O connection drops.
- ControlNet Network Scheduling: When replacing a ControlNet CPU, you must re-save and re-download the network configuration using RSNetWorx for ControlNet to properly bind the new CPU’s MAC ID to the scheduled keeper.
Frequently Asked Questions (FAQ)
Is this 1785- guaranteed to be New Surplus rather than refurbished?
Yes. This module is 100% Brand New Surplus in original OEM condition. It has never been installed in an active industrial enclosure, exposed to environmental contamination, or subjected to component-level circuit repairs.
Why should I choose New Surplus over a refurbished high-capacity CPU?
Refurbished 100K-word processors frequently suffer from invisible component fatigue—such as degraded SRAM capacitors, aged internal power rails, and loose BNC network connectors. Sourcing New Surplus guarantees factory-level signal integrity, full memory retention, and long-term operating stability.
What is the role of ControlNet on the 1785-?
ControlNet provides high-speed (1.5 Mbps to 5 Mbps), deterministic control data transmission. Unlike standard DH+, ControlNet ensures that time-critical inter-controller messaging and remote I/O scans occur at precise, predictable intervals, making it ideal for large-scale process systems.
Can I insert or remove the 1785- while the chassis is powered?
No. Standard 1771 I/O backplanes do not support Removal and Insertion Under Power (RIUP). Pulling or inserting a processor with backplane power active causes electrical arcing that can permanently ruin the CPU edge connector and destroy adjacent I/O modules.
What warranty is provided with this New Surplus controller?
We provide a full 1-year replacement warranty on this 1785- processor module. Every unit undergoes strict physical pin verification, voltage regulation testing, and ESD packaging procedures prior to dispatch.



