
 WhatsApp: +86 16626708626
 Email:
  Phone: +86 16626708626
Description
3. Key Technical Specifications
| Parameter | Value |
|---|---|
| Display Type | Color active matrix TFT |
| Display Size | 10.1 inches |
| Display Area | 211 × 158 mm (8.3 × 6.2 in) |
| Resolution | 640 × 480 pixels |
| Colors | 32 standard colors |
| Backlight | 50,000 hour half-life at 25 °C (77 °F) |
| Operator Input | Keypad with 16 function keys (F1–F16), numeric keys, navigation |
| Application Memory | 310 KB runtime; 1008 KB nonvolatile (objects, text, bitmaps) |
| Communication Ports | Remote I/O (RIO); RS-232 printer port |
| Input Voltage | 85–264 V AC, 47–63 Hz |
| Enclosure Rating | NEMA Type 12/13 or 4X (indoor use only) |
| ATA Memory Card | Supported |
| Configuration Software | PanelBuilder32 |
| Weight (approx.) | 3.7–4.0 kg (8.2–8.8 lb) |
| Dimensions (approx.) | 282 × 423 × 112 mm (11.11 × 16.64 × 4.40 in) |
4. Product Introduction
The Allen-Bradley 2711-K10C1 is a PanelView 1000 Standard operator terminal. It features a 10-inch color active matrix TFT display with 640 × 480 resolution and supports 32 standard colors. Operator input is provided by a stainless-steel domed membrane keypad with 16 programmable function keys (F1–F16).
The terminal communicates via a Remote I/O (RIO) port for connection to Allen-Bradley PLCs and includes an RS-232 printer port for alarm logging. It is powered by 85–264 V AC and offers 310 KB of application runtime memory plus 1008 KB of nonvolatile memory. Applications are developed with PanelBuilder32 software. This model is part of the discontinued PanelView Standard family and is intended for indoor industrial panel mounting.
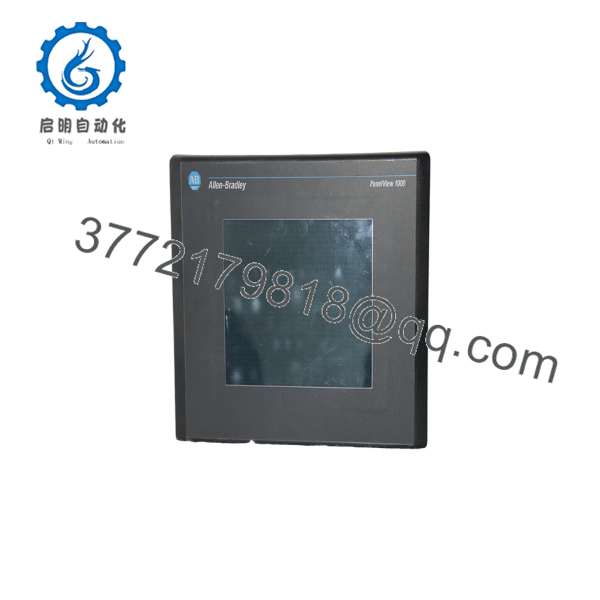
2711-K10C1
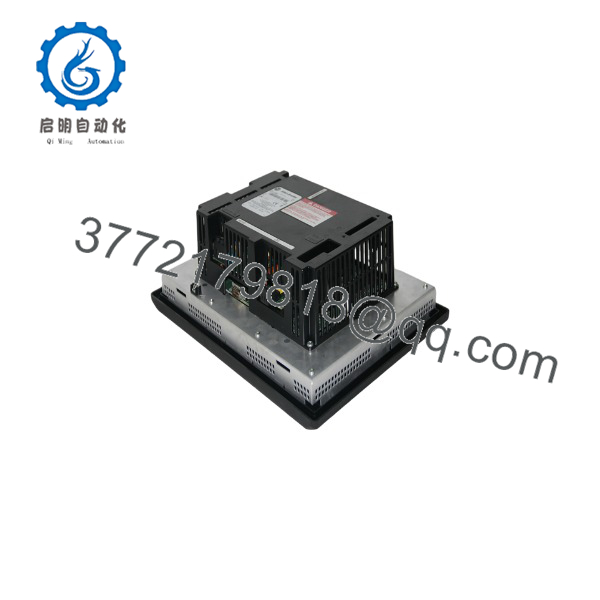
2711-K10C1
5. Installation & Configuration Guide
Stage 1: Pre-Installation Preparation (10–15 min) ⚠️ Safety First: Disconnect all power sources. Verify the panel cutout matches the required dimensions (approximately 257 × 390 mm). Wear an ESD wrist strap when handling the terminal. Tools Required: ESD strap, screwdriver, multimeter, RIO cable (Belden 9463 or equivalent), RS-232 printer cable if used. Data Backup: Upload the existing application from the old terminal using PanelBuilder32 if possible. Record the RIO node address, baud rate, and any printer settings.
Stage 2: Removing the Old Terminal (8–12 min)
- Confirm power is removed.
- Disconnect the RIO cable and RS-232 printer cable. Label both.
- Disconnect AC power wiring.
- Release the mounting hardware and remove the terminal from the panel. ⚠️ Retain the old terminal until the replacement is fully tested and the application is verified.
Stage 3: Installing the New Terminal (10–15 min)
- Verify the unit is marked 2711-K10C1 and note the series letter.
- Insert the terminal into the panel cutout from the front and secure with the appropriate mounting hardware.
- Connect AC power (85–264 V AC), observing polarity and grounding requirements.
- Connect the RIO network cable and, if required, the RS-232 printer cable. Install proper terminators on the RIO network.
- Ensure the front gasket is properly seated for the enclosure rating. Self-Checklist: [ ] Correct cutout size [ ] Mounting hardware tight [ ] Power and communication cables secure [ ] RIO terminators installed.
Stage 4: Power-On & Testing (15–30 min)
- Apply AC power. Observe the status indicators.
- Connect a programming PC running PanelBuilder32 and download or verify the application.
- Confirm RIO communication with the PLC and verify all screens and function keys.
- Test any printer functionality if used.
- Place the system in normal operation and monitor for faults. ⚠️ Troubleshooting Note: A fault indication usually points to a hardware or configuration issue. No RIO communication is most often caused by an incorrect node address, baud rate mismatch, missing terminators, or a cable fault.
6. Frequently Asked Questions (FAQ)
Q: Can the 2711-K10C1 be hot-swapped? No. Always remove AC power before installing or removing the terminal. Power must be off during all wiring changes.
Q: Is the 2711-K10C1 still in production? No. The PanelView Standard (including the 1000 series) was discontinued years ago. Remaining units are new surplus or refurbished. For new designs, migrate to PanelView Plus 7 or PanelView 5000 series terminals.
Q: What software is required? PanelBuilder32 is used to develop and download applications. Compatible versions support the firmware range typically found on these terminals.
Q: How many function keys does this model have? Sixteen programmable function keys (F1–F16). The keys are stainless-steel domed membrane type rated for approximately one million actuations.
Q: Why is the price lower than historical OEM list price? These are genuine surplus units from excess inventory. They are original Allen-Bradley terminals that have never been installed in a running system, but they are no longer available through standard Rockwell channels. Functional testing and warranty are provided.
Q: What cable is used for the RIO port? Belden 9463 (or Allen-Bradley equivalent). Use proper RIO connectors and terminators at both ends of the network.
Q: Does this model support an ATA memory card? Yes. An ATA PC flash memory card can be used for application storage and transfer.



