
 WhatsApp: +86 16626708626
 Email:
  Phone: +86 16626708626
Description
Key Technical Specifications
| Parameter | Value |
| Catalog Number | 2711C-T10C |
| Display Type | Color Active Matrix TFT LCD |
| Display Size | 10.4-inch diagonal (211 x 158 mm active area) |
| Resolution | 640 x 480 pixels (VGA), 64K colors |
| Input Method | Analog Resistive Touchscreen |
| Communication Ports | 1x RJ45 Ethernet (10/100 Mbps), 1x RS-232 (8-pin mini-DIN), 1x RS-422/RS-485 (5-pin terminal) |
| USB Ports | 1x USB 2.0 Host (Flash drive export/import), 1x USB Device (Programming) |
| Input Voltage | 24 VDC nominal (18–30 VDC operating range) |
| Power Consumption | 18 W maximum (0.75 A at 24 VDC) |
| Internal Memory | 128 MB Flash memory for application storage |
| Real-Time Clock | Built-in RTC (battery backed) |
| Enclosure Rating | NEMA 4X (Indoor), IP65 |
Product Introduction & Supply Chain Strategy
The Allen-Bradley 2711C-T10C PanelView Component C1000 is a 10.4-inch color touchscreen graphic display engineered for standalone machinery control. Equipped with multi-protocol serial (RS-232, RS-422/RS-485) and Ethernet connectivity, it connects seamlessly to MicroLogix, SLC 500, CompactLogix, and third-party controllers (such as Modbus RTU/TCP devices).
Because Rockwell Automation has discontinued the PanelView Component line, securing verified New Surplus units is vital to maintaining operational continuity without code rewrites. Sourcing factory-sealed New Surplus eliminates major failure modes associated with refurbished HMI panels, such as worn touch-layer calibration drift, degraded LED backlight intensity, and cracked housing seals. Holding on-site buffer stock preserves line productivity while extending the service life of your existing machinery.
Installation & Configuration Guide
Stage 1: Pre-Installation (Prep & Safety)
- Lock-Out/Tag-Out (LOTO): Disconnect and lock out the 24V DC auxiliary power supply feeding the control cabinet cutout before panel installation.
- Cutout Dimensions: Verify panel cutout dimensions match specifications (231 mm H x 298 mm W / 9.09 in H x 11.73 in W). Remove metal burrs and debris from cut edges.
- Gasket Setup: Ensure the perimeter environmental sealing gasket is correctly seated along the rear bezel channel.
Stage 2: Removal
- Unplug the 24V DC terminal power connector from the bottom of the unit.
- Disconnect Ethernet patch cables, serial communication connectors, and USB peripheral devices.
- Unscrew and remove the mounting levers along the top, bottom, and side frame, then gently ease the old terminal out of the cabinet cutout.
Stage 3: Installation (Clone & Seat)
- Position the new 2711C-T10C terminal into the panel cutout from the front side.
- Slide all spring-loaded mounting clamps into their respective slots around the frame, tightening the screws evenly to 4.4–5.3 in-lbs (0.5–0.6 N·m) to establish a tight IP65/NEMA 4X seal. Do not overtighten.
- Wire 24V DC (+24V, DC Common, Earth Ground) securely to the terminal power block.
- Reattach Ethernet or serial communications cables to their assigned headers.
Stage 4: Power-On & Testing
- Apply 24V DC power; observe the boot sequence as the PanelView Component firmware loads.
- Navigate to the built-in system configuration screen (or access it remotely via web browser over Ethernet) to verify network IP and driver settings.
- Download your runtime file (
.CHAapplication) via USB drive or web software, then test touch targets and screen navigation.
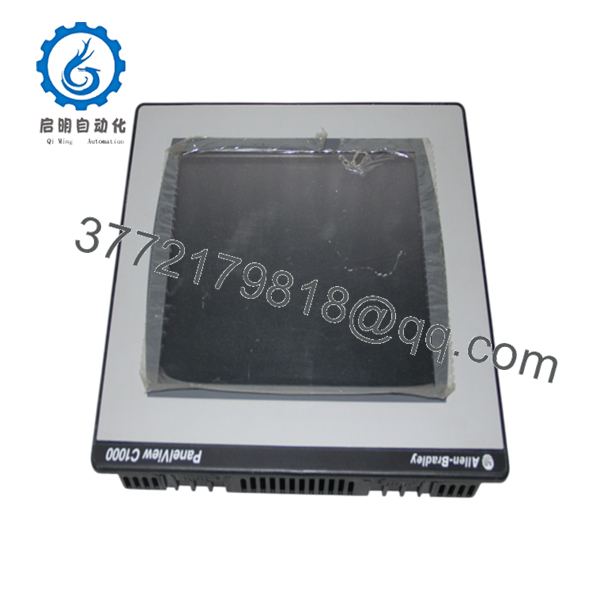
2711C-T10C
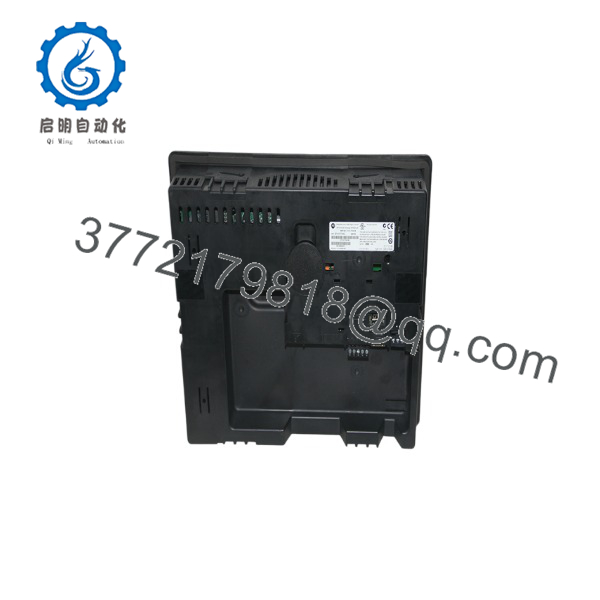
2711C-T10C
Firmware/Software Versions & Upgrade Notes
- Programming Environment: Programmed via the built-in DesignStation web application (accessible via web browser over USB/Ethernet) or offline using Connected Components Workbench (CCW) software.
- Application Compatibility: Designed for
.CHAapplication files. When importing projects from older firmware builds, verify driver mapping for serial communications (DF1, DH-485, or Modbus). - Firmware Maintenance: Firmware updates are executed directly via USB flash drive or web interface. Ensure firmware version matches your CCW project target build to avoid graphic object rendering errors or tag binding faults.
Frequently Asked Questions (FAQ)
Is this 2711C-T10C terminal guaranteed to be New Surplus and not refurbished?
Yes. This module is 100% Brand New Surplus stock in original OEM factory packaging. It has never been deployed in a plant panel, subjected to ambient air contamination, or subject to touchscreen overlay repairs. All screen layers, internal power regulators, and communication ports are pristine.
Why should I choose New Surplus over a refurbished PanelView Component panel?
Refurbished touchscreen terminals frequently suffer from degraded resistive touch membranes, dead display pixels, and weakened internal power supplies caused by continuous thermal exposure. Purchasing New Surplus guarantees factory-level touch precision, bright display backlighting, and long-term operating stability.
Can I connect the 2711C-T10C to non-Allen-Bradley controllers?
Yes. The 2711C-T10C includes native protocol drivers for a wide array of third-party PLCs, including Modbus RTU/TCP, Siemens S7 (PPI/MPI), and Mitsubishi FX controllers, alongside standard Rockwell DF1, DH-485, and Modbus communications.
How do I back up or transfer the application file from a running terminal?
You can export the .CHA application file by inserting a FAT32-formatted USB flash drive into the USB host port and selecting file transfer via the system menu, or by connecting a PC via Ethernet and accessing the terminal’s built-in web browser interface.
What warranty coverage is included with this New Surplus terminal?
We support this 2711C- New Surplus graphic terminal with a full 1-year replacement warranty. Every unit passes thorough physical inspection, port integrity validation, and ESD-safe packaging protocols before dispatch.



