
 WhatsApp: +86 16626708626
 Email:
  Phone: +86 16626708626
Description
3. Key Technical Specifications
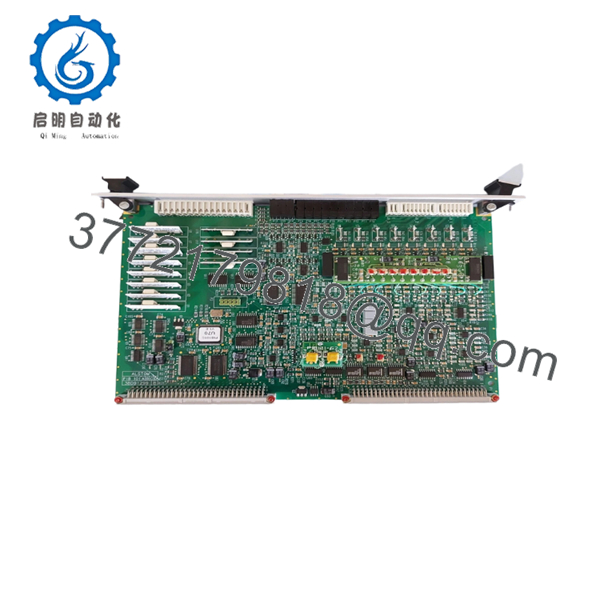
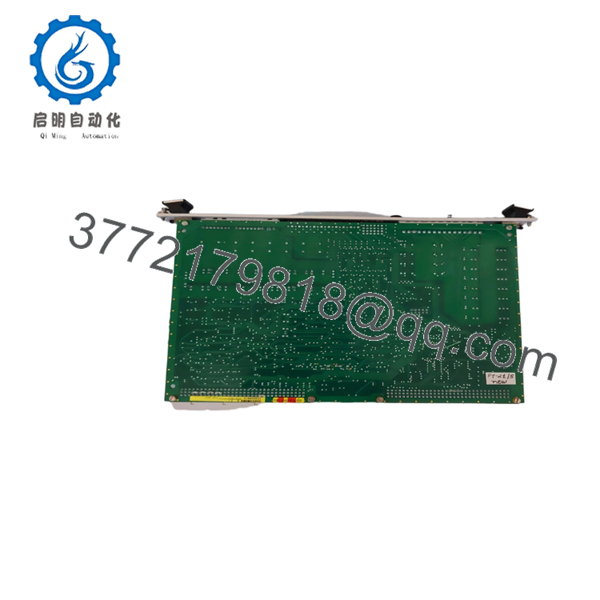
- Model Number: PIB101C-3BD91299-B
- Type: Analog I/O Power Interface Board
- Rack Compatibility: BGTR 8HE VME racks (P2/P0 backplane)
- Power Input: 24V DC / 48V DC typical (rack dependent); supports wider AC ranges in some configurations
- Power Consumption: 5–130 W typical
- Operating Temperature: –20 °C to +70 °C
- Weight: Approximately 350 g
- Protection Class: IP20
- Signal Handling: Analog inputs/outputs for sensors and actuators
- Mounting: Backplane-integrated in 19-inch sub-racks
- Monitoring: Voltage monitoring and fault signaling
- Protection Features: Short-circuit and thermal overload protection
4. Product Introduction
The ALSTOM PIB101C-3BD91299-B is a Power Interface Module designed for ALSTOM/Converteam VME-based control systems, including Alspa H-Series and ControBloc platforms. It serves as the central power distribution and analog interfacing board in I/O racks for industrial applications such as power generation, turbine control, and process automation.
This module converts and filters incoming power while providing clean, stable voltages to other rack modules. Field teams choose it for its proven reliability in legacy systems where downtime carries high costs. It maintains compatibility with existing VME backplanes and supports accurate analog signal processing in demanding environments.

- PIB101C-3BD91299-B
- PIB101C-3BD91299-B
5. Installation & Configuration Guide
Stage 1: Pre-Installation Preparation (10–15 minutes) ⚠️ Safety First: Notify operations, verify safe state, lock out/tag out power to the rack, and wait 5 minutes for capacitor discharge. Tools Required: ESD wrist strap, PH1 or flat screwdriver, multimeter, wire labels, smartphone for documentation. Data Backup: Photograph the old module’s mounting position, wiring terminations, and any jumpers or indicators. Export any relevant rack diagnostics if the system is online.
Stage 2: Removing the Old Module (5–10 minutes)
- Remove the front cover or bezel if present.
- Label and carefully disconnect field wiring and power connections. Do not force terminals.
- Release the locking tabs or screws and pull the module straight out to avoid damaging backplane pins.
- Inspect the backplane connectors for dust, corrosion, or bent pins. ⚠️ Note: Keep the old module on hand for reference until the replacement runs without issues.
Stage 3: Installing the New Module (10 minutes)
- Wear ESD protection. Confirm the new module matches PIB101C-3BD91299-B exactly.
- Replicate any physical configurations from your photos (rare on this power interface board but check indicators).
- Align and insert firmly into the correct slot until it seats fully (listen for the backplane connection).
- Reconnect wiring with proper torque. Secure all terminals. Self-Checklist: [ ] Module fully seated, [ ] Wiring matches original, [ ] Covers and locks secured.
Stage 4: Power-On & Testing (10–20 minutes) Pre-Power Check: Use a multimeter to verify no shorts on the power rails. Power-On Steps:
- Energize the rack power supply only (keep field devices isolated initially).
- Check LEDs for normal status – power OK indicators should illuminate.
- Monitor for fault signals or alarms.
- Gradually bring field I/O online and verify analog signal integrity.
- Run a functional test of connected loops.
⚠️ Troubleshooting Note: Solid fault indications often point to backplane seating issues or power supply problems. Verify grounding and shielding. No comms or analog readings usually trace to incorrect slot placement or wiring errors. Allow 30 minutes total for a trained technician.
6. Frequently Asked Questions (FAQ)
Can this module be hot-swapped under power? No. In simplex configurations, removing or installing the PIB101C will interrupt power to the entire I/O rack. Use only in redundant power setups where the design specifically allows it. Always power down the affected rack section first.
Is this model obsolete, and is it genuinely new? The PIB101C series is a legacy part for Alstom/Converteam systems. Units offered as New Original or New Surplus come from verified stock with original packaging where possible. We perform full inbound inspection and functional testing before shipment. Test reports and photos are available on request.
What is the direct replacement if this is out of stock? Check for PIB101C variants with matching part numbers. In many cases, the exact 3BD91299-B revision is required for pin and firmware compatibility. Consult the original system documentation or contact us with your rack details for confirmation.
Will I lose configuration or need to reprogram when swapping? This is a power interface and analog I/O board, not a CPU. No control logic resides on it. However, always verify analog scaling and calibration after installation, as signal paths may require minor adjustments.
Why is the price lower than OEM factory list price? We source New Surplus and tested original stock from decommissioned or excess inventory channels. This avoids full OEM markups while maintaining the same hardware. All units undergo rigorous testing on compatible racks before shipping.
What warranty do you provide? We offer a 1-year warranty on functional operation after installation. Coverage includes defects in materials or workmanship under normal use. Warranty does not cover damage from improper handling, ESD events, or incorrect installation.



