
 WhatsApp: +86 16626708626
 Email:
  Phone: +86 16626708626
Description
3. Key Technical Specifications
| Parameter | Specification / Value |
| Manufacturer | Applied Materials (AMAT) |
| Part Number | 0190-51546 |
| Component Type | Combination Hot Ion / Pirani Vacuum Gauge Transducer |
| Measurement Range | 1.0 × 10⁻¹⁰ to 1.0 × 10³ mbar |
| Supply Voltage | 24 VDC (±10% Tolerance) |
| Vacuum Fitting / Flange | NW35 / ConFlat CF 2.75 in (High Vacuum Seal) |
| Interface Protocol | RS-485 Digital Communication & 0-10 V Analog Output |
| Operating Temperature | +10°C to +50°C (+50°F to +122°F) |
| Bakeout Temperature | Up to +150°C (Electronics dismounted) |
| Status Indicators | Onboard LED indicators for filament and setpoint state |
| Packaging | Sealed Moisture-Barrier Bag with Protective Dust Cap |
4. Product Introduction & Supply Chain Strategy
This product is a Brand New Surplus unit. It is not used, not pulled from a decommissioned plant, and not refurbished. All modules undergo rigorous quality verification to ensure OEM-level reliability. The Applied Materials 0190-51546 Combination Vacuum Gauge delivers precise wide-range pressure measurement across high-vacuum and atmospheric transitions within AMAT semiconductor processing chambers.
Securing this transducer as New Surplus provides an essential insurance policy against unexpected chamber down-time. OEM lead times for legacy vacuum control hardware can exceed 20 weeks, leaving critical etch and deposition tools vulnerable to extended outages. Refurbished vacuum gauges carry severe risks of filament degradation, outgassing contamination, and baseline calibration drift. Purchasing genuine New Surplus guarantees factory-calibrated accuracy while drastically lowering your Total Cost of Ownership (TCO) compared to current list prices.
5. Installation & Configuration Guide
Stage 1: Pre-Installation (Prep & Safety)
- Apply full Lock-Out/Tag-Out (LOTO) procedures to the host tool and verify chamber isolation valves are fully closed.
- Ensure cleanroom ESD protocols and wear clean nitrile gloves to prevent hydrocarbon contamination of the vacuum flange.
- Record all hardware address switches and cable labeling on the existing gauge prior to removal.
Stage 2: Removal
- Disconnect the main signal and power cable by unlocking the retaining collar; avoid pulling directly on the wire bundle.
- Vent the isolation foreline or chamber section to atmospheric pressure following standard tool safety procedures.
- Remove the vacuum flange clamp or bolts evenly, carefully pulling the gauge straight off to prevent scratching the knife-edge sealing surfaces.
Stage 3: Installation (Clone & Seat)
- Inspect the new 0190-51546 gauge knife-edge and ensure the protective plastic cover is removed inside a clean environment.
- Replicate all DIP address switches and setpoint configurations from the original unit onto the new gauge.
- Fit a new copper gasket or high-vacuum O-ring, align the gauge body on the vacuum port, and torque the mounting flange bolts evenly in a cross pattern.
Stage 4: Power-On & Testing
- Reattach the main communication and power cable, securing the locking collar.
- Energize the 24 VDC supply rail and initiate chamber pump-down to test vacuum measurement response.
- Verify that the tool software receives valid pressure readings and that the onboard RUN LED indicates stable operation without emission fault errors.
1.Pre-Installation & Setup:Cleanroom prep & safety.
Isolate the chamber section and perform LOTO procedures. Don clean nitrile gloves and document all node addresses and DIP switch settings on the existing unit.
2.Gauge Extraction:Vacuum seal protection.
Disconnect the interface cable safely. Vent the local vacuum port, remove flange hardware, and extract the gauge straight out to prevent sealing surface damage.
3.Hardware Cloning & Mounting:Flange mounting & alignment.
Set the address switches on the new 0190-51546 unit. Install a fresh vacuum seal gasket, mount the gauge, and tighten flange bolts evenly in a cross pattern.
4.Validation & Functional Test:Leak check & verification.
Reconnect signal cabling, restore 24 VDC power, and pump down the vacuum line. Check for accurate pressure telemetry and confirm zero filament fault codes on the controller.
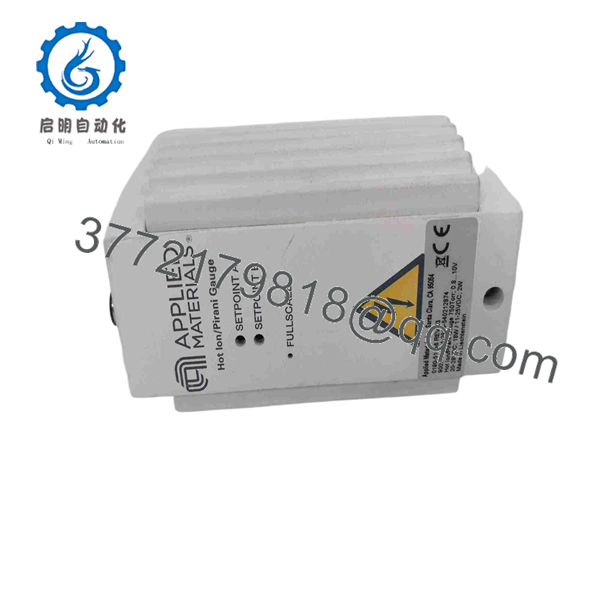
0190-51546
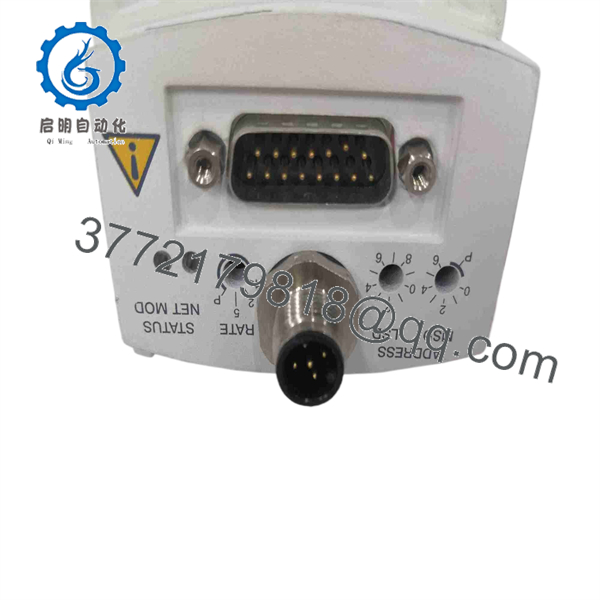
0190-51546
6. Firmware/Software Versions & Upgrade Notes
- Recommended Baseline Firmware: Digital communication interface driver versions must match host software platform parameters (compatible with V3.8x and V4.x tool software).
- Compatibility Matrix: Legacy RS-485 baud rates must be configured via onboard switches; mismatching rates with the host controller causes serial handshake timeouts.
- Upgrade Warning: Do not interrupt power or communication signals during gauge field calibration or software parameter updates. Loss of power during EEPROM updates can corrupt calibration tables, rendering the sensor unable to ignite the ion filament.
7. Frequently Asked Questions (FAQ)
Q: Is the Applied Materials 0190-51546 gauge brand new or refurbished?
A: This unit is 100% Genuine New Surplus. It has never been installed in an active process tool, features factory-fresh filaments, and shows zero wear or oxidation on the vacuum flange.
Q: Why should I choose New Surplus over a refurbished vacuum gauge?
A: Refurbished vacuum gauges frequently suffer from contaminated sensing elements, micro-cracks in filaments, and inaccurate baseline calibration. In semiconductor processing, a drifting gauge causes incorrect gas flow timing and ruined wafers. New Surplus guarantees factory accuracy and zero contamination risks.
Q: Can I hot-swap this gauge while the tool is under power?
A: No. Connecting or disconnecting the 0190-51546 unit under load can cause voltage spikes that damage the sensitive onboard ion-gauge control electronics or trip the tool controller interface.
Q: Does this gauge require calibration after installation?
A: The gauge comes factory-calibrated for nitrogen/air. Once physical address switches are set to match your tool layout, the host system automatically reads pressure values without requiring manual span adjustments.
Q: What warranty is provided with this component?
A: We provide a full 1-year replacement warranty on this 0190-51546 module, giving you complete operational security compared to typical 30-day guarantees on used surplus parts.



