
 WhatsApp: +86 16626708626
 Email:
  Phone: +86 16626708626
Description
Key Technical Specifications
| Parameter | Specification / Value |
| Display Type | 5.7-inch Color TFT LCD (64,536 colors) |
| Resolution | 320 x 240 pixels (QVGA) |
| Processor | 32-bit RISC CPU (333 MHz) |
| Backlight | Non-replaceable LED backlight (~50,000 hour half-life) |
| Input Voltage | 24 VDC nominal (20.4 to 28.8 VDC operating range) |
| User Memory | 10 MB flash memory |
| USB Support | 1x USB Type B programming port; 1x USB Type A host port |
| Serial Ports | RS-232 / RS-422 / RS-485 serial communication port |
| Ethernet / CF Card | Not Supported (“R” base model designation) |
| Enclosure Rating | NEMA 4/4X, IP65 (indoor installation only) |
| Programming Software | EA-PGMSW C-more programming software |
Product Introduction & Supply Chain Strategy
The AutomationDirect EA7-T6CL-R is a 5.7-inch TFT color touch panel designed for machine control, parameter adjustment, and real-time status monitoring in automated industrial environments. As a “Base” feature set unit (denoted by the “R” suffix), it delivers a cost-effective, high-visibility 64K-color QVGA display powered by a 333 MHz RISC processor, streamlining serial PLC communication without the added footprint of unused expansion slots or complex networking protocols.
Securing the EA7-T6CL-R as New Surplus is a vital supply chain strategy for facilities maintaining established legacy control architectures. Because the EA7 series has been superseded by newer platforms (such as the EA9 series), direct factory availability is severely constrained. Buying New Surplus ensures you receive factory-fresh LED backlights, unblemished resistive touch overlays, and zero-hour internal power components. This eliminates the risk of silent contact degradation, screen yellowing, or memory corruptions common in second-hand alternatives, maintaining plant reliability and minimizing Total Cost of Ownership (TCO).
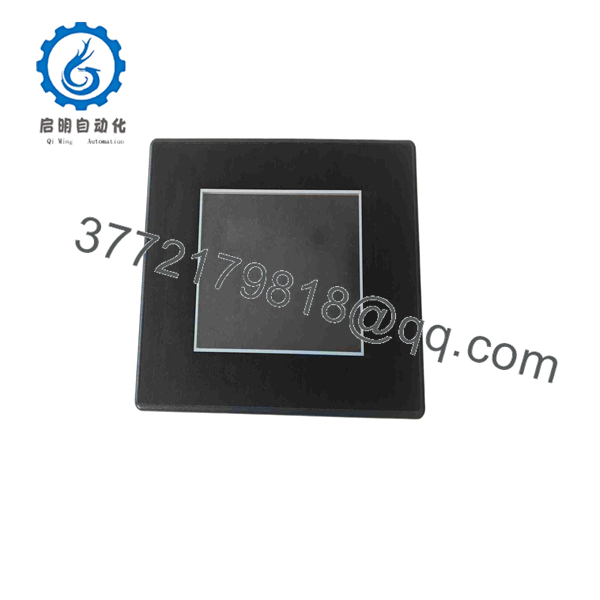
EA7-T6CL-R
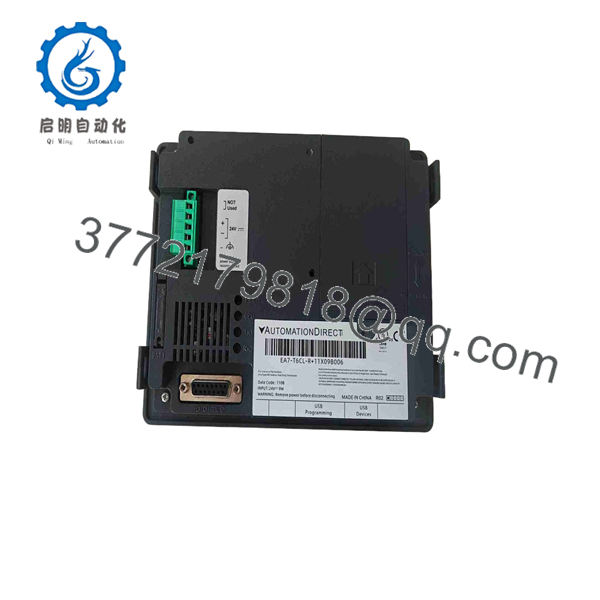
EA7-T6CL-R
Installation & Configuration Guide
Stage 1: Pre-Installation (Prep & Safety)
- Isolate main panel power and execute Lock-Out/Tag-Out (LOTO) procedures on the 24 VDC power feed.
- Put on a grounded ESD wrist strap before handling the replacement unit or opening the enclosure.
- Take clear reference photos of the rear serial port cabling, power terminal connections, and ground lug wiring on the existing HMI.
Stage 2: Removal
- Disconnect the 24 VDC terminal block, ground lead, and serial communication cables from the rear of the panel.
- Loosen and remove the rear panel mounting clamps holding the bevel against the enclosure wall.
- Gently push the old unit forward through the cutout, avoiding damage to the cutout gasket or surrounding sheet metal.
Stage 3: Installation (Clone & Seat)
- Inspect the panel cutout dimensions (approx. 5.12″ x 6.77″ / 130mm x 172mm) and clean the mounting flange surface.
- Ensure the new watertight sealing gasket is properly seated around the bezel of the replacement EA7-T6CL-R.
- Insert the module into the cutout and tighten all mounting clips evenly in an alternating pattern to establish an IP65/NEMA 4X seal without warping the bezel.
Stage 4: Power-On & Testing
- Reconnect the 24 VDC supply wiring (verifying correct polarity) and attach the chassis ground cable.
- Apply 24 VDC power and verify the boot sequence on the LED-backlit screen.
- Transfer the project runtime file using EA-PGMSW via a USB programming cable or upload it directly from backup media. Verify serial PLC communication tags and alarms.
Firmware/Software Versions & Upgrade Notes
- Configuration Software: Requires C-more Programming Software
EA-PGMSW(Version 2.0 or higher recommended). - Base Model Restrictions: The “R” variant (EA7-T6CL-R) does not include an Ethernet port or CompactFlash slot. Projects configured for full-featured EA7-T6CL panels containing Ethernet tasks or CF card logging must be adjusted in
EA-PGMSWto strip network drivers prior to downloading to an “R” panel. - Firmware Flashing Risk: Ensure continuous 24 VDC power during firmware transfer. Power loss during an OS update will corrupt internal flash memory, requiring hardware-level recovery.
Frequently Asked Questions (FAQ)
Q: What does the “R” suffix indicate on the EA7-T6CL-R part number?
A: The “R” designates a “Base” feature model. It includes the standard 5.7-inch 64K color TFT touch display, 333 MHz CPU, and USB/Serial ports, but omits Ethernet communication and CompactFlash card expansion to reduce hardware costs.
Q: Is this EA7-T6CL-R unit factory-new or refurbished?
A: This product is a Brand New Surplus unit. It is not used, not pulled from a decommissioned plant, and not refurbished. Modules are maintained in anti-static protective packaging and are inspected under strict ESD conditions prior to shipment.
Q: Can I replace a monochrome EA7-S6M panel with an ?
A: Yes. The physical cutout and mounting dimensions are identical. However, you must update your runtime project file in EA-PGMSW to target the display profile and convert monochrome graphic elements to 64K color.
Q: Can I replace the backlight on the if it dims?
A: No. The features a non-replaceable solid-state LED backlight rated for a 50,000-hour half-life. When the backlight reaches its end-of-life, the display assembly must be replaced as a whole unit.
Q: Can I hot-swap the 24 VDC power cable on the rear terminal block?
A: No. Hot-swapping power terminals on an active panel can cause electrical arcs and voltage spikes that damage the internal power regulation board. Always turn off 24 VDC power before attaching or removing terminal screws.
Q: What warranty coverage comes with this New Surplus panel?
A: All New Surplus panels are backed by a full 1-year functional replacement warranty and include verified QC inspection reports covering touch screen calibration and serial port handshake routines.



