
 WhatsApp: +86 16626708626
 Email:
  Phone: +86 16626708626
Description
Key Technical Specifications
| Parameter | Value |
|---|---|
| Manufacturer | AutomationDirect / EZAutomation |
| Product Family | EZTouch |
| Model Family | EZ-T10 / EZ-T10C variants |
| Display Type | 10.4-inch TFT color |
| Color Palette | 128 colors |
| Resolution | 640 × 480 pixels |
| Touch Technology | Resistive |
| Touch Cells | 192 (16 × 12) |
| CPU | Motorola ColdFire 32-bit, 40 MHz |
| Supply Voltage | 24 VDC |
| Operating Supply Range | 20–30 VDC |
| Power Consumption | Approximately 18 W at 24 VDC |
| Enclosure | NEMA 4, 4X indoor |
| Operating Temperature | 0 to 50 °C |
| PLC Communication | RS-232C / RS-422A / RS-485A |
| Programming Port | RS-232C / RS-422A / RS-485A |
| User Screens | Up to 999, memory dependent |
| Dimensions | 10.59 × 13.58 × 2.86 in. |
| Weight | Approximately 5.0 lb |
The historical EZTouch hardware manual specifies the 10-inch model as a 10.4-inch TFT display, 640 × 480 resolution, 128-color palette, 24 VDC operation, and 18 W consumption at 24 VDC. It also specifies a Motorola ColdFire 32-bit/40 MHz CPU and NEMA 4/4X indoor enclosure.
The exact suffix matters. For example, the documented EZ-T10C family includes FS full-featured, FSC CC-Link, FSD DeviceNet, FSE EtherNet/IP, FSH DH+/Remote I/O, FSM Modbus Plus, FSP Profibus, FST Modbus TCP/IP, and FSU Universal Ethernet variants.
Product Introduction & Supply Chain Strategy
The AutomationDirect EZ-T10 family is a legacy EZTouch operator interface designed for industrial machine and process visualization. The 10-inch hardware provides a 10.4-inch TFT touchscreen, 640 × 480 graphics, 24 VDC power, and serial PLC communication.
For an installed legacy machine, New Surplus inventory can be more practical than waiting for an uncertain replacement path. AutomationDirect lists the EZ-T10C-F as retired, with a retirement date of March 2007. A one-unit buffer stock is reasonable when an HMI failure would stop production and the existing application cannot be migrated immediately.
Installation & Configuration Guide
Stage 1: Pre-Installation — Prep & Safety
- Execute plant lock-out/tag-out (LOTO) procedures.
- Shut down the machine and isolate the HMI’s 24 VDC supply.
- Wear a grounded ESD wrist strap when handling the panel electronics.
- Photograph the existing HMI nameplate and record the complete suffix, not merely EZ-T10.
- Photograph every communication cable and terminal connection.
- Record PLC communication settings, project version, and installed memory cards.
- Back up the existing HMI project before removing the panel.
Stage 2: Removal
- Verify that the HMI is completely de-energized.
- Label all communication and power cables.
- Disconnect the PLC communication cable without pulling on the connector body.
- Release the panel mounting hardware from the rear of the enclosure.
- Support the HMI while removing the final mounting hardware.
- Extract the panel without damaging the existing enclosure gasket or wiring.
Stage 3: Installation — Clone & Seat
- Verify that the replacement has the same EZ-T10 family suffix and communication hardware.
- Inspect the replacement touchscreen and rear connectors.
- Install the replacement into the existing panel cutout.
- Reconnect the 24 VDC supply with correct polarity.
- Reconnect the PLC communication interface exactly as documented.
- Install any required RAM or Flash card in the correct position.
- Tighten the mounting hardware evenly to maintain the enclosure seal.
- Do not assume that two physically similar EZ-T10 variants have identical PLC communication capabilities.
Stage 4: Power-On & Testing
- Check the 24 VDC supply before applying power to the HMI.
- Energize the panel and observe the startup screen.
- Enter the HMI setup/configuration area if required.
- Verify the loaded project and screen navigation.
- Confirm communication with the PLC.
- Test read/write tags individually.
- Test alarms, setpoints, recipes, and operator controls.
- Verify that the PLC remains in the expected operating state throughout testing.
- Document the final HMI model suffix and software/project version for future maintenance.
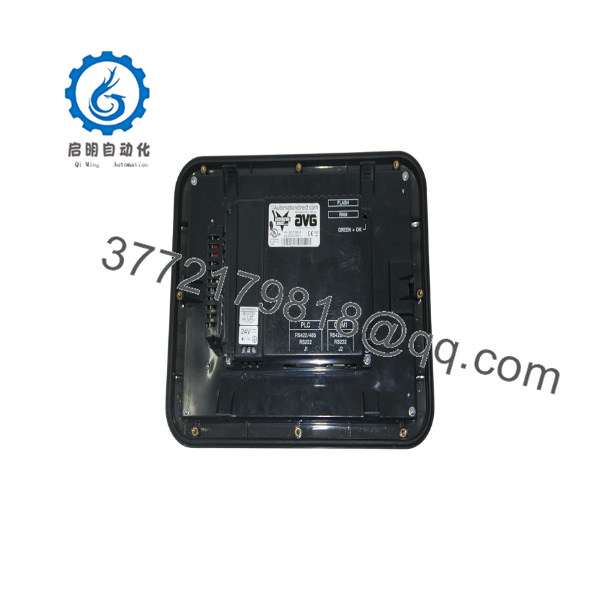
EZ-T10
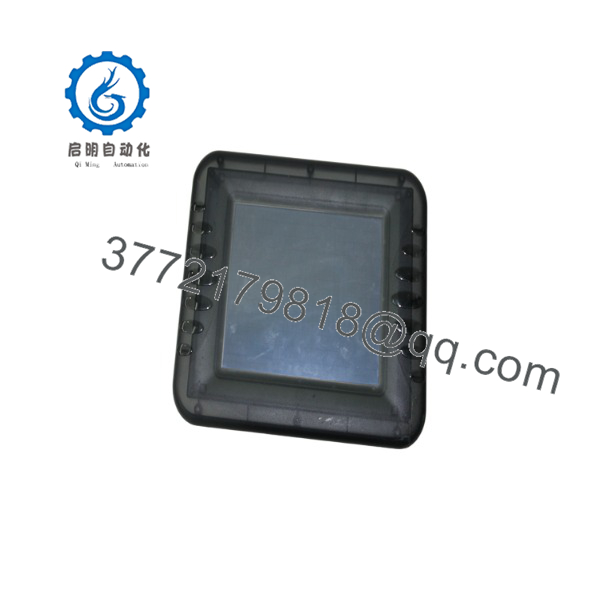
EZ-T10
Firmware/Software Versions & Upgrade Notes
- Firmware: A single firmware version cannot safely be assigned to the generic EZ-T10 designation.
- Hardware identification: Confirm the complete model suffix before loading firmware or a project.
- Programming: AutomationDirect continues to provide EZTouch support resources, including project examples specifically identified as compatible with the EZ-S8C-F and EZ-T10C-F panels.
- Communication: The communication capability depends on the specific hardware variant. Do not assume that a serial-only model can replace an Ethernet, DH+, Profibus, DeviceNet, or other communication variant.
- Upgrade warning: Avoid firmware or software changes during a simple hardware replacement unless compatibility has been established. A working legacy project is usually more valuable than an unnecessary platform upgrade.
- Project backup: Preserve the original HMI project before replacement. A replacement display without the correct user program may power up normally but remain unusable for the machine application.
Frequently Asked Questions (FAQ)
Is EZ-T10 a complete catalog number?
Not necessarily. The documentation I found identifies the actual 10-inch EZTouch products with extended numbers such as EZ-T10C-F, EZ-T10C-FS, and communication-specific suffixes. Procurement should therefore verify the complete nameplate before purchasing.
Is the EZ-T10 still a current HMI?
The documented is retired, with AutomationDirect listing retirement in March 2007. This makes lifecycle planning important for plants still dependent on the platform.
What display does the 10-inch EZ-T10 family use?
The documented 10-inch EZTouch hardware uses a 10.4-inch TFT color display, with 640 × 480 resolution and a 128-color palette.
Can I replace any EZ-T10 variant with another?
No. The suffix identifies important communication and hardware options. For example, the documented family includes DeviceNet, EtherNet/IP, DH+/Remote I/O, Modbus Plus, Profibus, Modbus TCP/IP, and Universal Ethernet variants. Match the replacement to the installed PLC network.
Will my existing HMI program automatically work?
Do not assume that it will. The hardware model, communication option, memory configuration, and programming environment all matter. Back up the existing project and verify compatibility before commissioning the replacement.
Should I stock an EZ-T10 as a spare?
For a production-critical machine that still depends on this legacy HMI, Min 1 / Max 1 is a sensible starting point. If multiple machines use the same exact variant, a shared cross-site buffer can reduce carrying cost while protecting against long lead time variability. This follows the inventory principle of maintaining buffer stock for critical spares rather than accumulating unnecessary obsolete inventory.
Why can a New Surplus unit cost more than an ordinary used panel?
A New Surplus unit preserves the original hardware condition and avoids some of the unknowns associated with previously operated electronics. For an obsolete HMI, the procurement decision should be based on Total Cost of Ownership (TCO): acquisition price plus installation labor, project recovery, troubleshooting time, and potential production downtime—not simply the lowest purchase price.



