
 WhatsApp: +86 16626708626
 Email:
  Phone: +86 16626708626
Description
Specifications
| Parameter | Specification |
|---|---|
| Model | AXLINK100 |
| Part Number | 892.202988 |
| Manufacturer | automationX |
| Product Type | Ethernet–PROFIBUS Link |
| Ethernet Interfaces | 2 |
| Ethernet Connector Options | 8P8C/RJ45 or fiber-optic interface, depending on version |
| PROFIBUS Interface | PROFIBUS-DP Master |
| Ethernet Protocol | Xlink real-time Ethernet |
| PROFIBUS Architecture | Decentralized PROFIBUS-DP field devices |
| PROFIBUS-DP Slave Capacity | Up to 124 slaves per aXlink100 |
| Ethernet Network Capacity | Up to 16 aXlink100 PROFIBUS masters |
| Network Topology | Ring or star configurations |
| Primary Application | Decentralized automation / field I/O |
| Power Supply | Verify exact hardware revision/nameplate before replacement |
| Operating Temperature | Verify exact hardware revision; public OEM page does not specify a value |
automationX describes the aXlink100 as an Ethernet–PROFIBUS link. The device has two Ethernet interfaces and a PROFIBUS-DP Master interface, and automationX states that up to 16 aXlink100 units can be linked through Ethernet, with each aXlink100 supporting up to 124 PROFIBUS-DP slaves.
A secondary industrial-parts listing associates AXLINK100 892.202988 directly with the automationX AXLINK100. Some third-party listings publish additional electrical and environmental specifications, but these are not independently confirmed by the automationX product page, so the exact hardware revision should be checked before using those values for engineering or replacement decisions.
Product Introduction
The automationX AXLINK100 892.202988 is a communication gateway that connects an automationX Ethernet network with PROFIBUS-DP field-level equipment. It was developed for decentralized peripheral architectures where PROFIBUS devices need to exchange process data with the automationX control environment.
The unit is more accurately treated as a protocol/network interface than as a conventional PLC I/O module. Its Ethernet side uses automationX’s Xlink real-time Ethernet technology, while its fieldbus side operates as a PROFIBUS-DP Master. automationX documents both ring and star network configurations for the Ethernet interfaces.
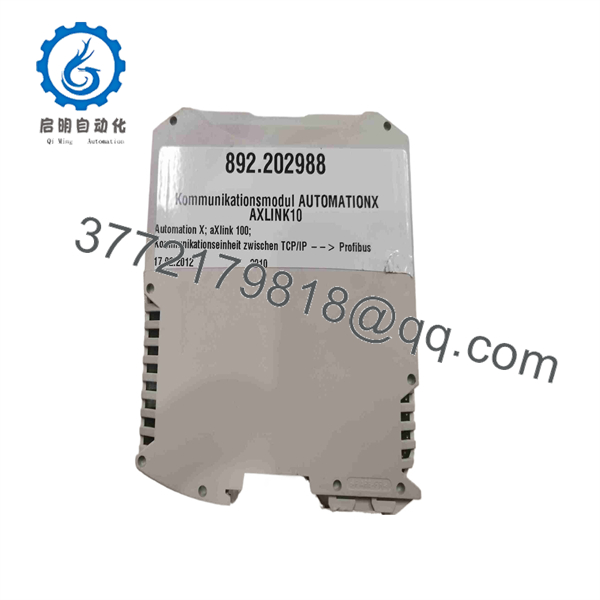
AXLINK100 892.202988
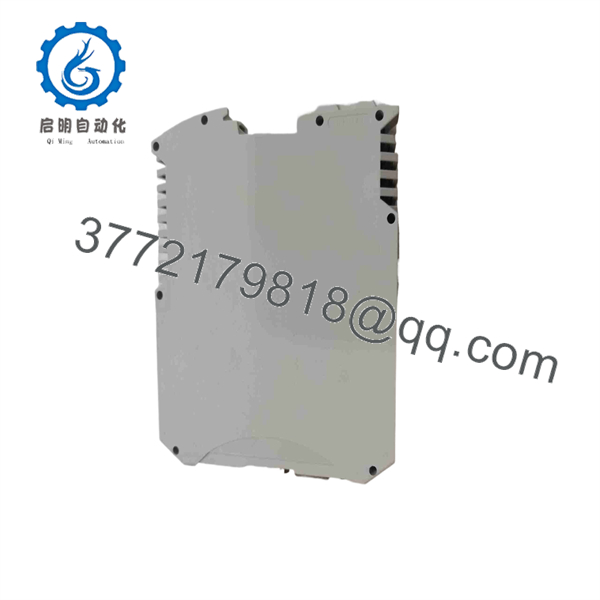
AXLINK100 892.202988
Installation Guide
Stage 1 — Pre-Installation
- Apply the plant’s lockout/tagout procedure and isolate the applicable control-system power.
- Record the existing AXLINK100 network topology before removal.
- Photograph Ethernet and PROFIBUS connections, switch settings, and module identification labels.
- Record the PROFIBUS-DP slave addresses and network configuration.
- Confirm that the replacement is AXLINK100, part number 892.202988, rather than a visually similar automationX communication module.
- Verify the exact Ethernet connector/interface version before ordering a replacement.
- Back up available automationX configuration data before replacing the hardware.
Stage 2 — Remove the Existing Module
- Confirm that the communication equipment is safely de-energized.
- Label both Ethernet and PROFIBUS connections.
- Disconnect the PROFIBUS cable without applying excessive force to the connector.
- Disconnect the Ethernet interfaces and identify their original ports.
- Release the module from its mounting arrangement.
- Inspect connectors and cables for contamination, mechanical damage, or shielding problems.
- Check the PROFIBUS connector and termination arrangement before installing the replacement.
Stage 3 — Install the
- Verify the model and part number against the removed unit.
- Install the module using the original mounting arrangement.
- Reconnect the PROFIBUS-DP network to the designated master interface.
- Reconnect Ethernet interfaces according to the documented network topology.
- Restore the documented configuration and addressing parameters.
- Confirm PROFIBUS termination at the correct physical ends of the segment.
- Check that the Ethernet topology matches the original ring or star configuration. automationX specifically documents both configurations for the aXlink100 platform.
Stage 4 — Power-Up and Functional Test
- Check all connections before restoring power.
- Power the communication module and observe its diagnostic indicators.
- Verify Ethernet communication with the automationX control system.
- Confirm that the establishes the expected PROFIBUS-DP Master function.
- Check the diagnostic state of each configured PROFIBUS slave.
- Verify process-data exchange with representative field devices.
- Check for PROFIBUS communication errors, slave dropouts, or address conflicts.
- If the installation uses multiple units, verify the expected Ethernet communication between the units.
- Document the final hardware revision and network configuration.
Technical pitfall: Do not assume that replacing the automatically restores PROFIBUS communication. A correct physical connection can still fail because of an incorrect slave address, missing bus termination, incompatible configuration, Ethernet topology error, or configuration mismatch. Also verify whether the replacement uses the same copper/RJ45 or fiber Ethernet interface arrangement as the original unit.
For surplus or refurbished stock, supplier QC should include visual inspection, Ethernet link testing, PROFIBUS-DP Master communication testing with a representative slave or test simulator, configuration verification, connector inspection, and final serial/part-number verification. Any claim that these tests were completed should be supported by an actual test record.
FAQ
1. What is the 892.202988?
It is an automationX aXlink100 Ethernet–PROFIBUS communication module used to connect automationX’s Ethernet-based control network with PROFIBUS-DP field devices.
2. Is a PLC I/O module?
No. It is primarily a communication link/gateway. The PROFIBUS side operates as a PROFIBUS-DP Master and provides access to decentralized PROFIBUS field equipment.
3. How many PROFIBUS-DP slaves can one support?
automationX specifies up to 124 PROFIBUS-DP slaves per aXlink100.
4. How many units can be connected through Ethernet?
automationX states that up to 16 PROFIBUS Masters/aXlink100 units can be linked through the Ethernet side, with each unit supporting up to 124 PROFIBUS-DP slaves.
5. Does support fiber Ethernet?
The automationX documentation describes the two Ethernet interfaces as available in 8P8C/RJ45 or fiber-optic versions, depending on the hardware configuration. Confirm the physical interface on the installed 892.202988 unit before ordering.
6. Can another PROFIBUS gateway replace the ?
Not as a simple hardware substitution. The replacement must support the required PROFIBUS-DP Master functions and, critically, provide the required interface to the automationX/Xlink control environment. A generic PROFIBUS gateway may not be protocol-compatible with the existing automationX architecture.
7. What should I verify before purchasing a used or surplus 892.202988?
Verify the complete part number, hardware revision, Ethernet interface type, PROFIBUS connector condition, configuration status, and actual communication-test results. For an installed system, also compare the replacement against the existing Xlink network topology and PROFIBUS configuration.



