
 WhatsApp: +86 16626708626
 Email:
  Phone: +86 16626708626
Description
3. Key Technical Specifications
| Parameter | Value / Description |
|---|---|
| Manufacturer | Autronica Fire and Security |
| Part Number | P001103 |
| Product Category | OEM spare part / module / PCB / interface component |
| Typical Application | Autronica fire detection, gas detection, or marine automation systems |
| Form Factor | System-specific (PCB, plug-in module, or discrete component) |
| Compatibility | Specific Autronica system or panel (exact match required) |
| Power / Interface | Determined by host system (verify on unit and drawings) |
| Environment | Industrial / marine (as per original system design) |
| Documentation Status | Limited public datasheets available |
| Condition Note | Function and revision are unit-specific – do not assume interchangeability |
Exact electrical ratings, pinout, firmware/revision, and functional role must be confirmed against the physical unit’s markings and the original Autronica system documentation or project drawings. No detailed public technical datasheet for P001103 was located.
4. Product Introduction
Autronica P001103 is an original equipment manufacturer part number used within Autronica fire detection, gas detection, or related automation systems. Parts carrying this number are typically modules, printed circuit boards, or interface components that perform a defined role inside a specific panel or subsystem.
Because Autronica part numbers of this style are often internal or configuration-specific, the exact function of any given P001103 unit is determined by the host system in which it was designed to operate. It is supplied as a direct replacement for an identical part already installed in an existing system.
5. Installation & Configuration Guide
Stage 1: Pre-Installation Preparation (≈15 min) ⚠️ Safety First: Isolate all power to the panel or cabinet. Apply full lock-out/tag-out. Confirm any safety-related functions covered by this part are under temporary alternative monitoring if required. Tools Required: ESD wrist strap and mat, appropriate screwdrivers or extractors, multimeter, camera, anti-static packaging. Documentation: Photograph the installed part (all sides and connectors), any jumpers or switches, revision markings, and the exact mounting location. Record the surrounding module layout.
Stage 2: Removing the Old Part (≈5–10 min)
- Verify zero voltage on all connected circuits.
- Label every connector and wire before disconnection.
- Release retaining hardware and withdraw the part carefully.
- Inspect connectors and mounting points for damage or contamination. ⚠️ Retain the original part in anti-static packaging until the replacement is fully proven.
Stage 3: Installing the New Part (≈10 min)
- Confirm the incoming P001103 matches the removed unit’s markings and physical form.
- Configuration Clone (Critical): Replicate any jumpers, switches, or address settings exactly as photographed.
- Align and seat the part fully. Secure all retaining hardware.
- Reconnect wiring and connectors according to the labeled scheme. Self-Checklist: [ ] Markings match [ ] Jumpers/settings cloned [ ] Fully seated [ ] Connectors secure.
Stage 4: Power-On & Testing (≈15–30 min) Pre-Power Check: Visual inspection of seating and wiring. Power-On Steps:
- Restore power and observe status indicators on the part and host system.
- Verify the host system recognizes the part without new fault indications.
- Perform functional tests appropriate to the system (loop test, input/output check, or process simulation).
- Confirm correct operation under normal and fault-simulation conditions.
- Document results for the maintenance record. ⚠️ Troubleshooting Note: Incorrect revision, missing jumper settings, or connector orientation errors are the most common causes of failure to operate after replacement. Always compare against the original part and system drawings.
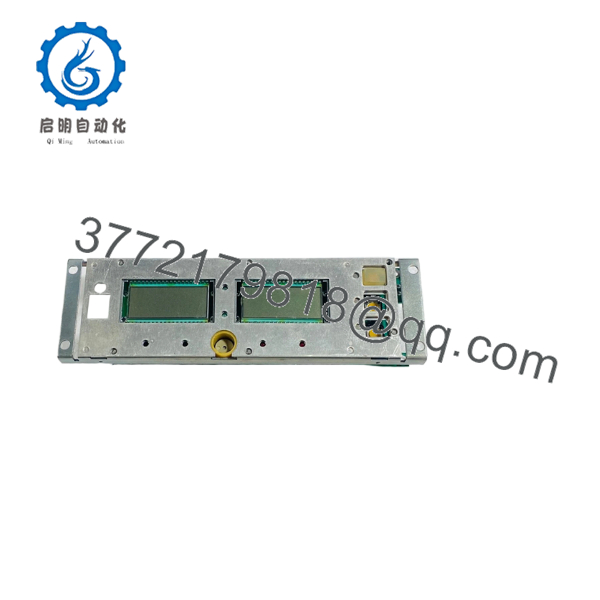
P001103
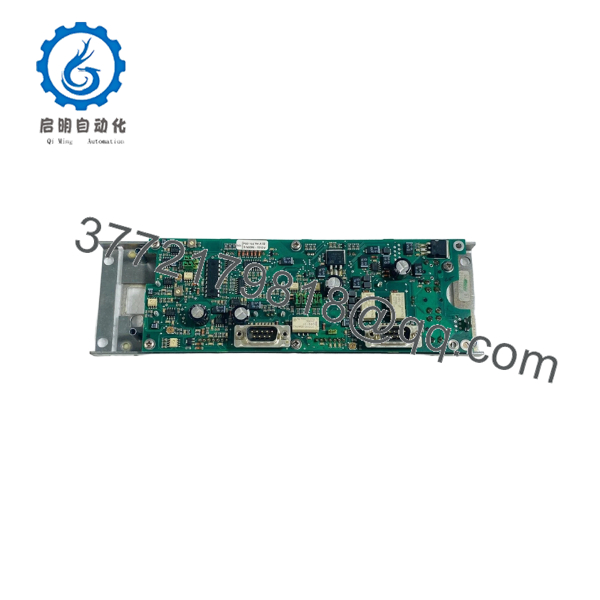
P001103
6. Frequently Asked Questions (FAQ)
Q: Can P001103 be hot-swapped under power? No. Always isolate power before removal or installation. Hot-swapping risks damage to the part, the host system, and connected field devices.
Q: Is detailed technical data available for ? Public datasheets for this specific part number are limited. The function, ratings, and configuration are defined by the Autronica system in which it is used. Always verify against the physical unit and the original system documentation.
Q: Can I substitute a different Autronica part with a similar number? Only if the full part number, revision, and physical/electrical configuration match exactly. Autronica parts are often system-specific; incorrect substitution can cause faults or loss of function.
Q: Will system configuration be lost when replacing this part? Any settings stored on the part itself (jumpers, local addresses) must be transferred manually. System-level configuration normally resides in the main panel or controller, but a full functional check is required after replacement.
Q: Why is the price lower than a current Autronica module? These are surplus or secondary-market parts intended to maintain existing installations. Pricing reflects condition, independent testing, and residual demand rather than current OEM production pricing.
Q: What should I verify before accepting and installing the unit? Confirm the part number and any revision markings match the removed unit. Request photographs of the nameplate and a basic functional test report if available. Cross-check against the vessel or plant’s approved drawings before installation.
Q: Are test reports available? Basic functional test results and photographs of the unit can be provided on request for the specific item supplied. Full system-level certification remains the responsibility of the end user according to applicable class or regulatory requirements.



