
 WhatsApp: +86 16626708626
 Email:
  Phone: +86 16626708626
Description
3. Key Technical Specifications
| Parameter | Value |
|---|---|
| Product Type | RTD / Isolated Tip Thermocouple I/O Module |
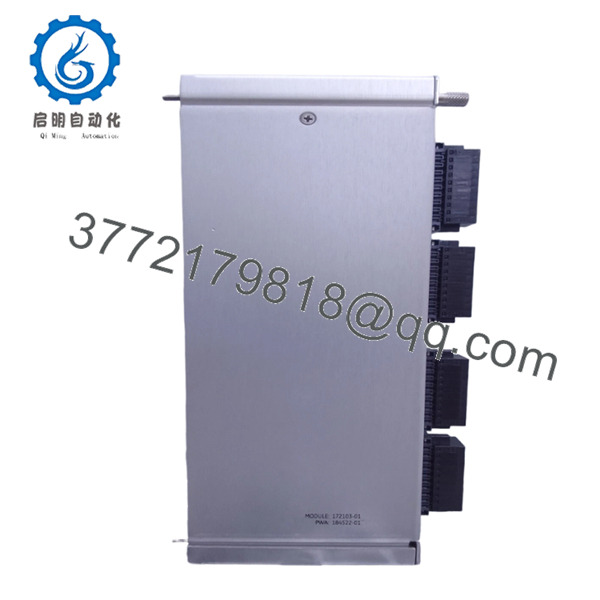
| Part Number | 172103-01 |
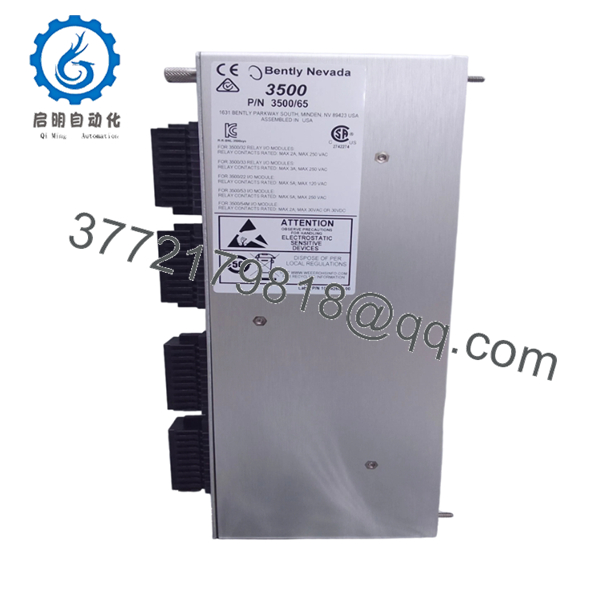
| Associated Monitor | 3500/65 16-Channel Temperature Monitor |
| Series | Bently Nevada 3500 |
| Termination Type | Internal Terminations |
| Supported Sensors | 3-wire RTD, 4-wire RTD, Isolated Tip Thermocouples |
| Temperature Channels | Up to 16 (via 3500/65 Monitor) |
| Rack Requirement | One full-height rear slot |
| Dimensions | 241.3 × 24.4 × 99.1 mm |
| Weight | Approximately 0.45 kg |
| Configuration Software | 3500 Rack Configuration Software |
| Installation | Rear-mounted I/O module for 3500 rack |
The 172103-01 is the rear I/O module used with the 3500/65 16-Channel Temperature Monitor. It supports RTD and isolated-tip thermocouple inputs and is available only with internal terminations. It cannot be substituted for the external termination version (172109-01).
4. Product Introduction
The Bently Nevada 172103-01 is the internal termination I/O module designed exclusively for the 3500/65 Temperature Monitor. It routes field temperature signals from RTDs and isolated-tip thermocouples to the monitor for continuous machinery and process temperature monitoring.
The module is commonly installed in turbine, compressor, generator, and process monitoring systems where multiple bearing or winding temperatures require continuous protection. Before replacement, verify that the existing installation uses the internal termination version, since it is not interchangeable with the external termination model.
5. Installation & Configuration Guide
Stage 1 – Pre-Installation Preparation (10 Minutes)
⚠️ Safety First
- Notify operations of planned maintenance.
- Perform Lock-Out/Tag-Out procedures.
- Remove power from the 3500 rack.
- Wait at least 5 minutes before handling electronics.
Tools Required
- Grounded ESD wrist strap
- PH1 screwdriver
- Fluke 115 multimeter
- Terminal labels
- Smartphone for wiring photographs
- Laptop with 3500 Rack Configuration Software
Data Backup
- Export the rack configuration.
- Record channel assignments.
- Photograph all rear wiring.
- Record RTD and thermocouple channel mapping.
- Verify monitor firmware version.
Stage 2 – Removing the Old Module (5 Minutes)
- Remove the associated 3500/65 monitor if required.
- Label every field cable.
- Disconnect internal termination wiring carefully.
- Remove the I/O module from the rear of the rack.
- Inspect the backplane connector.
⚠️ Retain the original module until commissioning is complete.
Stage 3 – Installing the New Module (10 Minutes)
- Wear a grounded ESD wrist strap.
- Verify the replacement part number is 172103-01.
- Install the I/O module fully into the rear slot.
- Reconnect all field wiring according to the original documentation.
- Reinstall the associated 3500/65 monitor.
Self-Checklist
- ☑ Part number verified
- ☑ Internal termination version confirmed
- ☑ Wiring restored correctly
- ☑ Module fully seated
- ☑ Earth connection verified
Stage 4 – Power-On & Testing (15 Minutes)
Pre-Power Inspection
- Check wiring continuity.
- Verify no shorts exist between sensor circuits.
- Confirm proper RTD and thermocouple connections.
Power-Up Procedure
- Energize the 3500 rack.
- Verify the monitor initializes correctly.
- Connect using 3500 Rack Configuration Software.
- Confirm all configured temperature channels are detected.
- Compare live temperatures with known process values.
- Verify Alert and Danger alarm operation.
⚠️ Troubleshooting
- Missing channels often indicate incorrect field wiring or an incompatible I/O module.
- Open-circuit thermocouple alarms usually point to broken sensor wiring rather than module failure.
- Incorrect RTD readings commonly result from mixing 3-wire and 4-wire sensor configurations.

- 172103-01
- 172103-01
Common Replacement Pitfalls
❗ Internal vs. External Termination
This is the mistake I see most often. 172103-01 is the internal termination version. If your cabinet is wired for 172109-01 (external termination), the replacement will not fit the existing field wiring without modification.
❗ RTD Wiring Errors
Three-wire and four-wire RTDs are not wired the same way. Always verify the sensor type before reconnecting field cables.
❗ Thermocouple Selection
Only isolated-tip thermocouples are supported. Grounded thermocouples can introduce measurement errors and nuisance alarms.
❗ Rear Slot Position
The I/O module must be installed directly behind its corresponding 3500/65 monitor. Installing it behind another monitor will prevent proper operation.
❗ ESD Protection
I’ve seen perfectly functional temperature modules damaged during installation because someone skipped the wrist strap. The failure didn’t appear until startup, costing hours of unnecessary troubleshooting.
Keep these checks in mind and you’ll avoid most commissioning delays.
6. Frequently Asked Questions (FAQ)
Q1. What does the 172103-01 module do?
It is the rear I/O module for the 3500/65 16-Channel Temperature Monitor, providing connections for RTDs and isolated-tip thermocouples.
Q2. Can I replace a 172109-01 with a 172103-01?
No. The two modules use different termination methods. 172103-01 provides internal terminations, while 172109-01 is designed for external terminations and they are not directly interchangeable.
Q3. Which sensors are supported?
The module supports:
- 3-wire RTDs
- 4-wire RTDs
- Isolated-tip thermocouples
Sensor compatibility is configured through the 3500 Rack Configuration Software.
Q4. Is this a standalone monitoring module?
No. The 172103-01 is only the rear I/O module. It must be used with the 3500/65 Temperature Monitor and cannot operate independently.
Q5. Can this module be used in Triple Modular Redundant (TMR) systems?
Yes. When the 3500/65 is deployed in a TMR configuration, temperature monitors are installed in groups of three adjacent monitors, each using the appropriate I/O module.
Q6. Why is New Surplus inventory less expensive than buying directly from the OEM?
Most New Surplus inventory originates from unused project stock, plant expansions, or excess distributor inventory. Although never commissioned, it is no longer part of current production. A reputable supplier should provide serial number verification, functional testing, and documented quality inspection before shipment.
Q7. What quality inspections should be completed before shipment?
A professional inspection process should include:
- OEM serial number verification
- Anti-counterfeit inspection
- Visual inspection for corrosion, scratches, and repair marks
- Installation verification on a genuine Bently Nevada 3500 test rack
- RTD and thermocouple channel continuity testing
- Backplane connector inspection
- Firmware compatibility verification with the associated 3500/65 monitor
- QC sign-off
- ESD-safe packaging
- Heavy-duty export packaging
Test reports, rack installation photographs, and functional verification videos should be available upon request.



