
 WhatsApp: +86 16626708626
 Email:
  Phone: +86 16626708626
Description
Key Technical Specifications
| Parameter | Value |
|---|---|
| Manufacturer | Bently Nevada |
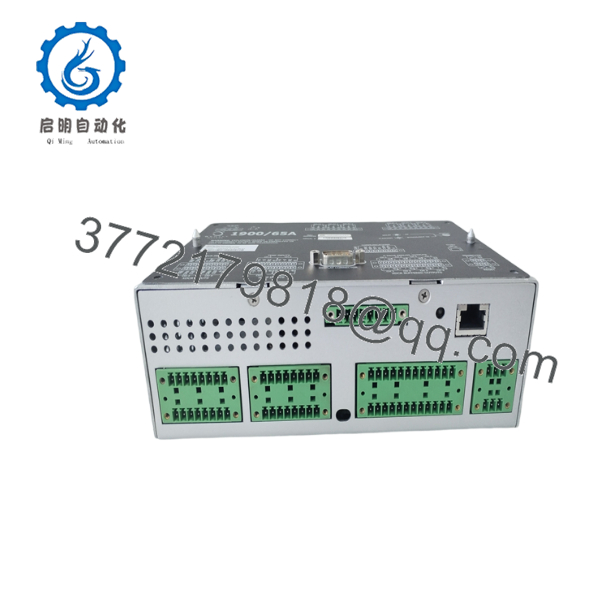
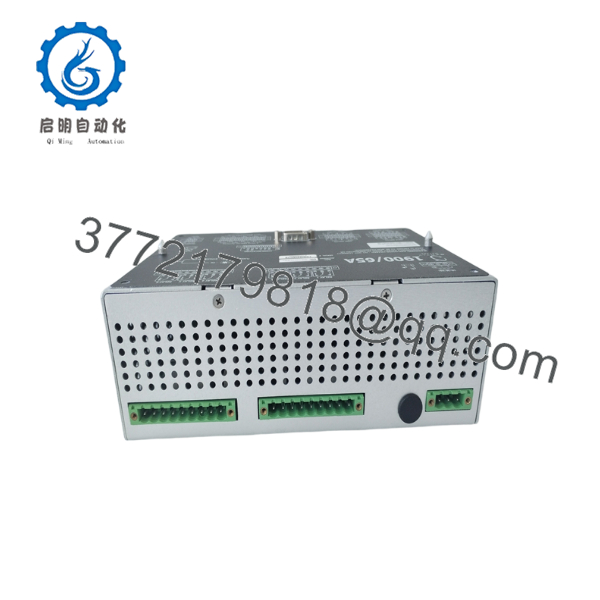
| Model | 1900/65A-01-01-00-01 |
| Product Type | General Purpose Equipment Monitor |
| Power Option | 110–220 VAC, 50/60 Hz (external power supply) |
| Display Option | Attached display (no cable) |
| Mounting | DIN Rail Mount |
| Communication | Modbus |
| Transducer Inputs | 4 configurable vibration/proximity channels |
| Temperature Inputs | 4 configurable RTD/Thermocouple channels |
| Relay Outputs | 6 programmable relays |
| Analog Outputs | 4 isolated 4–20 mA outputs |
| Buffered Output | Dedicated buffered output for diagnostics |
| Configuration Interface | Ethernet using 1900 Configuration Software |
| Operating Function | Continuous machinery protection and condition monitoring |
The 1900/65A platform supports accelerometers, velocity sensors, proximity probes, RTDs, and thermocouples while providing Ethernet configuration and Modbus integration for plant control systems.
Product Introduction
The Bently Nevada 1900/65A-01-01-00-01 is a general-purpose machinery protection monitor designed for continuous monitoring of essential rotating assets that do not require the complexity of a full rack-based protection system. It combines vibration, temperature, relay logic, and communications into a compact DIN rail-mounted package suitable for balance-of-plant equipment.
This configuration includes an integrated local display, DIN rail mounting, an external 110–220 VAC power supply, and Modbus communications, allowing operators to monitor machine condition locally while integrating diagnostic data into PLC, DCS, or SCADA systems. Typical installations include cooling water pumps, process pumps, centrifugal compressors, HVAC equipment, fans, conveyors, and electric motors.
Installation & Configuration Guide
Stage 1 – Pre-Installation Preparation (10 Minutes)
⚠️ Safety First
- Notify operations and schedule equipment downtime.
- Perform Lockout/Tagout (LOTO).
- Verify all power sources are isolated.
- Wait five minutes before opening the control panel.
Required Tools
- ESD wrist strap
- PH1 screwdriver
- Digital multimeter
- Wire markers
- Laptop with 1900 Configuration Software
- Smartphone for wiring documentation
Before removal:
- Export the existing monitor configuration.
- Record IP settings and Modbus parameters.
- Photograph all field wiring and terminal assignments.
Stage 2 – Remove Existing Monitor (10 Minutes)
- Disconnect external power.
- Label every field cable.
- Remove communication wiring.
- Release the DIN rail latch.
- Inspect terminals for corrosion, loose conductors, or damaged connectors.
⚠️ Keep the original monitor available until commissioning is complete.
Stage 3 – Install the New Monitor (10 Minutes)
- Verify the complete ordering code 1900/65A-01-01-00-01.
- Secure the monitor onto the DIN rail.
- Connect vibration, temperature, relay, and communication wiring.
- Connect the external AC power supply.
- Tighten all terminals according to the installation manual.
Installation Checklist
- ✔ Correct ordering code
- ✔ DIN rail securely locked
- ✔ Power wiring verified
- ✔ Ethernet connected
- ✔ Modbus parameters documented
Stage 4 – Power-Up & Commissioning (15 Minutes)
- Energize the monitor.
- Confirm the attached display starts normally.
- Connect using the 1900 Configuration Software through Ethernet.
- Download or restore the saved configuration.
- Verify all vibration and temperature channels.
- Test relay operation and Modbus communication.
- Perform a functional alarm test before returning the machine to service.
⚠️ Troubleshooting Tip
If Modbus communication fails immediately after replacement, verify the communication settings before replacing hardware. Incorrect slave addressing or network parameters are a more common cause than hardware failure.

- 1900/65A-01-01-00-01
- 1900/65A-01-01-00-01
Frequently Asked Questions (FAQ)
Q1. What does the ordering code 1900/65A-01-01-00-01 specify?
This configuration includes:
- 01 – 110–220 VAC external power supply
- 01 – Attached local display
- 00 – No additional approvals
- 01 – Modbus communications
These suffixes determine the factory configuration and should always match the installed system requirements.
Q2. Is this monitor suitable for critical API 670 turbine protection?
Not typically. The 1900/65A is intended for general-purpose rotating equipment. Large turbines and other critical machines usually require higher-end Bently Nevada protection platforms designed specifically for those applications.
Q3. Can I replace the monitor without losing the machine configuration?
Yes, provided the existing configuration has been backed up. The configuration software allows the saved file to be downloaded into the replacement unit, significantly reducing commissioning time.
Q4. Does the monitor support both vibration and temperature measurements?
Yes. The platform accepts four configurable vibration/proximity inputs and four temperature inputs supporting RTDs and thermocouples, making it suitable for complete machine health monitoring.
Q5. Is this model still available?
Yes. The 1900/65A product family remains available through industrial suppliers, although lead time depends on the exact configuration and ordering code. Some variants may be supplied from new surplus inventory.
Q6. What installation mistake causes the most downtime?
The most common mistake is ordering the wrong suffix configuration. Engineers often focus only on 1900/65A and overlook the option codes that specify power input, display type, approvals, and communications. Before ordering, verify every suffix against the installed unit’s nameplate. A mismatched power option or communication configuration can delay startup even though the base model number appears identical.
我更喜欢这个回复



