
 WhatsApp: +86 16626708626
 Email:
  Phone: +86 16626708626
Description
Key Technical Specifications
| Parameter | Value |
|---|---|
| Manufacturer | Bently Nevada |
| Model | 1900/65A-01-01-03-00-01 |
| Product Type | General Purpose Equipment Monitor |
| Power Option | 110–220 VAC, 50/60 Hz external power supply |
| Display | Attached local display (no cable) |
| Mounting | Fiberglass NEMA 4X/IP66 weatherproof housing with viewing window |
| Approvals | None |
| Communications | Modbus |
| Vibration Inputs | 4 configurable transducer channels |
| Temperature Inputs | 4 configurable RTD/Thermocouple channels |
| Relay Outputs | 6 programmable relays |
| Analog Outputs | 4 isolated 4–20 mA outputs |
| Configuration | Ethernet using 1900 Configuration Software |
| Typical Application | General-purpose rotating machinery protection |
The ordering code specifies Power Option 01, Display Option 01, Mounting Option 03 (Fiberglass NEMA 4X/IP66 enclosure), Approvals Option 00, and Communications Option 01 (Modbus).
Product Introduction
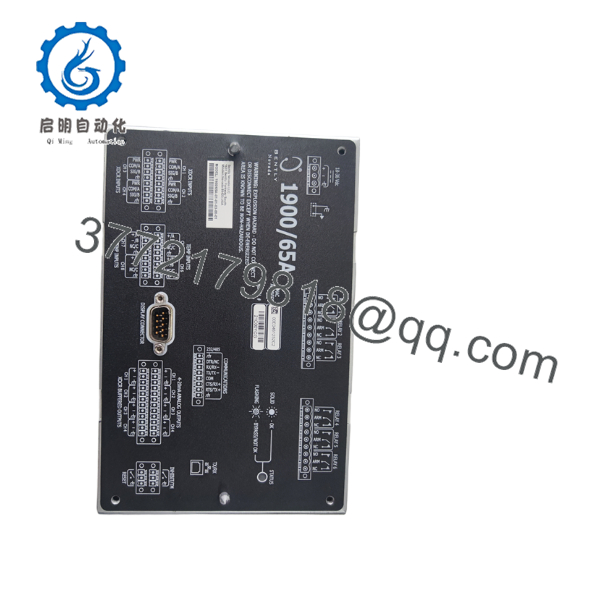
The Bently Nevada 1900/65A-01-01-03-00-01 is a compact machinery protection system designed to continuously monitor vibration and temperature on general-purpose rotating equipment. It combines vibration monitoring, alarm management, relay outputs, and Modbus communication into a single package suitable for standalone equipment protection.
This configuration differs from the standard DIN rail version by using a fiberglass NEMA 4X/IP66 weatherproof enclosure with an integrated viewing window, allowing installation in harsh industrial environments where dust, moisture, and washdown conditions are common. It is commonly selected for outdoor pump stations, cooling towers, compressor skids, wastewater facilities, and remote process units.

- 1900/65A-01-01-03-00-01
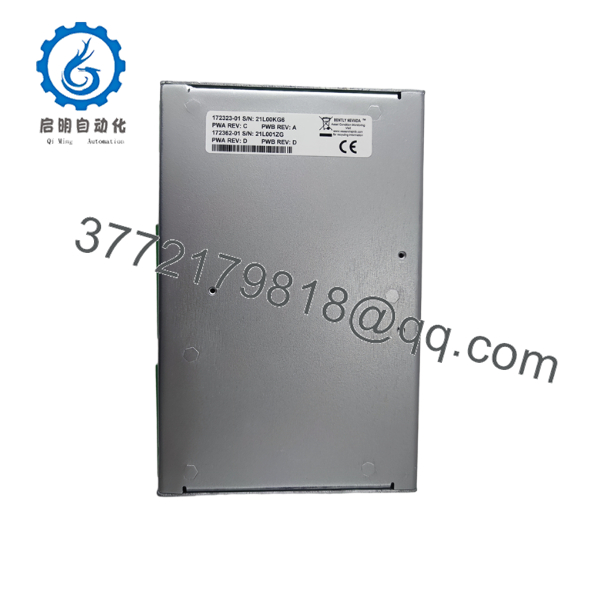
- 1900/65A-01-01-03-00-01
Installation & Configuration Guide
Stage 1 – Pre-Installation Preparation (10 Minutes)
⚠️ Safety First
- Notify plant operations of scheduled downtime.
- Perform Lockout/Tagout (LOTO).
- Isolate the external AC power supply.
- Wait at least five minutes before opening the enclosure.
Required Tools
- ESD wrist strap
- Phillips screwdriver
- Digital multimeter
- Wire labels
- Laptop with 1900 Configuration Software
- Smartphone for documenting wiring
Before beginning:
- Export the existing monitor configuration.
- Record Modbus address and network settings.
- Photograph every terminal connection.
- Verify the enclosure and mounting dimensions.
Stage 2 – Remove the Existing Unit (10 Minutes)
- Disconnect incoming power.
- Label all field wiring.
- Disconnect vibration, temperature, relay, and communication wiring.
- Remove the monitor from the weatherproof enclosure if replacing only the electronics.
- Inspect cable glands and enclosure seals for deterioration.
⚠️ Do not discard the original unit until the replacement has completed functional testing.
Stage 3 – Install the New Monitor (15 Minutes)
- Confirm the complete ordering code is 1900/65A-01-01-03-00-01.
- Install the monitor securely inside the NEMA 4X/IP66 enclosure.
- Reconnect all field wiring according to the wiring diagram.
- Verify cable gland compression and enclosure gasket condition.
- Close and seal the enclosure before energizing.
Installation Checklist
- ✔ Correct ordering code
- ✔ Weatherproof gasket intact
- ✔ Cable glands tightened
- ✔ Power wiring verified
- ✔ Modbus settings confirmed
Stage 4 – Commissioning & Functional Test (15 Minutes)
- Restore AC power.
- Verify the local display initializes normally.
- Connect via Ethernet using the 1900 Configuration Software.
- Restore the saved configuration if required.
- Verify all vibration and temperature channels.
- Test relay outputs and Modbus communications.
- Confirm alarm thresholds before returning the machine to service.
⚠️ Troubleshooting Tip
If communication is lost after replacement, check the configured Modbus address and baud rate before suspecting hardware failure. Incorrect communication settings are a more common cause than a defective monitor.
Frequently Asked Questions (FAQ)
Q1. What does the 03 mounting option indicate?
The 03 suffix specifies a fiberglass NEMA 4X/IP66 weatherproof housing with a viewing window. This enclosure is intended for installations exposed to water, dust, or outdoor environments.
Q2. How is this model different from 1900/65A-01-01-01-00-01?
Both monitors provide the same machinery monitoring functions. The primary difference is the mounting method:
- 01 = DIN rail mount
- 03 = Fiberglass NEMA 4X/IP66 weatherproof enclosure
Choose the enclosure that matches the installation environment.
Q3. Does this monitor support Modbus?
Yes. The communications option 01 enables Modbus communication for integration with PLC, DCS, HMI, or SCADA systems.
Q4. Can this monitor be installed outdoors?
Yes. When properly installed with suitable cable glands and sealed conduit entries, the NEMA 4X/ enclosure is designed for demanding industrial environments, including outdoor installations. Environmental suitability should still be verified against the site’s temperature and hazardous-area requirements.
Q5. Can I reuse the existing enclosure?
If the enclosure, hinges, gasket, and viewing window remain in good condition and match the ordering code, many facilities reuse the housing while replacing only the monitor electronics. Inspect all seals carefully before recommissioning.
Q6. What installation mistake causes the most downtime?
One of the most common field issues is overlooking the enclosure hardware rather than the monitor itself. Damaged door gaskets, loose cable glands, or improperly sealed conduit entries allow moisture into the enclosure, leading to corrosion and intermittent faults months after installation. During replacement, inspect the enclosure as thoroughly as the electronics.



