
 WhatsApp: +86 16626708626
 Email:
  Phone: +86 16626708626
Description
3. Key Technical Specifications
- Model Number: 2300/20-00
- Manufacturer: Bently Nevada
- Product Type: Vibration Monitor
- Series: 2300 Series
- Power Supply: 18–36 VDC
- Power Consumption: 7.5 W max
- Input Channels: Two vibration measurement channels + one speed input channel
- Supported Sensors: Accelerometers, Velomitor sensors, Proximitor/proximity measurement inputs
- Measurement Range: Acceleration, velocity, displacement, speed
- Analog Output: Two configurable 4–20 mA outputs
- Relay Outputs: Two programmable relay outputs
- Buffered Outputs: Three BNC buffered transducer outputs
- Communication: Ethernet 10/100 Base-T, Modbus over Ethernet
- Configuration Tool: Bently Nevada Monitor Configuration Software
- Dimensions: 127 mm × 127 mm × 76.2 mm
- Weight: Approximately 1.03 kg
- Operating Temperature: Typical industrial range around -30 to +65 °C depending on installation conditions
4. Product Introduction
The Bently Nevada 2300/20-00 is a 2300 Series vibration monitor designed for continuous machinery condition monitoring and protection. It processes vibration signals from accelerometers, Velomitor sensors, and proximity measurement devices for pumps, motors, compressors, and other rotating equipment.
The monitor provides configurable 4–20 mA outputs, relay alarms, buffered signal outputs, and Ethernet-based configuration. In replacement projects, engineers normally verify sensor type, alarm settings, output scaling, and communication configuration before commissioning.

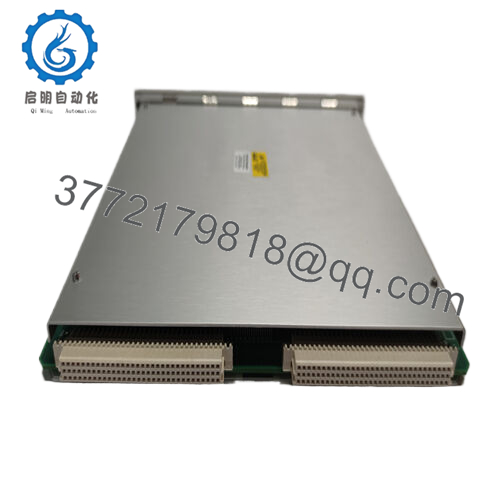
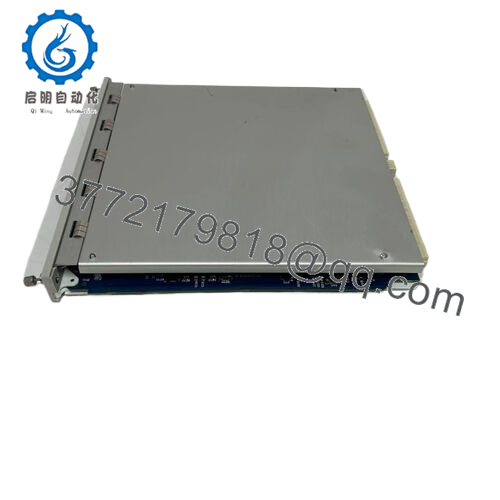
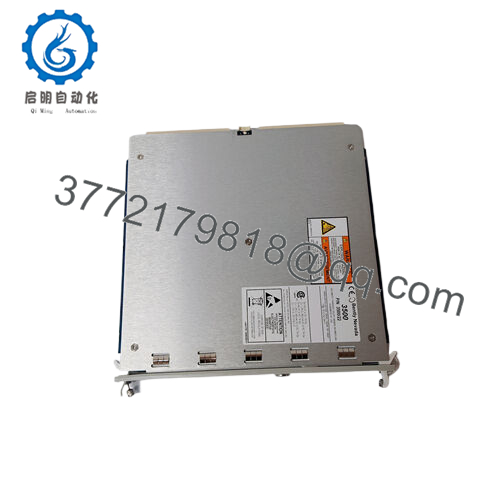
- 2300/20-00
5. Installation & Configuration Guide
Stage 1: Pre-Installation Preparation (Approx. 10 minutes)
⚠️ Safety First:
- Notify operations about the planned shutdown or monitoring interruption.
- Confirm the machine is in a safe operating state.
- Apply lockout/tagout procedures if removing field wiring.
- Disconnect power and wait 5 minutes before handling terminals.
Tools Required:
- ESD wrist strap
- PH1 screwdriver
- Digital multimeter
- Wire labels
- Smartphone for wiring photos
Data Backup:
- Connect to the existing 2300 monitor configuration software.
- Export or record current configuration parameters.
- Save alarm setpoints and relay logic settings.
- Photograph terminal wiring and sensor connections.
Stage 2: Removing the Old Module (Approx. 5 minutes)
- Remove the enclosure cover.
- Label every sensor cable before disconnecting.
- Disconnect power wiring carefully.
- Remove communication and output wiring.
- Remove the mounting hardware.
- Inspect terminals for corrosion, loose screws, or damaged conductors.
⚠️ Note: Keep the old monitor until the replacement completes functional testing.
Stage 3: Installing the New Module (Approx. 10 minutes)
- Wear an ESD strap before handling the replacement unit.
- Verify the part number matches Bently Nevada 2300/20-00.
- Mount the monitor in the same enclosure position.
- Reconnect power wiring according to the wiring diagram.
- Reconnect vibration inputs and output terminals.
Configuration Clone (Critical):
- Copy original sensor type settings.
- Match vibration scaling parameters.
- Verify alarm and trip setpoints.
- Confirm 4–20 mA output mapping.
- Check relay configuration.
Self-Checklist:
[ ] Correct model installed
[ ] Sensor wiring verified
[ ] Power polarity checked
[ ] Alarm settings restored
Stage 4: Power-On & Testing (Approx. 15 minutes)
Pre-Power Check:
- Measure DC supply voltage.
- Confirm no short circuit exists.
- Verify grounding and shield termination.
Power-On Steps:
- Energize the monitor.
- Check LED status and display operation.
- Connect configuration software.
- Verify device communication.
- Confirm sensor signal levels.
- Test relay outputs.
- Verify 4–20 mA output values with a loop meter.
⚠️ Troubleshooting Note:
- No vibration reading: Check sensor power supply and signal wiring.
- Incorrect readings: Verify sensor sensitivity settings.
- Communication failure: Check Ethernet settings and IP configuration.
- False alarms: Compare old and new alarm thresholds.
6. Frequently Asked Questions (FAQ)
Q1: Can the Bently Nevada 2300/20-00 be hot-swapped?
No. The 2300/20-00 is normally replaced with power removed. Removing field monitoring equipment under power can create wiring faults or damage connected circuits.
Q2: Is the Bently Nevada 2300/20-00 obsolete?
The 2300 Series is an older machinery monitoring platform, but many industrial sites continue operating these monitors. Before replacement, verify sensor compatibility, configuration backup availability, and spare part condition.
Q3: What sensors work with the 2300/20-00?
The monitor supports vibration measurement inputs including accelerometers, Velomitor sensors, and proximity-based measurement devices depending on configuration. Always verify the exact sensor model and sensitivity settings before commissioning.
Q4: Will replacing the monitor delete my settings?
The monitor itself does not automatically restore your previous configuration. Save the existing parameters before removal and reload the settings after installation.
Q5: What is the direct replacement if 2300/20-00 stock is unavailable?
The replacement depends on the plant requirement. A newer Bently Nevada monitoring platform may require changes to wiring, communication, enclosure layout, and configuration software. Do not assume a plug-in replacement without checking the OEM documentation.
Q6: Why is this unit cheaper than OEM factory pricing?
Industrial automation spare parts are commonly sourced from surplus inventory, maintenance stock, or project cancellations. Price differences usually depend on condition, test records, availability, and warranty terms. Verify whether the unit is New Original, New Surplus, or Refurbished before installation.



