
 WhatsApp: +86 16626708626
 Email:
  Phone: +86 16626708626
Description
3. Key Technical Specifications
- Model Number: 3500/32
- Part Number: 125712-01 (Main Module) / 125720-01 (Relay I/O Module)
- Manufacturer: Bently Nevada
- Product Type: 4-Channel Relay Module
- System Platform: Bently Nevada 3500 Machinery Protection System
- Relay Outputs: 4 independent programmable relay channels
- Relay Type: SPDT (Form C) relay outputs
- Logic Function: AND / OR alarm logic, voting logic configuration
- Configuration Software: 3500 Rack Configuration Software
- Contact Rating: Up to 5 A at 30 VDC or 250 VAC resistive load (configuration dependent)
- Power Consumption: Approximately 6 W typical
- Operating Temperature: -30 to +65 °C
- Storage Temperature: -40 to +85 °C
- Humidity: Up to 95% RH, non-condensing
- Mounting: Full-height 3500 rack slot installation
- Dimensions: Approx. 241 mm × 24.4 mm × 99.1 mm (I/O module)
- Weight: Approx. 0.4 kg for I/O module
4. Product Introduction
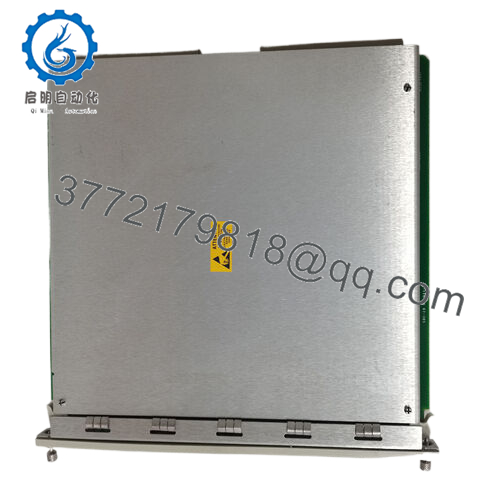
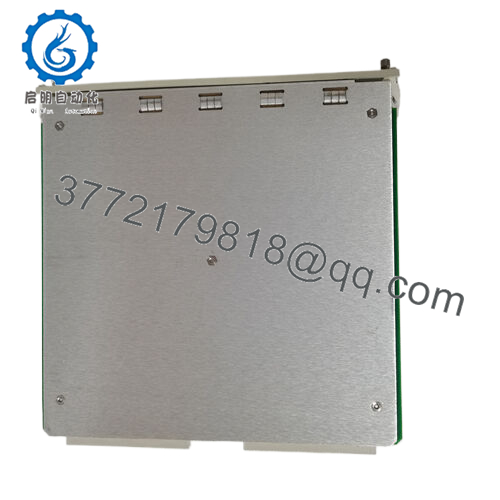
The Bently Nevada 3500/32 (125712-01 / 125720-01) is a 4-Channel Relay Module used in the 3500 Machinery Protection System. It receives alarm states from 3500 monitor modules and provides relay outputs for alarms, shutdown circuits, and plant control interfaces.
The module is commonly installed in turbine, compressor, and critical rotating equipment protection systems. Each relay channel can be configured independently using 3500 Rack Configuration Software, including alarm source selection and logic functions.

- 3500/32
5. Installation & Configuration Guide
Stage 1: Pre-Installation Preparation (Approx. 10 minutes)
⚠️ Safety First:
- Notify operations before removing the relay module.
- Confirm the machine protection system is in an approved maintenance state.
- Apply lockout/tagout procedures.
- Remove rack power and wait at least 5 minutes before handling the module.
Tools Required:
- ESD wrist strap
- PH1 screwdriver
- Digital multimeter
- Wire labels
- Smartphone for photos
Data Backup:
- Connect to the 3500 System Configuration Software.
- Export the current rack configuration.
- Record relay channel assignments.
- Photograph terminal wiring and module slot location.
Stage 2: Removing the Old Module (Approx. 5 minutes)
- Remove the rack front cover if installed.
- Label all relay output wiring.
- Disconnect terminal wiring carefully.
- Release the module locking tabs.
- Pull the module straight out to protect the backplane connector.
- Inspect the rack slot for dust or damaged contacts.
⚠️ Note: Keep the old module until the replacement passes functional testing.
Stage 3: Installing the New Module (Approx. 10 minutes)
- Wear an ESD strap before handling the replacement.
- Verify the model matches Bently Nevada 3500/32.
- Confirm the correct rack slot position.
- Install the module until fully seated.
- Reconnect relay wiring according to the original terminal documentation.
Configuration Clone (Critical):
- Restore relay channel assignments.
- Verify Alert and Danger alarm sources.
- Confirm AND/OR voting logic.
- Check relay normally open/normally closed configuration.
- Verify trip logic before returning equipment to service.
Self-Checklist:
[ ] Correct model verified
[ ] Relay wiring checked
[ ] Rack seating confirmed
[ ] Configuration restored
Stage 4: Power-On & Testing (Approx. 15 minutes)
Pre-Power Check:
- Verify rack power supply voltage.
- Check relay wiring insulation.
- Confirm no output short circuits.
Power-On Steps:
- Energize the 3500 rack.
- Check module LED status.
- Verify OK LED operation.
- Confirm TX/RX communication activity.
- Connect configuration software.
- Test relay activation using simulation or controlled alarm input.
- Verify DCS/PLC shutdown interface signals.
⚠️ Troubleshooting Note:
- No communication: Check rack seating and module position.
- Relay does not actuate: Verify alarm logic and relay assignment.
- False trip: Check voting logic and alarm source selection.
- Alarm LED active: Review connected monitor module status.
6. Frequently Asked Questions (FAQ)
Q1: Can the Bently Nevada 3500/32 be hot-swapped?
No. Remove rack power before replacement. The relay module connects to the 3500 backplane and external shutdown circuits, so working under power creates unnecessary risk.
Q2: What is the difference between 3500/32 and a standard relay module?
The 3500/32 is not just a simple relay board. It receives alarm conditions from 3500 monitoring modules and applies configurable alarm drive logic before switching relay outputs.
Q3: Is the Bently 3500/32 obsolete?
The 3500/32 is an established module in installed Bently Nevada 3500 systems. Many plants continue using it for machinery protection applications. Availability depends on stock condition and testing records.
Q4: Will replacing the 3500/32 delete my relay configuration?
The relay module hardware replacement does not automatically guarantee configuration recovery. Save the rack configuration before removal and verify all relay logic after installation.
Q5: What should I verify before ordering a replacement?
Check:
- Module series: 3500/32
- Main module part number: 125712-01
- I/O module part number: 125720-01
- Rack compatibility
- Relay logic requirements
- Existing wiring arrangement
Q6: Why is the price lower than OEM factory pricing?
Industrial automation spare parts are often sourced from surplus inventory, plant shutdown stock, or maintenance stores. Price depends on condition, testing records, availability, and warranty terms. Confirm whether the unit is New Original, New Surplus, or Refurbished before installation.



