
 WhatsApp: +86 16626708626
 Email:
  Phone: +86 16626708626
Description
Key Technical Specifications
- Controller Family: DIAX04
- Product Group: HDS
- Controller Type: Digital servo drive controller
- Line Designation: 03
- Rated Current: Variant-dependent; HDS03.2-W075N versions are rated at 75 A
- Peak Current: Variant-dependent; 75 A on W075N versions
- Command Interface: SERCOS or analog, depending on function configuration
- Cooling: Internal air blower on many HDS03 configurations
- Plug-In Capacity: Up to 4 plug-in module positions on HDS03
- Typical Operating Temperature: 5 °C to 45 °C on several HDS03.2 configurations
- Typical Storage Temperature: −30 °C to +85 °C
- Firmware: Configuration-dependent; firmware identification is part of the complete HDS designation
- Typical Weight: Approximately 11 kg for HDS03.2-W075N configurations
- Mounting: Industrial control cabinet
- Motor Compatibility: Depends on command/function module and complete HDS configuration
The HDS03 family includes substantially different configurations. For example, the .2-W075N-HA03-01-FW uses an analog command interface, while .2-W075N-HS28-01-FW uses SERCOS. Do not substitute one based only on the prefix.
Product Introduction
The Bosch Rexroth Indramat is a DIAX04-family digital servo drive controller used in industrial motion-control systems. It controls servo axes through the associated power, feedback, communication, and software modules. .2-W075N configurations, for example, provide a 75 A rated current and can use SERCOS or analog command interfaces depending on the exact configuration.
The main procurement issue is configuration matching, not simply obtaining another housing. Function ID, firmware, command interface, current rating, plug-in cards, and configuration type plate information must agree with the existing installation. The OEM documentation specifically uses the configuration type plate to identify the complete controller configuration.
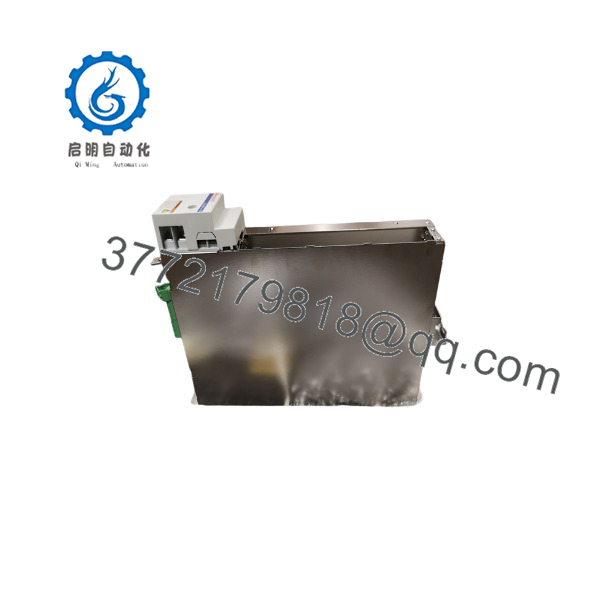
HDS03
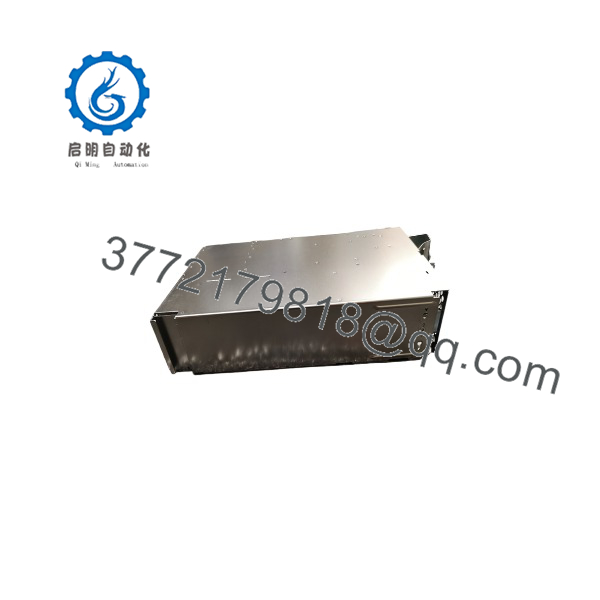
HDS03
Installation & Configuration Guide
Stage 1: Pre-Installation Preparation — 5–10 minutes
⚠️ Safety First
- Notify operations and obtain approval for the maintenance window.
- Place the machine in a safe state.
- Apply lockout/tagout (LOTO) to the appropriate power sources.
- Wait the equipment manufacturer’s specified discharge period before accessing the drive cabinet. Do not assume five minutes is sufficient without checking the machine documentation.
- Verify the DC bus is discharged with an appropriately rated meter.
Tools Required
- ESD wrist strap
- PH1/appropriate cabinet screwdriver
- CAT-rated multimeter
- Wire labels
- Smartphone or camera
- Appropriate torque screwdriver
Data Backup
- Record the complete nameplate designation.
- Photograph the configuration type plate.
- Photograph every plug-in module and connector.
- Record firmware/software-module information.
- Photograph terminal wiring before disconnection.
- Record PLC/CNC communication settings.
- Save the existing drive parameters if the commissioning software permits it.
⚠️ Do not order a replacement from alone. The complete designation can identify the basic unit, software module, plug-in modules, function ID, function-ID version, and firmware requirement.
Stage 2: Removing the Old Module — 5 minutes
- Remove the cabinet cover or drive front access panel as specified by the machine documentation.
- Confirm that hazardous voltage has been removed and measured.
- Label all connected wiring.
- Photograph connectors before removal.
- Disconnect the wiring without pulling on conductors.
- Release the mechanical locking mechanism.
- Pull the controller straight out while supporting its weight.
- Inspect the mating connectors and backplane for contamination, bent contacts, or mechanical damage.
⚠️ Keep the original controller beside the machine until commissioning is complete. Its configuration label may be needed to resolve a mismatch.
Stage 3: Installing the New Module — 5–10 minutes
- Put on the grounded ESD wrist strap.
- Compare the replacement’s complete part number against the removed unit.
- Verify the rated current and command-interface designation.
- Confirm the installed plug-in modules match the original configuration.
- Transfer required configuration information according to the OEM procedure.
- Carefully insert the controller into its position.
- Ensure the module is fully seated and mechanically secured.
- Reconnect wiring according to the original photographs and wiring documentation.
- Tighten terminals to the specified torque.
Self-Checklist
- Complete model designation verified
- Rated current verified
- Command interface verified
- Firmware/software module verified
- Plug-in modules verified
- Wiring restored
- Mechanical locking tabs secured
- Grounding verified
Stage 4: Power-On & Testing — 10–15 minutes
- Perform a final visual inspection.
- Verify the cabinet wiring against the electrical drawings.
- Measure for unintended shorts before energizing the system.
- Energize the drive system according to the machine manufacturer’s startup sequence.
- Observe the controller’s diagnostic indicators.
- Connect the appropriate Bosch Rexroth/Indramat commissioning software.
- Verify the detected controller identity.
- Confirm firmware and parameter information.
- Restore parameters only after confirming that the replacement configuration is compatible.
- Test the axis at low speed with the machine in a controlled state.
- Verify enable, feedback, direction, limits, and fault handling.
- Perform the required dry-run before returning the machine to production.
⚠️ If communication fails, do not immediately assume the replacement is defective. First compare the complete controller designation, function ID, firmware, command interface, plug-in modules, and parameter set. variants can differ substantially despite sharing the same basic designation.
Frequently Asked Questions (FAQ)
Can I hot-swap an ?
Do not assume it is hot-swappable. Treat the as a powered industrial drive controller and follow the machine-specific shutdown and discharge procedure. Disconnecting a drive controller under power can expose personnel to hazardous DC-bus voltage and can damage connectors or power electronics.
Is a complete part number?
No. identifies the product family but not the exact replacement configuration. Full designations such as .2--HA03-01-FW and .2--HS28-01-FW have different command-interface and function configurations.
Does every provide 75 A?
No. The current rating depends on the exact HDS configuration. .2- models are rated at 75 A, while the broader DIAX04 HDS family includes other current classes. Verify the , W100N, or other rating designation on the nameplate before purchasing.
Can I replace a SERCOS with an analog version?
No—not as a direct substitution. The command interface is part of the functional configuration. A SERCOS-configured controller and an analog-command configuration require different system interfaces and commissioning arrangements. Match the original designation exactly unless you have engineering documentation approving the substitution.
Will I lose the machine parameters when replacing the ?
Potentially, yes. Do not assume the replacement contains the machine’s current parameter set. Back up the existing configuration before removal and verify the replacement’s software/firmware module and parameter-transfer procedure. Some configurations use a separate, transferable firmware/software module specifically for parameter storage and transfer.
Is the obsolete?
The HDS/DIAX04 platform is an older Rexroth Indramat drive family, and sourcing is now primarily a legacy-spares exercise rather than a typical new-system procurement. However, condition and exact configuration vary by seller and stock lot. Do not describe an as “new original” unless the physical unit and packaging have actually been verified.
What should I provide when requesting an replacement?
Provide a clear photograph of the complete nameplate, including every suffix after , plus photographs of the configuration type plate and installed plug-in modules. This is the fastest way to distinguish a genuine drop-in candidate from a superficially similar variant.



