
 WhatsApp: +86 16626708626
 Email:
  Phone: +86 16626708626
Description
3. Key Technical Specifications
| Parameter | Value |
|---|---|
| Configuration | INTERBUS-S Master Module |
| Operating Mode | With Coprocessor |
| Series | MTS-P01.2 (Series 1) |
| Form Factor | ISA-bus plug-in card |
| Compatible Hosts | BTV20 / BTV30 operator terminals, industrial PCs |
| BT Bus | Supports up to 4 operator terminals, max. cable length 50 m |
| Serial Interface | RS-232 (COM) via SPC user program |
| Digital I/O | 16 TTL-level inputs and outputs |
| Connectors | D-SUB 9-pin female (BT bus and COM) |
| Supply Voltage | 5 V DC (max. current approx. 1.8 A) |
| Dimensions (W × H × D) | 22 × 145 × 295 mm |
| Weight | approx. 0.3 kg |
| Operating Temperature | 0 °C to +50 °C |
| Relative Humidity | 75 % (non-condensing) |
| Storage Temperature | –20 °C to +70 °C |
| Atmospheric Pressure | 860–1080 hPa (up to 1,500 m) |
| Environment Class | Class A industrial |
4. Product Introduction & Supply Chain Strategy
The Bosch Rexroth MTS-P01.2-D2-B1-NN-NN-NN-FW is an ISA-bus SPS control module configured as an INTERBUS-S Master with coprocessor. It is designed for installation in BTV20/30 operator terminals or industrial PCs and provides centralized control plus connection of up to four operator terminals via the BT bus.
Securing this module as New Surplus protects against the limited availability and long lead times typical of mature Indramat control hardware. Genuine new units deliver full expected service life and avoid the reliability risks associated with refurbished cards, supporting lower total cost of ownership by minimizing unplanned production stoppages on critical machines.
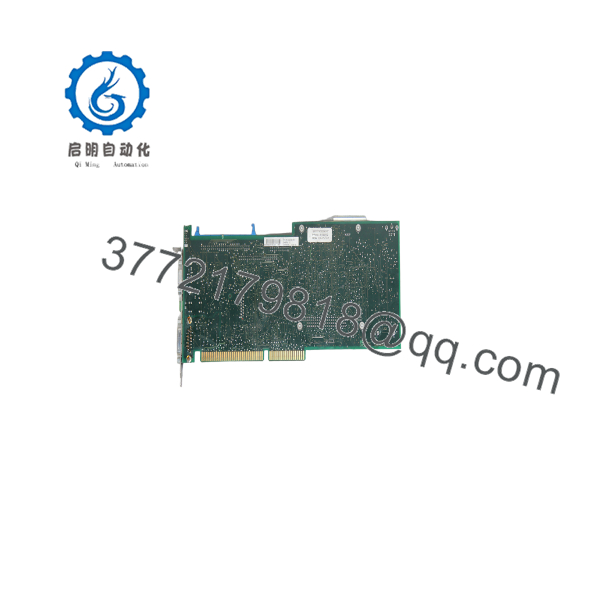
MTS-P01.2-D2-B1-NN-NN-NN-FW
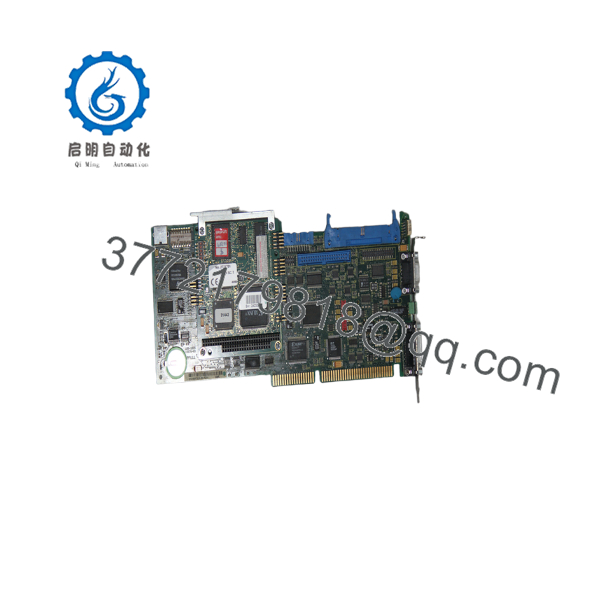
MTS-P01.2-D2-B1-NN-NN-NN-FW
5. Installation & Configuration Guide
Stage 1: Pre-Installation (Prep & Safety)
Lock out and tag out all power to the host terminal or industrial PC. Wear a grounded ESD wrist strap. Record the existing module’s firmware version, DIP-switch address settings, and all cable connections. Photograph the installation for reference.
Stage 2: Removal
Power down the host completely. Disconnect the BT bus and COM cables. Release the module retention mechanism and carefully withdraw the card from the ISA slot, supporting it evenly to avoid stressing the connector.
Stage 3: Installation (Clone & Seat)
Set any address DIP switches on the new module to match the original configuration. Align the MTS-P01.2-D2-B1-NN-NN-NN-FW with the ISA slot and seat it firmly until fully engaged. Reconnect the BT bus and serial cables in the original orientation. Secure the module against vibration.
Stage 4: Power-On & Testing
Restore power to the host. Observe the status indicators and confirm communication with connected operator terminals. Verify INTERBUS-S network status and run a basic I/O and program test before returning the system to production.
6. Firmware/Software Versions & Upgrade Notes
The module is supplied with pre-installed firmware that determines master/slave behavior and available functions. Always document the existing firmware revision before replacement. Loading an incompatible firmware image or parameter set can prevent proper INTERBUS-S communication or operator-terminal recognition.
Do not mix firmware intended for different MTS-P01.2 hardware variants. After installation, confirm that the coprocessor mode and INTERBUS-S master configuration match the machine requirements. Keep a verified backup of the application program and retentive data.
7. Frequently Asked Questions (FAQ)
Is this module new or refurbished?
This is Brand New Surplus / Original New. It has never been installed in a machine and is not a repaired or rebuilt unit.
Why is the price lower than current OEM list but higher than used modules?
New Surplus pricing reflects the cost of locating genuine unused inventory. It remains below full OEM list while avoiding the unknown residual life and higher failure risk of used or refurbished cards.
What does the “B1-NN-NN-NN” configuration mean?
It indicates the INTERBUS-S Master Module configuration with coprocessor and no additional optional fieldbus or serial expansion modules beyond the standard interfaces.
Can I hot-swap this module?
No. Always power down the host terminal or industrial PC and apply lock-out/tag-out procedures before removal or installation.
Does the module retain its program after power loss?
Application programs and retentive data are stored in non-volatile memory (supported by battery backup on many variants). Always maintain an external backup of the program.
What is the main risk of using a refurbished module instead?
Refurbished units may contain aged components or previous thermal stress that is not visible externally. A failure after installation can cause extended machine downtime far exceeding any initial cost savings.
What warranty is provided?
New Surplus units typically carry a 1 year warranty covering defects in materials and workmanship under normal industrial operating conditions.



