
 WhatsApp: +86 16626708626
 Email:
  Phone: +86 16626708626
Description
Key Technical Specifications
| Parameter | Value |
|---|---|
| Model | DOP-110WS |
| Manufacturer | Delta Electronics |
| Series | DOP-100 |
| HMI Type | Advanced Narrow Frame Type |
| Display | 10.1-inch TFT LCD |
| Display Colors | 65,536 / 16-bit |
| Resolution | 1,024 × 600 pixels |
| Backlight | LED |
| Typical Brightness | 450 cd/m² |
| Backlight Half-Life | <30,000 hours at 25 °C |
| CPU | ARM Cortex-A8, 800 MHz |
| RAM | 512 MB |
| Flash ROM | 256 MB |
| Touchscreen | 4-wire resistive |
| Touch Life | >10,000,000 operations |
| Ethernet | 1 × 10/100 Mbps auto-sensing |
| COM1 | RS-232 with hardware flow control |
| COM2 | RS-232 / RS-485 |
| COM3 | RS-422 / RS-485 |
| USB | 1 × USB 2.0 Host + 1 × USB 2.0 Client |
| SD Card | 1 slot |
| Supply Voltage | 24 VDC, -15% to +15% |
| Maximum Power Consumption | 11 W |
| Operating Temperature | 0 to 50 °C |
| Storage Temperature | -20 to 60 °C |
| Front Protection | IP65 / NEMA 4 / UL Type 4X indoor use |
| Dimensions | 270 × 180.9 × 47.25 mm |
| Panel Cutout | 255 × 170 mm |
| Weight | Approx. 1.1 kg |
Delta’s current product documentation identifies the DOP-110WS as a 10.1-inch DOP-100 Series Advanced HMI with a 1,024 × 600 display, ARM Cortex-A8 800 MHz processor, 512 MB RAM, 256 MB Flash ROM, Ethernet, two standard serial interfaces plus an extension COM port, USB Host/Client, and SD-card support.
The hardware documentation specifies a 24 VDC supply with a ±15% tolerance, 11 W maximum power consumption, 0–50 °C operating temperature, and a front-panel protection rating of IP65/NEMA 4/UL Type 4X for indoor use.
Product Introduction
The Delta DOP-110WS is a 10.1-inch industrial touch-panel HMI used to display machine status, alarms, trends, recipes, and operator controls. It combines a 1,024 × 600 TFT display with Ethernet, RS-232, RS-485, RS-422, USB, and SD-card interfaces for connection to PLCs, drives, controllers, and plant-floor networks.
The DOP-110WS uses a four-wire resistive touchscreen rated for more than 10 million operations and provides a 450 cd/m² typical display brightness. Its multiple communication interfaces allow one HMI to support different controller and drive architectures without adding a separate serial gateway for every device.
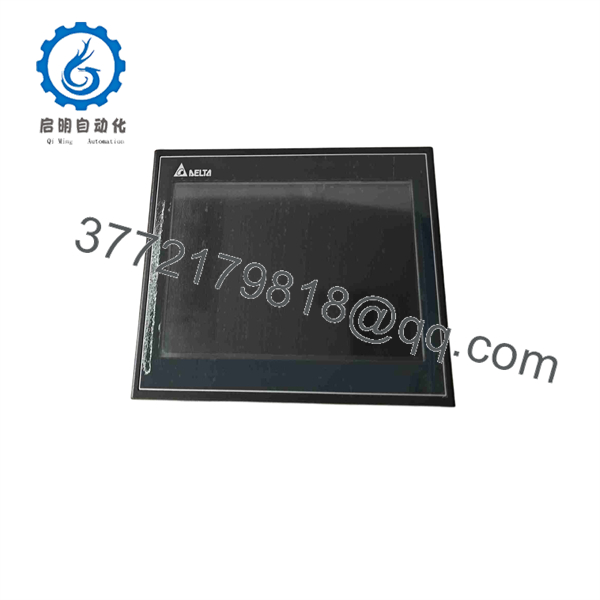
DOP-110WS
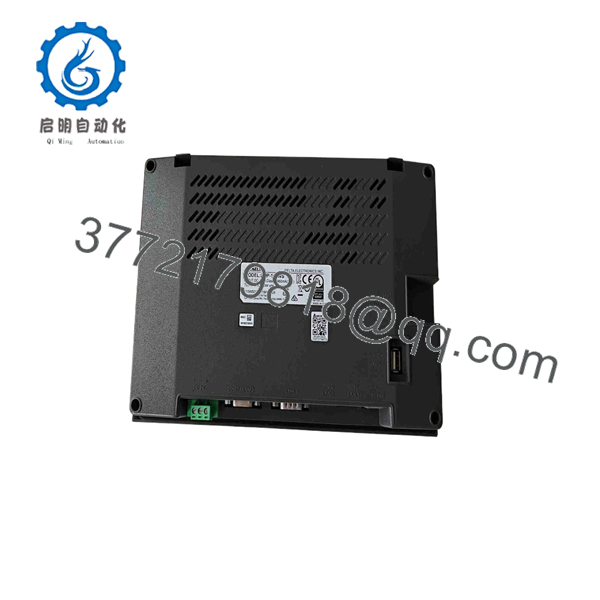
DOP-110WS
Installation & Configuration Guide
Stage 1 — Pre-Installation Preparation
- Confirm the HMI nameplate reads DOP-110WS and verify the existing DOP-100 application.
- Back up the HMI project, communication settings, screen files, recipes, alarms, macros, and user-access configuration.
- Record PLC and drive communication parameters, including station addresses, baud rates, parity, and protocol settings.
- Confirm the cabinet provides a 24 VDC supply within the specified 20.4–27.6 VDC range.
- Prepare an ESD strap, insulated tools, multimeter, panel-cutout tools, and the appropriate communication cables.
- Confirm sufficient clearance behind the panel for the approximately 47.25 mm deep HMI body.
- Keep Ethernet and serial communication wiring separated from high-voltage motor and inverter cables where practical.
Stage 2 — Removing the Existing HMI
- Stop the machine using the normal controlled shutdown procedure.
- Isolate the HMI supply and verify absence of voltage.
- Record Ethernet, COM, USB, SD-card, and power connections.
- Back up the installed project before disconnecting the unit.
- Remove the rear mounting hardware or panel clamps.
- Carefully withdraw the HMI from the panel cutout.
- Inspect the panel opening, gasket area, connectors, and wiring for damage or contamination.
Stage 3 — Installing the DOP-110WS
- Verify the replacement model before installation.
- Confirm the panel cutout is approximately 255 × 170 mm.
- Insert the into the panel without damaging the sealing surface.
- Secure the HMI using the supplied mounting hardware and tighten evenly.
- Connect the 24 VDC supply with correct polarity and protective grounding.
- Reconnect Ethernet and the required serial communication ports.
- Verify the selected COM port matches the physical interface used by the PLC or drive.
- Install the SD card only if the application requires removable storage or project/data transfer.
- Restore the verified DOPSoft project and communication configuration.
Stage 4 — Power-On & Testing
- Measure the 24 VDC supply before energizing the HMI.
- Power up the and verify normal startup.
- Confirm the project loads without missing resources or communication-driver errors.
- Check each PLC/controller communication channel independently.
- Verify live process values against the PLC source data.
- Test operator commands, mode selection, alarms, acknowledgments, and interlocks.
- Test recipe/data functions and SD-card operations if used.
- Check Ethernet communication and network addressing.
- Verify touchscreen calibration and every critical operator button.
- Run the machine through a controlled test cycle before returning the HMI to production service.
Installation caution: The IP65/NEMA 4 protection applies to the specified panel-mounted front enclosure. It should not be interpreted as an IP65 rating for exposed rear connectors or as permission to install the HMI in an outdoor or wet environment without additional enclosure protection.
Frequently Asked Questions
Q1. What is the Delta ?
The is a 10.1-inch Advanced HMI in Delta’s DOP-100 Series. It provides touchscreen operator control and multiple communication interfaces for industrial automation systems.
Q2. What is the display resolution of the ?
The display resolution is 1,024 × 600 pixels, with 65,536 colors and a typical brightness of 450 cd/m².
Q3. What communication ports are available?
The provides one 10/100 Mbps Ethernet port, USB Host and Client ports, and three serial interfaces in its documented configuration: COM1 with RS-232, COM2 with RS-232/RS-485, and COM3 with RS-422/RS-485.
Q4. What power supply does the require?
It requires 24 VDC with a -15% to +15% tolerance. Maximum power consumption is specified at 11 W. Delta also recommends an isolated supply arrangement for the DOP-100 series.
Q5. Can the replace another Delta DOP-100 HMI directly?
Not automatically. Physical dimensions, display resolution, COM-port assignments, project compatibility, firmware/software version, and PLC communication drivers must be checked. A project created for another model may require screen-layout or hardware-interface adjustments.
Q6. What software is used to program the ?
The series uses DOPSoft for HMI project development and configuration. The project should be backed up before replacing an installed HMI so the original communication and screen configuration can be restored.
Q7. Is the still an active product?
Current Delta regional product pages continue to list the , and current distributor data identifies its manufacturer status as active. Availability varies by distributor and region; for example, DigiKey currently lists stock while showing a manufacturer standard lead time.



