
 WhatsApp: +86 16626708626
 Email:
  Phone: +86 16626708626
Description
3. Key Technical Specifications
| Parameter | Value |
|---|---|
| Display Size | 5.7 inch TFT |
| Resolution | 320 × 240 (QVGA) |
| Touch Type | Analog resistive touchscreen |
| Supply Voltage | 24 V DC (18–30 V range) |
| Power Consumption | Approx. 10–12 W |
| CPU | Integrated embedded processor (XV100 series) |
| Memory | ~128 MB RAM (model-dependent) |
| Communication Ports | Ethernet, RS232, RS485 |
| Protocol Support | Modbus TCP/RTU, CANopen |
| Mounting | Panel mount |
| Operating Temperature | 0 to +50 °C |
| Protection Rating | Front IP65 |
| Programming Software | Eaton Galileo / XSoft-CoDeSys |
4. Product Introduction
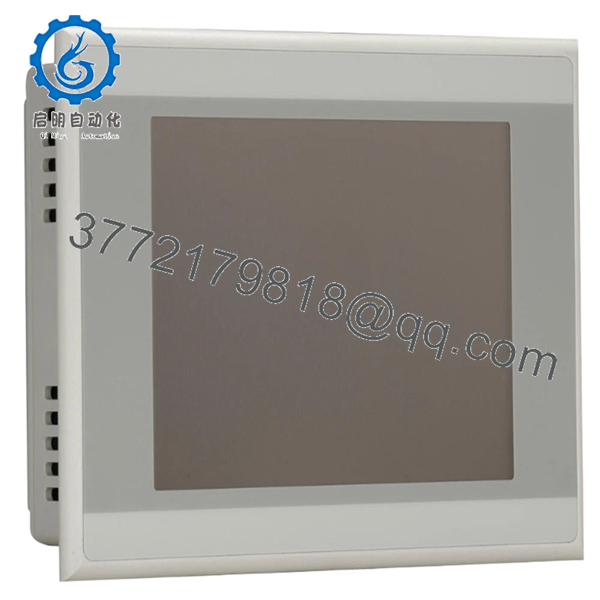
The Eaton XV-102-E6-57TVRC-10 is a 5.7-inch operator interface panel from the XV100 series, combining HMI visualization with optional PLC control in compact machine applications. It is commonly deployed in packaging lines, small assembly systems, and standalone process skids.
In field deployments, this unit is selected when panel space is limited but both visualization and logic execution are required locally. The integrated Ethernet and serial interfaces allow direct communication with drives, remote I/O, and higher-level SCADA systems without additional gateways.
5. Installation & Configuration Guide
Stage 1: Pre-Installation Preparation (Estimated: 10 minutes)
- ⚠️ Safety First: Notify operations, bring system to safe state, apply lockout/tagout, wait 5 minutes for discharge.
- Tools Required: ESD wrist strap, PH1 screwdriver, multimeter, labeling tags, smartphone.
- Data Backup:
- Export HMI project from Galileo or CoDeSys runtime
- Record IP address and communication settings
- Photograph wiring terminals and any configuration labels
Stage 2: Removing the Old Module (Estimated: 5–10 minutes)
- Remove panel mounting clamps from rear side.
- Label all connected cables (Ethernet, serial, power).
- Disconnect wiring carefully — avoid pulling on connectors.
- Push the unit out from the rear of the panel cutout.
- Inspect panel cutout and gasket area for damage or debris.
⚠️ Note: Keep the original unit nearby until full system validation is complete.
Stage 3: Installing the New Module (Estimated: 10 minutes)
- ESD protection active — wear grounded strap.
- Verify exact model: XV-102-E6-57TVRC-10 (do not assume XV100 units are interchangeable).
- Insert panel into cutout; ensure gasket is seated properly.
- Secure mounting clamps evenly to maintain IP65 seal.
- Reconnect wiring:
- 24 V DC supply (observe polarity)
- Ethernet cable
- Serial lines (RS232/RS485 if used)
Self-Checklist:
- Power polarity correct
- Ethernet seated firmly
- Panel gasket intact
- Mounting clamps evenly tightened
Stage 4: Power-On & Testing (Estimated: 10–15 minutes)
Pre-Power Check:
- Measure 24 V DC supply (should be stable within ±5%)
Power-On Steps:
- Power up the HMI only.
- Observe startup screen and LED indicators.
- Connect via engineering software (Galileo or CoDeSys).
- Verify IP address and communication parameters.
- Download HMI/PLC project if required.
- Test screen responsiveness and I/O communication.
⚠️ Troubleshooting Note:
- Blank screen → check backlight failure or supply voltage
- No Ethernet communication → verify subnet mismatch
- Runtime errors → check firmware compatibility with project

- XV-102-E6-57TVRC-10
6. Frequently Asked Questions (FAQ)
Q1: Can this HMI be hot-swapped?
No. This is not designed for hot-swapping. Removing or inserting under power can damage the internal power regulation circuit. Always shut down the panel supply first.
Q2: Is this model obsolete? Can I still get new units?
The XV100 series is gradually being phased out in favor of newer Eaton HMI lines. New Original (surplus) units like this are still available but stock is limited. Plan for long-term migration.
Q3: What replaces the XV-102-E6-57TVRC-10 if unavailable?
Typically replaced by Eaton XV300 or XV102 updated variants. However, mounting dimensions, software platform, and project compatibility are not identical. Expect engineering rework.
Q4: Will I lose my HMI project when replacing the unit?
Yes, unless you have a backup. The project is stored in internal flash. Always export the project before removing the old unit. If the original unit is dead, recovery is usually not possible without prior backup.
Q5: Why is your unit labeled “New Surplus”?
These units are unused OEM products sourced from project overstock or canceled installations. They are not refurbished. Each unit is inspected and tested before shipment.
Q6: Does this unit support modern protocols like OPC UA?
No. This generation supports Modbus TCP/RTU and CANopen. If OPC UA is required, you’ll need a gateway or upgrade to a newer HMI platform.
Q7: What’s the most common installation mistake?
Incorrect power wiring or assuming Ethernet settings match the old unit. I’ve seen engineers waste hours troubleshooting what turned out to be a simple IP mismatch. Verify network settings before powering up.
SOP Quality Transparency (Inspection & Testing Process)
1. Inbound Inspection & Traceability
- Verified against OEM packaging and procurement records
- Serial number and labeling checked for authenticity
- Visual inspection under strong light: no oxidation, no connector wear, no LCD discoloration
- Accessory check: mounting brackets, seals, documentation (if available)
2. Live Functional Testing
- Tested on a dedicated Eaton HMI test bench with 24 V DC regulated supply
- Boot sequence verified (no abnormal delays)
- Ethernet communication tested via Modbus TCP simulation
- Serial ports validated using loopback testing
- Touchscreen calibration and response verified across full surface
- Continuous runtime test: >24 hours powered, monitored for thermal drift
3. Electrical Parameter Testing
- Insulation resistance test: >10 MΩ @ 500 V Megger
- Ground continuity verified
- Input voltage stability confirmed under load
4. Firmware & Configuration Verification
- Firmware version recorded (varies by batch; typically Galileo-compatible runtime)
- Default configuration documented
- Communication defaults noted for commissioning
5. Final QC & Packaging
- QC sign-off with traceable inspection ID
- Packed in anti-static ESD bag
- Foam-protected, double-wall carton packaging
- QC Passed label with inspection date
Test reports, photos, and power-on videos are available upon request.
Technical Pitfalls & Survival Guide
❗ 1. Firmware Compatibility Issues
I’ve seen HMI projects fail to run because runtime versions didn’t match. A unit with newer firmware may reject older compiled projects.
Avoidance: Always keep the original project source and runtime version. Match before deployment.
❗ 2. Network Configuration Mismatch
Default IP settings rarely match your plant network.
Avoidance: Document old IP/subnet before removal. Assign manually if needed.
I’ve watched teams blame switches and cables for hours — it was just a subnet mismatch.
❗ 3. Panel Cutout & Mounting Fit
Not all XV100 panels share identical cutout tolerances.
Avoidance: Verify dimensions before ordering. Even a few millimeters off will cost you time on-site.
❗ 4. Power Supply Margins
These panels are sensitive to voltage dips.
Avoidance: Ensure stable 24 V DC with at least 20% current margin.
Low-quality supplies cause intermittent reboots — very hard to diagnose.
❗ 5. ESD Damage During Handling
Touch panels are more sensitive than standard PLC modules.
Avoidance: Always use ESD protection.
I’ve seen a brand-new panel fail immediately after installation due to static discharge in dry winter conditions.


