
 WhatsApp: +86 16626708626
 Email:
  Phone: +86 16626708626
Description
Key Technical Specifications
| Parameter | Value |
|---|---|
| Manufacturer | Eaton |
| Model | XVS-440-10MPI-1-1U |
| Product Series | XVS400 |
| Product Type | HMI-PLC Touch Panel |
| Display Size | 10.4 in TFT Color |
| Resolution | VGA 640 × 480 |
| Touch Technology | Infrared Touch |
| Color Depth | 65,536 or 256 colors |
| Supply Voltage | 24 V DC |
| Processor | 32-bit RISC |
| System Memory | 64 MB DRAM |
| Operating System | Windows CE |
| Ethernet | 10/100Base-T |
| Serial Port | RS232 |
| Fieldbus | PROFIBUS DP / MPI |
| USB | 2 × USB Host, 1 × USB Device |
| Memory Expansion | 2 × CompactFlash slots |
| PLC Runtime | Optional user-installed license |
| Front Protection | IP65 |
| Rear Protection | IP20 |
| Heat Dissipation | Approximately 24 W |
| Mounting | Flush panel mounting |
| Front Construction | Metal front with laminated safety glass |
Product Introduction
The Eaton XVS-440-10MPI-1-1U is a 10.4-inch industrial HMI-PLC operator panel designed for machine control, process visualization, and operator interaction. The unit combines a VGA TFT display with Ethernet, RS232, and PROFIBUS/MPI communications, making it suitable for integration with Siemens PLCs and mixed-vendor automation systems.
Unlike a standard operator terminal, the XVS-440 supports optional PLC runtime licensing, allowing a single device to perform visualization and control tasks. The metal front panel, IP65 protection, CompactFlash storage, and Windows CE platform make it well suited for maintaining existing XVS400 installations where minimizing engineering changes is important.
Installation & Configuration Guide
Stage 1 – Pre-Installation Preparation (10 minutes)
⚠️ Safety First
- Notify production personnel of scheduled downtime.
- Perform Lock-Out/Tag-Out procedures.
- Disconnect the 24 V DC supply.
- Wait at least five minutes before opening the cabinet.
- Wear an ESD wrist strap.
- Back up:
- HMI project
- PLC application
- Communication parameters
- CompactFlash contents
- Photograph all connectors, wiring, and communication settings.
Stage 2 – Removing the Existing Unit (5–10 minutes)
- Disconnect Ethernet, PROFIBUS/MPI, RS232, USB, and power cables.
- Label every connector before removal.
- Remove the mounting clamps.
- Carefully withdraw the panel from the cabinet cutout.
- Inspect connectors for bent pins or corrosion.
⚠️ Keep the original panel until the replacement has completed full commissioning.
Stage 3 – Installing the Replacement (10 minutes)
- Verify the replacement is XVS-440-10MPI-1-1U.
- Install the HMI evenly to protect the sealing gasket.
- Reconnect all communication and power cables.
- Install the CompactFlash card if used.
- Restore IP addresses and PROFIBUS/MPI node settings.
Installation Checklist
- ✓ Model number verified
- ✓ Power polarity confirmed
- ✓ Ethernet connected
- ✓ PROFIBUS termination verified
- ✓ CompactFlash installed
- ✓ Front seal properly compressed
Stage 4 – Power-Up & Commissioning (10 minutes)
- Apply 24 V DC power.
- Verify the Windows CE operating system boots correctly.
- Check Ethernet communication.
- Confirm PROFIBUS/MPI communication with the PLC.
- Download the HMI application if necessary.
- Test all operator screens, alarms, and communication functions.
⚠️ Troubleshooting Tip
If communication fails after installation, check these items before suspecting hardware failure:
- Firmware revision mismatch
- Incorrect PROFIBUS station address
- Wrong MPI baud rate
- Missing CompactFlash runtime files
- PLC runtime license not installed
- Different engineering software version
I’ve seen technicians replace the hardware only to spend hours troubleshooting what ultimately turned out to be an incorrect MPI node address. Photograph the old configuration before removal—it saves a lot of unnecessary downtime.
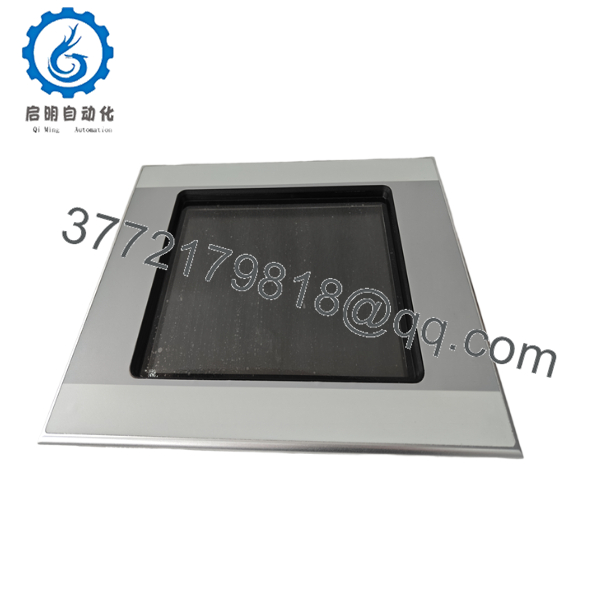
- XVS-440-10MPI-1-1U
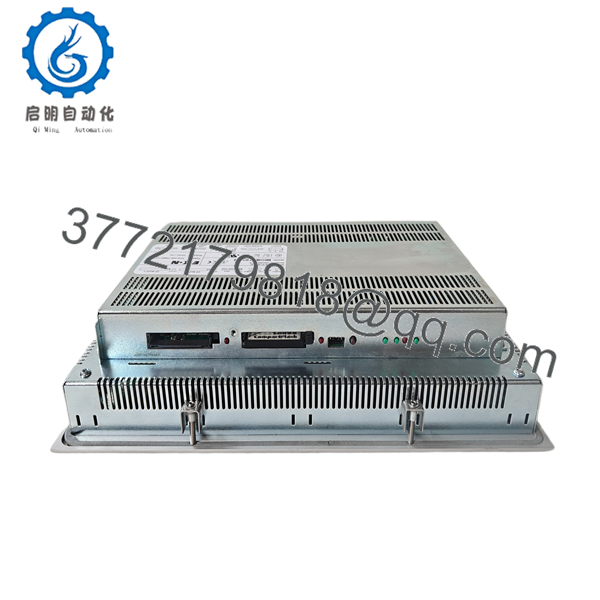
- XVS-440-10MPI-1-1U
Frequently Asked Questions (FAQ)
Q1. Can this HMI be replaced while the machine is powered?
No. The XVS-440-10MPI-1-1U is not hot-swappable. Shut down the control cabinet before removing or installing the panel to avoid damaging the backplane or interrupting fieldbus communications.
Q2. Does this model include an integrated PLC?
The hardware supports HMI-PLC functionality, but the PLC runtime requires an additional software license. Without the license, it operates as a standard HMI.
Q3. Will my application be lost during replacement?
Normally no. The runtime project is typically stored on CompactFlash media or can be restored from the engineering workstation. Always create a backup before removing the existing panel.
Q4. Which PLC systems can communicate with this HMI?
The standard interfaces support:
- Ethernet
- RS232
- PROFIBUS DP
- MPI
- USB
This makes the unit suitable for many Siemens-based automation systems as well as other industrial controllers using supported communication drivers.
Q5. Is this model still recommended for new machine designs?
Generally no. The XVS400 family is a mature product line most commonly purchased today for maintaining installed equipment or replacing failed operator panels in existing production lines.
Q6. What should be verified before ordering a replacement?
Verify:
- Complete model number ()
- Hardware revision
- Firmware version
- PROFIBUS/MPI address
- Communication baud rate
- CompactFlash contents
- PLC runtime license status
Matching these parameters before installation prevents most commissioning delays and compatibility issues.



