
 WhatsApp: +86 16626708626
 Email:
  Phone: +86 16626708626
Description
Key Technical Specifications
| Parameter | Value |
|---|---|
| Manufacturer | Emerson / Westinghouse Ovation |
| Part Number | 1C31122G01 |
| Product Type | Digital Output Electronics Module (EMOD) |
| System | Ovation Distributed Control System |
| Number of Channels | 16 digital outputs |
| Output Voltage Range | 5–60 VDC |
| Output Type | Solid-state transistor outputs |
| Maximum Switching Voltage | 60 VDC |
| Output Configuration | Current-sinking transistor outputs |
| Maximum Output Current | Up to 500 mA per channel |
| Module Function | Digital switching of DC field loads |
| Associated PMOD | 1C31125G01 / 1C31125G02, depending on installation |
| Typical Main Power | 3.0 W / VA |
| Typical Auxiliary Power | 14.5 W / VA with 16 outputs on |
| Typical Main Heat Dissipation | 10.2 BTU/h |
| Typical Auxiliary Heat Dissipation | 49.3 BTU/h with 16 outputs on |
The Ovation I/O reference documentation specifies that the digital output module contains 16 current-sinking transistor outputs, capable of switching 60 VDC loads at up to 500 mA. It also identifies 1C31122G01 as the electronics module for the 60 VDC digital-output configuration.
Emerson’s Ovation planning documentation lists 1C31122G01 electrical loading at approximately 3.0 W/VA main power and 14.5 W/VA auxiliary power with all 16 outputs on for the associated relay-panel configuration.
Compatibility warning: The 1C31122G01 is the electronics module (EMOD). Do not confuse it with the associated personality modules such as 1C31125G01 or 1C31125G02. The correct PMOD and terminal arrangement depend on the installed Ovation I/O configuration.
Product Introduction
The Emerson 1C31122G01 is a 16-channel Digital Output Electronics Module for the Ovation DCS. It switches DC field loads from Ovation control logic and is specified for 5–60 VDC operation. Emerson documentation identifies the module as an EMOD assembly used with Ovation digital-output configurations.
The module uses 16 transistor-based output channels rather than mechanical relay contacts. The documented output capability reaches 60 VDC and 500 mA per channel, making the module suitable for appropriately rated DC control loads. Always check the connected load, external protection, and PMOD arrangement before replacement.
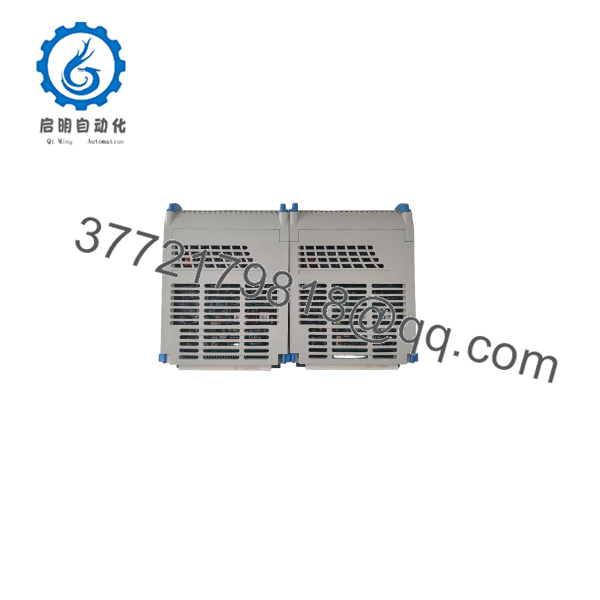
1C31122G01
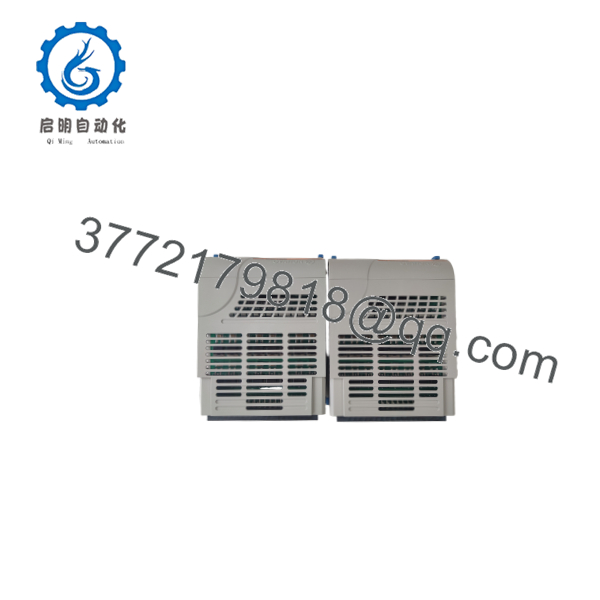
1C31122G01
Installation & Configuration Guide
Stage 1: Pre-Installation Preparation — Approximately 5–10 Minutes
⚠️ Safety First: Notify operations, place the affected process in its approved safe state, and follow the plant’s LOTO procedure. Do not assume the 1C31122G01 can be removed under power simply because some Ovation configurations support online maintenance.
Tools Required
- ESD wrist strap
- PH1 screwdriver where applicable
- Digital multimeter
- Wire labels
- Smartphone or camera
- Approved Ovation hardware documentation
Data Backup
- Record the complete part number: 1C31122G01.
- Photograph the existing module and its adjacent PMOD/terminal arrangement.
- Record the I/O slot and node location.
- Photograph terminal wiring before disconnecting anything.
- Record relevant Ovation diagnostics and I/O channel states.
- Confirm the connected field loads are within the documented 5–60 VDC operating range.
Stage 2: Removing the Old Module — Approximately 5 Minutes
- Place the affected I/O segment in the approved maintenance state.
- Remove the applicable cover or front hardware.
- Label every field connection before removal.
- Disconnect wiring without pulling directly on conductors.
- Release the module’s retaining mechanism.
- Pull the electronics module straight out of its mating assembly.
- Inspect the connector, backplane, and PMOD interface for contamination or bent contacts.
⚠️ Do not discard the old module immediately. Keep it beside the replacement until the I/O system has completed commissioning.
Stage 3: Installing the New Module — Approximately 5–10 Minutes
- Confirm the replacement marking reads 1C31122G01.
- Compare the replacement with the removed module.
- Confirm that the associated personality module and terminal arrangement match the original configuration.
- Put on the grounded ESD wrist strap before handling the module.
- Inspect connector contacts for damage.
- Insert the EMOD into the correct Ovation base/PMOD arrangement.
- Seat the module completely and engage the retaining mechanism.
- Reconnect field wiring according to the photographs and approved wiring diagram.
- Verify that no conductor has been displaced or trapped.
Self-Checklist
- Correct part number: 1C31122G01
- Correct Ovation I/O location
- Correct PMOD arrangement
- Wiring matches original configuration
- Connector fully seated
- Retaining mechanism locked
- ESD precautions maintained
Stage 4: Power-On & Testing — Approximately 10–15 Minutes
- Check the installation before energizing the rack.
- Use a multimeter to verify there is no unintended short on the applicable DC supply.
- Energize the I/O equipment according to the approved Ovation procedure.
- Observe module and node status indications.
- Open the Ovation diagnostic environment.
- Confirm that the I/O node communicates normally.
- Verify all 16 configured output points.
- Perform a controlled dry-run of representative outputs.
- Measure the field-side voltage where required.
- Return outputs to their normal operating states only after operations approval.
⚠️ Troubleshooting Note: If communication is normal but one or more outputs fail, check the PMOD, terminal wiring, field power, fuse/protection devices, and load current before replacing the EMOD again.
Technical Pitfall & Survival Guide
1. Firmware / Hardware Revision Mismatch
This is an I/O electronics module, not a standalone programmable controller, so firmware should not be your first diagnostic target. However, Ovation system revision and associated I/O hardware compatibility still matter.
I’ve seen technicians replace an old I/O assembly by part number alone and overlook the personality module. The EMOD was correct; the surrounding hardware was not.
❗ Record the complete installed I/O assembly before ordering.
2. Personality Module Confusion
The 1C31122G01 is the EMOD. The associated PMOD can be a different part number.
The Ovation documentation identifies 1C31125G01 and 1C31125G02 as personality-module configurations for the digital-output module.
Do not order a replacement based only on the words “Ovation digital output.”
3. Terminal / Wiring Incompatibility
Even when the electronics module matches, field wiring depends on the associated personality module and terminal arrangement.
Take photographs before disconnecting anything. Verify the wiring diagram afterward.
4. Output Current and Power Loading
The documented digital-output capability is 500 mA per channel, but that does not mean every connected load should be operated at 500 mA continuously without checking the complete installation.
Calculate the actual load current, external supply capacity, protection-device ratings, and thermal conditions.
5. ESD Damage
❗ Do not handle the electronics module by its connector contacts. Use a grounded wrist strap and an ESD-safe work area.
A module can pass a visual inspection and still have suffered ESD damage. If a replacement behaves unexpectedly, review handling conditions before assuming the spare was defective.
Frequently Asked Questions (FAQ)
1. What is Emerson 1C31122G01?
It is an Ovation 16-channel Digital Output Electronics Module (EMOD). Emerson specifies it for digital output applications with a 5–60 VDC range.
2. How many outputs does the 1C31122G01 have?
It has 16 digital output channels. The Ovation reference manual describes these as current-sinking transistor outputs capable of switching loads up to 60 VDC and 500 mA per channel.
3. Is the 1C31122G01 obsolete?
Yes. Current secondary-market listings identify the manufacturer status as discontinued, although replacement inventory remains available through surplus and aftermarket channels.
For a shutdown-critical application, verify actual physical inventory rather than relying on an online “in stock” indicator.
4. Can I hot-swap the 1C31122G01?
Do not assume hot-swapping is permitted. Some Ovation architectures have maintenance procedures that support online replacement, but the correct procedure depends on the installed I/O base, node architecture, system revision, and plant operating procedure.
If the approved documentation does not explicitly authorize live removal, de-energize the affected hardware first.
5. What is the difference between 1C31122G01 and 1C31125G01?
They are different parts serving different functions. 1C31122G01 is the Digital Output Electronics Module, while 1C31125G01 is a personality module used to interface the digital-output module with field terminal blocks.
Do not substitute one for the other.
6. Will replacing 1C31122G01 erase my Ovation control logic?
The module itself is an I/O electronics module rather than the main Ovation controller where application logic resides. Replacing the DO module should therefore not be treated like replacing a controller CPU.
However, document the existing I/O configuration before removal. A replacement does not correct an incorrect database configuration, wiring error, or channel assignment.
7. Why is surplus 1C31122G01 cheaper than OEM pricing?
This part is a legacy/discontinued item, so aftermarket inventory can come from surplus, unused original packaging, or refurbished stock. Current listings show materially different prices and conditions.
Ask the supplier to state the exact condition: Factory Sealed, New Original/New Surplus, or Refurbished (tested). For a critical DCS spare, request photographs of the actual unit, nameplate/traceability information, test documentation, warranty terms, and confirmed physical stock before ordering.



