
 WhatsApp: +86 16626708626
 Email:
  Phone: +86 16626708626
Description
Key Technical Specifications
| Parameter | Specification / Value |
| Manufacturer | EMG Automation GmbH |
| Model Number | ECU01 (Variants include ECU01.1 / ECU01.5) |
| Product Type | Electronic Control Unit / Strip Position Controller |
| Supply Voltage | 24 VDC (Nominal, system bus powered) |
| Operating Modes | Manual, Center Position, Automatic, External Control |
| Signal Inputs | Multi-channel Analog Inputs (Optical/Inductive strip position sensors, pressure, speed) |
| Signal Outputs | Servo-valve control signals / Analog output (0–10 V, 0–5 V) |
| Communication | System fieldbus / Internal bus interface |
| Enclosure Rating | Rugged Aluminum Housing / IP65 front panel seal |
| Operating Temperature | 0 to +55 °C (32 to +131 °F) |
Product Introduction & Supply Chain Strategy
The EMG ECU01 is a specialized electronic control unit designed for high-precision electro-hydraulic strip guiding systems used across continuous metal processing, slitting, and pickling lines. Operating as the central interface, the ECU01 processes analog sensor telemetry from optical or inductive strip edge detectors and directly drives servo-valves to adjust coil positioning and maintain precise strip centering at high line speeds.
Securing the EMG ECU01 as New Surplus is a critical supply chain safeguard for steel, aluminum, and heavy manufacturing facilities. A failure in a strip guiding controller halts an entire processing line; unexpected downtime costs on hot-dip galvanizing or slitting operations easily exceed thousands of dollars per hour. Unlike refurbished modules that risk latent solder-joint fractures or degraded internal capacitors, our New Surplus units guarantee zero operating hours, pristine backplane pin condition, and total operational reliability under severe industrial vibration and thermal stress.
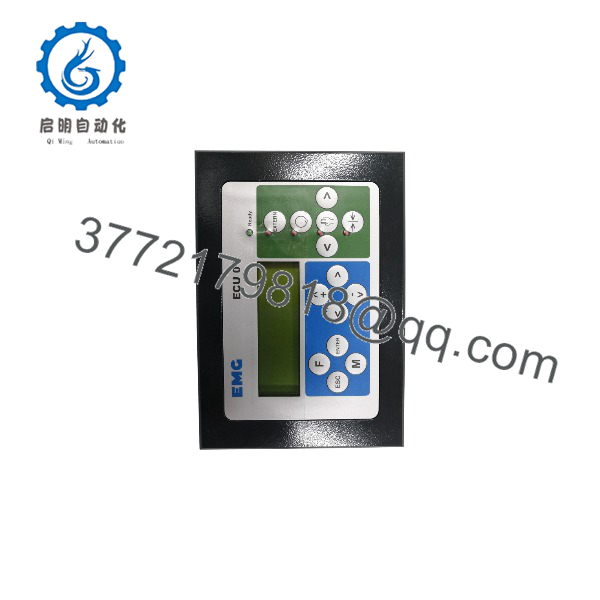
ECU01
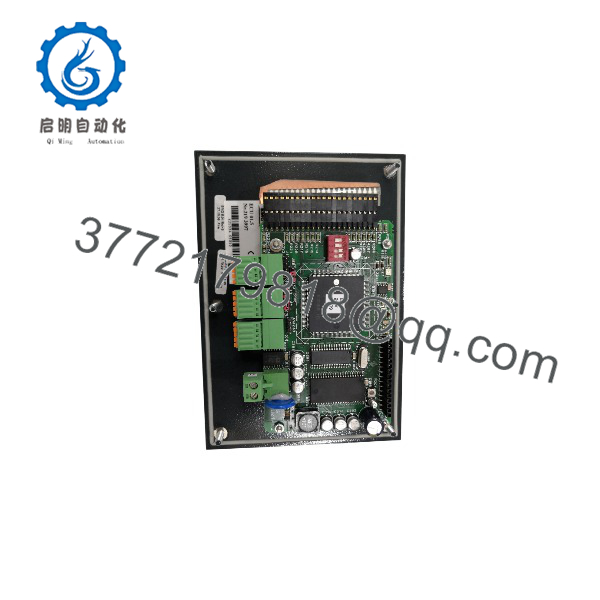
ECU01
Installation & Configuration Guide
Stage 1: Pre-Installation (Prep & Safety)
- Lock-Out/Tag-Out (LOTO): Isolate main 24 VDC control power and shut off hydraulic system pressure to the strip guiding actuator before opening the panel enclosure.
- Static Protection: Put on an ESD-grounded wrist strap connected to chassis ground to prevent static discharge from damaging internal microprocessor logic.
- Documentation: Document all current jumper configurations, terminal assignments, and DIP switch settings on the existing board. Take clear photos of wiring landings.
Stage 2: Removal
- Unfasten retaining screws on field wiring plug-in connectors and carefully disconnect the sensor signal feeds, power leads, and servo-valve outputs.
- Remove the panel mounting screws securing the module frame to the cabinet chassis.
- Gently pull the forward out of the sub-panel cutout, avoiding mechanical stress on adjacent ribbon cables.
Stage 3: Installation (Clone & Seat)
- Replicate all hardware jumpers and DIP switch configurations from the outgoing module to the new unit.
- Mount the chassis flush against the cutout or DIN rail mount, ensuring ground continuity through the aluminum housing.
- Re-engage the terminal blocks, ensuring signal wiring (photocell/inductive sensors) and power connections match original schematic pinouts.
Stage 4: Power-On & Testing
- Apply 24 VDC power and verify the power LED illuminates solid without triggering system fault indicators.
- Select Center Mode on the panel to confirm the hydraulic actuator homes to zero position.
- Switch to Automatic Mode during a slow line jog to verify responsive, un-oscillating strip edge tracking via the sensor loop.
Firmware/Software Versions & Upgrade Notes
- Hardware Compatibility: Ensure the specific hardware revision suffix (e.g., vs .5) matches your existing panel configuration, as pinouts and board revision layouts can vary between sub-series.
- Calibration Requirements: Swapping an module requires re-zeroing the analog input channels to match the zero-point calibration of connected strip edge sensors.
- Firmware Note: Hardware settings on the are configured via onboard pots/DIP switches or system communication; always document sensor gain and offset calibration values before replacing a field unit.
Frequently Asked Questions (FAQ)
1. Is this EMG module brand new or refurbished?
This unit is guaranteed 100% Original New Surplus. It has never been energized in an active mill environment, installed in a panel, or pulled from decommissioned machinery. It remains preserved in original anti-static packaging and has undergone thorough physical inspection.
2. Why is buying New Surplus hardware better than buying a refurbished card?
Refurbished control cards from heavy metalworking environments often suffer from unseen fatigue—such as heat-stressed capacitors, degraded relays, or micro-cracks on PCB traces caused by continuous machine vibration. A failed refurbished controller can trigger a strip tracking fault, ruining raw material or causing catastrophic mill downtime. New Surplus guarantees original factory lifecycle and total peace of mind.
3. What application is the EMG controller used for?
The is primarily used in EMG strip guiding systems for metal coil processing (e.g., steel, aluminum, copper lines). It processes signals from edge sensors to control electro-hydraulic or electromechanical actuators that keep the moving metal strip aligned.
4. Do I need special software to configure the after swapping?
In most standard installations, the relies on direct hardware configuration via onboard switches and trim pots, alongside standard system calibration via the operator panel. No proprietary software license is required for basic hardware swaps, provided you copy the calibration settings from your old card.
5. What warranty coverage comes with this unit?
We back this New Surplus EMG controller with a full 1-year functional warranty. Every unit is checked for physical pin integrity and power-on readiness prior to shipment.



