
 WhatsApp: +86 16626708626
 Email:
  Phone: +86 16626708626
Description
3. Key Technical Specifications
| Parameter | Value |
|---|---|
| Product Model | SK8008-1224 |
| Manufacturer | Enterasys Networks |
| Product Type | Layer 2 Managed Ethernet Switch |
| Switching Technology | Store-and-Forward Ethernet |
| Ethernet Ports | Model-dependent Fast Ethernet interfaces |
| Network Speed | 10/100 Mbps |
| Management | Web Interface, CLI, SNMP |
| Supported Protocols | IEEE 802.3, IEEE 802.3u, VLAN, STP, RSTP |
| Network Features | VLAN, QoS, Port Mirroring, Link Aggregation |
| Operating Temperature | Refer to OEM documentation before installation |
| Mounting | Rack Mount |
| Firmware | Verify installed firmware before deployment |
| Status Indicators | Power, System, Link/Activity LEDs |
| Compliance | IEEE Ethernet Standards |
Compatibility Note: Enterasys produced multiple hardware revisions throughout the SecureStack product family. Verify the hardware revision and installed firmware before replacing an existing switch in production.
4. Product Introduction
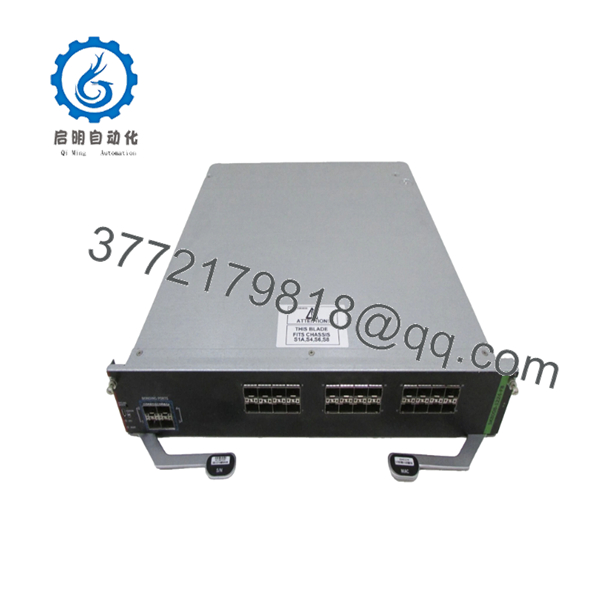
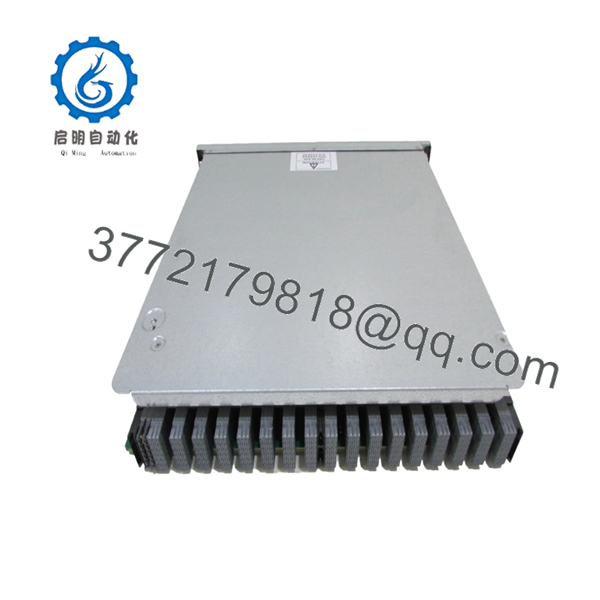
The Enterasys SK8008-1224 is a SecureStack managed Ethernet switch designed for industrial and enterprise network infrastructure requiring centralized Layer 2 switching, VLAN segmentation, and network management. It is commonly deployed in manufacturing plants, utility facilities, transportation systems, and industrial automation networks.
Although this model has reached legacy status, many facilities continue operating it because existing network architectures depend on its firmware behavior and management features. When replacing an installed unit, matching firmware revisions and configuration files can reduce commissioning time and prevent unexpected network communication issues.

- SK8008-1224
- SK8008-1224
5. Installation & Configuration Guide
Stage 1 — Pre-Installation Preparation (Estimated Time: 10 Minutes)
⚠️ Safety First
- Notify operations personnel of the planned network interruption.
- Place connected automation equipment into a safe operating state.
- Lock out and tag out the equipment power source.
- Wait at least 5 minutes for internal power supplies to discharge.
Tools Required
- ESD wrist strap
- PH1 screwdriver
- Digital multimeter (Fluke 115 or equivalent)
- Cable labels
- Smartphone for documentation
Data Backup
- Export the complete switch configuration.
- Record:
- IP address
- Gateway
- VLAN configuration
- SNMP settings
- User accounts
- Photograph all cable locations.
- Label every Ethernet connection before removal.
Stage 2 — Removing the Old Switch (Estimated Time: 5 Minutes)
- Disconnect incoming power.
- Remove the front cable management if installed.
- Label every Ethernet cable before unplugging.
- Remove power wiring.
- Unscrew rack mounting hardware.
- Pull the switch straight forward without stressing adjacent equipment.
- Inspect connectors for bent pins, corrosion, or contamination.
⚠️ Keep the original switch available until the replacement passes all network tests.
Stage 3 — Installing the Replacement (Estimated Time: 10 Minutes)
- Wear an ESD wrist strap before handling the switch.
- Verify the replacement model is SK8008-1224.
- Compare the hardware revision labels.
- Install the switch into the rack.
- Tighten mounting screws evenly.
- Reconnect power.
- Reconnect Ethernet cables according to the photographs.
- Restore the saved configuration if required.
Configuration Checklist
- Correct model verified
- Hardware revision checked
- Firmware version documented
- Configuration restored
- Network cables correctly labeled
- Rack screws tightened
Stage 4 — Power-On & Functional Testing (Estimated Time: 10 Minutes)
Pre-Power Checks
- Measure supply voltage using a multimeter.
- Confirm no short circuit exists.
- Verify chassis grounding.
Startup Procedure
- Apply power to the switch only.
- Observe LED startup sequence.
- Confirm the Power LED remains stable.
- Verify Link LEDs illuminate after cables are connected.
- Access the management interface.
- Confirm:
- IP address
- Firmware revision
- VLAN database
- Port status
- Test communication between connected PLCs, HMIs, and SCADA systems.
⚠️ Troubleshooting
Solid fault indicator
- Verify firmware compatibility.
- Reload saved configuration.
No network communication
- Confirm VLAN assignments.
- Verify switch management IP.
- Check spanning-tree convergence.
- Inspect fiber or copper transceiver compatibility.
Engineering Notes from Field Experience
❗ Firmware Revision Mismatch
This catches more maintenance teams than any hardware failure. I’ve seen an identical-looking replacement boot normally, yet several PLCs immediately reported communication timeouts because the replacement carried a later firmware release with different default spanning-tree behavior. Record the existing firmware before shutdown and request the closest available revision whenever possible.
❗ Configuration Loss
Replacing the hardware without saving the startup configuration often creates unnecessary downtime. Always export the configuration before removing the switch. Even experienced technicians occasionally assume the replacement will inherit factory defaults that match the original installation—it rarely does.
❗ Cabling Mistakes
Large control cabinets often contain dozens of nearly identical Ethernet cables. Label every cable and photograph the front panel before disconnecting anything. Reconnecting ports from memory is one of the quickest ways to create intermittent communication problems.
❗ Power Capacity
Verify the DC or AC power source matches the switch nameplate specifications. While the switch itself typically draws modest power, overloaded UPS systems and aging power supplies have caused unexpected startup failures during maintenance windows.
❗ Electrostatic Discharge (ESD)
I once watched a replacement network switch fail immediately after installation because it was handled on a dry winter day without an ESD strap. There was no visible damage, but several Ethernet ports never initialized correctly. Use a grounded wrist strap and an ESD-safe work surface every time.
Keep these checks in mind and you’ll save yourself most of the unnecessary troubleshooting that extends planned outages.
6. Frequently Asked Questions (FAQ)
Q1. Can I hot-swap the Enterasys SK8008-1224?
No. This switch was not designed for hot replacement. Remove power before disconnecting or installing the unit. Replacing it while energized risks network interruption and possible hardware damage.
Q2. Is the SK8008-1224 obsolete?
Yes. It is considered a legacy Enterasys platform. New Original (New Surplus) inventory still exists through surplus industrial automation suppliers, but availability continues to decrease.
Q3. Will replacing the switch erase my network configuration?
Yes, unless the configuration has been backed up. Save the startup and running configurations before removing the existing switch, then restore them to the replacement unit if the firmware supports the same configuration format.
Q4. Is there a direct replacement?
There is no guaranteed drop-in replacement with identical hardware behavior. Depending on the network architecture, migration may involve newer Extreme Networks managed switches. Always verify firmware compatibility, management features, VLAN behavior, and spanning-tree settings before planning a replacement.
Q5. Why is New Surplus inventory usually less expensive than OEM pricing?
New Surplus equipment typically comes from excess project inventory, canceled installations, or distributor stock rather than current factory production. The hardware is unused but may have been stored for several years. Verify packaging, serial numbers, and test documentation before purchase.
Q6. What testing do you perform before shipment?
For New Surplus units, a documented inspection process should include:
- OEM label and serial number verification.
- Visual inspection for corrosion, scratches, UV discoloration, or rework marks.
- Power-on self-test.
- Ethernet port communication testing.
- SNMP and management interface verification.
- Continuous operation under load for more than 24 hours.
- Insulation resistance testing where applicable.
- Firmware version documentation.
- Final QC inspection.
- ESD packaging, protective cushioning, and heavy-duty shipping carton.
A test report, photographs, and startup video should be available upon request. Verify these documents before placing equipment into service.



