
 WhatsApp: +86 16626708626
 Email:
  Phone: +86 16626708626
Description
3. Key Technical Specifications
| Parameter | Value |
|---|---|
| Product Model | Summit X460-24p |
| Manufacturer | Extreme Networks |
| Product Family | Summit X460 Series |
| Product Type | Layer 2/Layer 3 Managed Ethernet Switch |
| Access Ports | 24 × 10/100/1000Base-T IEEE 802.3at PoE+ |
| Fiber Interfaces | 8 × 100/1000BASE-X SFP (4 shared combo ports) |
| Expansion Slots | 2 modular expansion slots for 10 GbE or stacking modules |
| Switching Capacity | 176 Gbps |
| Forwarding Rate | 130.9 Mpps |
| Maximum Active Ports | 28 × Gigabit Ethernet, up to 6 × 10 GbE (with expansion modules) |
| Switching Latency | Less than 4 μs (64-byte packets) |
| VLAN Capacity | 4,096 VLANs |
| MAC Address Table | 32,000 entries |
| Operating System | ExtremeXOS (EXOS) |
| Management | CLI, SNMP, SSH, Web management, USB configuration |
| Mounting | 1U Rack Mount |
| Power Input | 100–240 VAC, 50/60 Hz |
| PoE Standard | IEEE 802.3af / IEEE 802.3at PoE+ |
| Memory | 1 GB ECC DRAM, 1 GB CompactFlash storage |
Compatibility Note: The Summit X460-24p supports multiple optional expansion modules, including 10 GbE uplink modules and SummitStack/SummitStack-V stacking modules. Verify the installed EXOS software release and hardware module compatibility before replacing an existing switch.
4. Product Introduction
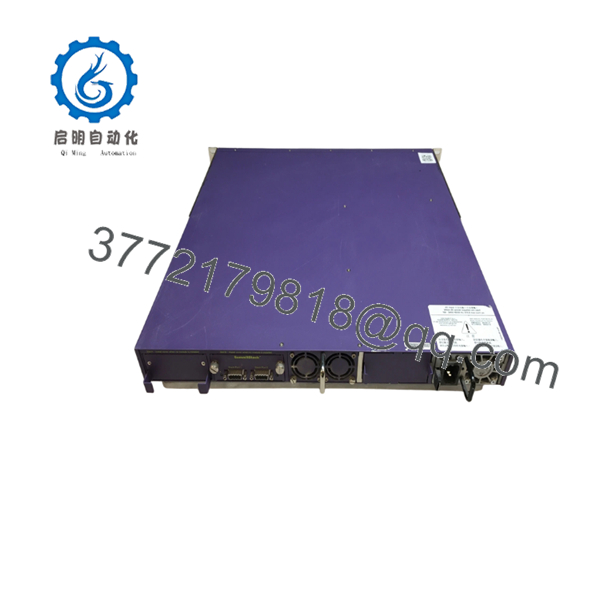
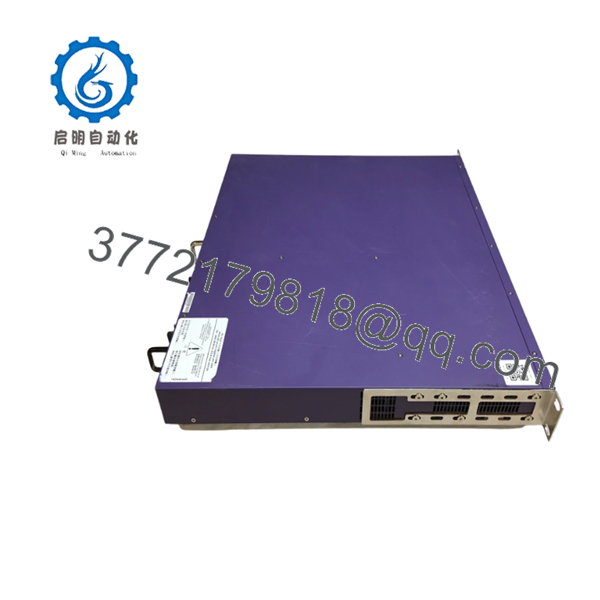
The Extreme Networks Summit X460-24p is a managed Gigabit Ethernet switch designed for enterprise campus, industrial control, and aggregation networks. It combines twenty-four IEEE 802.3at PoE+ access ports with Layer 2 and Layer 3 routing capabilities, modular 10 Gigabit uplinks, and hardware stacking support for scalable network deployments.
Many facilities continue operating the X460 platform because it integrates well with existing ExtremeXOS environments and supports incremental network expansion without replacing the entire switching infrastructure. Before commissioning a replacement unit, verify the installed EXOS version, optional expansion modules, and saved configuration to minimize downtime.
5. Installation & Configuration Guide
Stage 1 – Pre-Installation Preparation (Estimated Time: 10 Minutes)
⚠️ Safety First
- Notify operations of the scheduled maintenance window.
- Verify connected production systems can tolerate network downtime.
- Lock out and tag out the AC power source.
- Wait 5 minutes after power removal to allow internal capacitors to discharge.
Tools Required
- Grounded ESD wrist strap
- PH1 screwdriver
- Fluke 115 digital multimeter
- Cable labels
- Fiber cleaning kit (if SFP modules are installed)
- Smartphone for documenting cable locations
Data Backup
- Export the running and startup EXOS configuration.
- Record:
- EXOS software version
- Management IP address
- VLAN assignments
- Static routes
- SNMP configuration
- PoE settings
- Photograph all front-panel connections.
- Record installed expansion modules and stacking configuration.
Stage 2 – Removing the Old Switch (Estimated Time: 10 Minutes)
- Disconnect the AC power.
- Label every copper and fiber connection.
- Remove all SFP transceivers carefully.
- Disconnect console and management cables.
- Remove rack mounting screws.
- Slide the switch straight forward.
⚠️ Do not pull the switch using installed SFP modules or network cables.
Inspect the power connector, fan module, and expansion slots for damage or contamination.
Keep the original switch available until the replacement successfully passes operational testing.
Stage 3 – Installing the New Switch (Estimated Time: 10 Minutes)
- Wear a grounded ESD wrist strap.
- Verify the replacement model is Summit X460-24p.
- Confirm the installed expansion modules match the original hardware.
- Install the switch into the rack.
- Reinstall SFP modules after cleaning connector end faces.
- Restore the saved EXOS configuration if required.
- Reconnect all network cables.
Self-Checklist
- Correct model verified
- Expansion modules installed
- EXOS version documented
- Configuration restored
- SFP modules seated correctly
- Rack screws tightened
Stage 4 – Power-On & Testing (Estimated Time: 15 Minutes)
Pre-Power Check
- Measure AC input voltage.
- Verify chassis grounding.
- Inspect fan operation.
Power-On Steps
- Apply power to the switch.
- Observe Power, Fan, and System LEDs.
- Connect through the console port.
- Verify:
- EXOS version
- Port status
- VLAN database
- Routing table
- PoE allocation
- Test communication with connected PLCs, HMIs, servers, and SCADA systems.
- Verify stacking status if SummitStack is deployed.
⚠️ Troubleshooting Note
Solid fault LED
- Verify EXOS software compatibility.
- Check expansion module recognition.
No network communication
- Verify VLAN assignments.
- Check stacking configuration.
- Confirm optical transceiver compatibility.
- Inspect management IP configuration.

- Summit X460-24p
- Summit X460-24p
Engineering Notes from Field Experience
❗ Firmware Revision Mismatch
This remains one of the most common causes of extended maintenance windows. I’ve seen technicians replace an X460 switch only to discover that the newer EXOS release handled stacking differently than the existing production switches. The hardware looked identical, but the stack refused to form until every member was running a compatible software version. Record the existing EXOS release before shutting anything down.
❗ Expansion Module Differences
The X460 supports multiple optional uplink and stacking modules. Two switches with identical front panels may contain completely different expansion hardware. Verify module part numbers before ordering replacements.
❗ Combo Port Configuration
The shared RJ45/SFP combination ports often confuse technicians during maintenance. If an SFP interface is active, the paired copper interface is unavailable. Confirm which interface is actually in use before reconnecting cables.
❗ PoE Power Budget
Adding high-power PoE devices can exceed the available power budget, especially when IP cameras, wireless access points, and VoIP phones share the same switch. Verify the total PoE allocation before placing the switch into production.
❗ Electrostatic Discharge (ESD)
I once watched an engineer remove an expansion module without an ESD strap because “it would only take a minute.” The module booted, but two uplink ports became intermittent after several hours. ESD damage isn’t always immediate. Handle every module as though it’s the last spare available.
Keep these checks in mind and you’ll save yourself most of the rework that typically extends planned outages.
6. Frequently Asked Questions (FAQ)
Q1. Can I hot-swap the Summit X460-24p?
No. This platform is not intended for complete chassis replacement while powered. Schedule a maintenance window, remove power, and replace the switch according to the installation guide.
Q2. Is the Summit X460-24p obsolete?
Yes. The X460 family is considered a legacy platform. New Original (New Surplus) and professionally tested refurbished units remain available through surplus inventory, but factory production has ended.
Q3. What is the direct replacement if this model is unavailable?
There is no universal drop-in replacement because migration depends on EXOS features, stacking requirements, PoE power budget, and installed expansion modules. Later Extreme switching platforms may require configuration updates and software validation before deployment.
Q4. Will replacing the switch erase my configuration?
The replacement hardware does not automatically retain the existing configuration. Always export the running configuration before maintenance and restore it after installation. This is especially important for VLANs, routing, QoS, ACLs, and stacking parameters.
Q5. Why is New Surplus inventory usually less expensive than OEM pricing?
New Surplus hardware typically originates from canceled projects, distributor excess inventory, or unused maintenance stock. The equipment has not been commissioned but may have been stored for several years. Verify serial numbers, inspection records, and functional test documentation before installation.
Q6. What testing should be completed before shipment?
A documented inspection process should include:
- OEM serial number and label verification.
- Anti-counterfeit inspection.
- Visual inspection for corrosion, scratches, UV discoloration, or repair marks.
- Power-on self-test.
- EXOS boot verification.
- Copper and SFP port communication testing.
- Continuous operation under load for more than 24 hours.
- Insulation resistance verification where applicable.
- Firmware documentation and QC approval.
- ESD bag packaging, protective cushioning, and heavy-duty export boxing.
Test reports, boot videos, port verification records, and product photographs should be available upon request before shipment.



