
 WhatsApp: +86 16626708626
 Email:
  Phone: +86 16626708626
Description
3. Key Technical Specifications
| Parameter | Specification Value |
| Manufacturer | Extreme Networks |
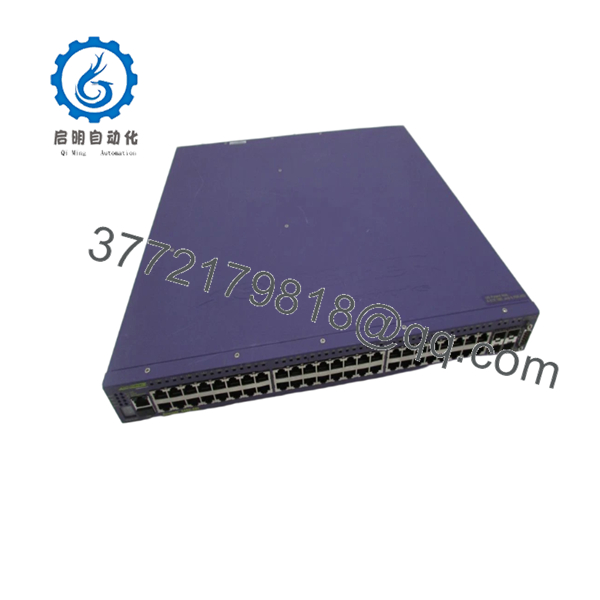
| Model Number | X460-48T (16103) |
| Switching Capacity | 176 Gbps |
| Forwarding Rate | 130.9 Mpps |
| Fixed Copper Ports | 48 x 10/100/1000Base-T (RJ-45) |
| SFP Combo Ports | 4 x 1000Base-X SFP slots (shared with ports 45–48) |
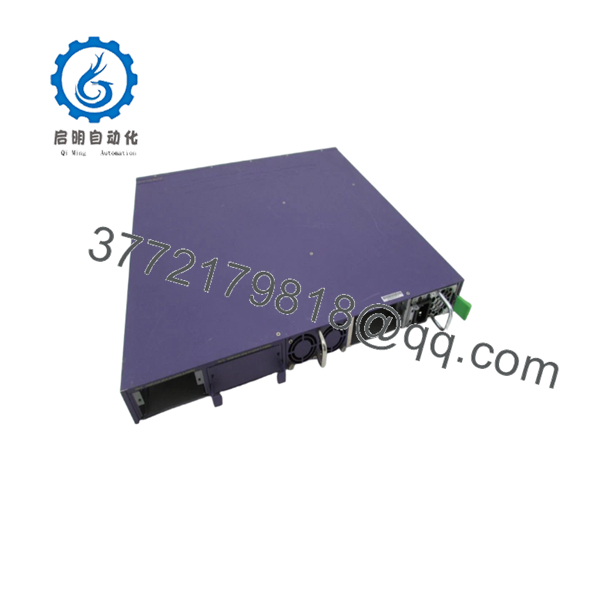
| Expansion Slot | Slot 1: Optional 2-port 10 GbE (SFP+ or XFP) or SummitStack module |
| Stacking Performance | Up to 8 units per stack via SummitStack (40 Gbps) or SummitStack-V (80 Gbps) |
| MAC Address Capacity | 32,000 entries |
| Power Supply Redundancy | Dual hot-swappable AC or DC power supply slots (ordered separately) |
| Operating System | ExtremeXOS (EXOS) Modular OS |
| Operating Dimensions | 1U Rack Height: 4.4 cm x 44.1 cm x 43.2 cm |
4. Product Introduction & Supply Chain Strategy
The Extreme Networks X460-48T (16103) is a versatile, high-density Summit X460 series stackable switch designed for high-performance edge routing and enterprise aggregation. Equipped with 48 auto-sensing gigabit copper ports and 4 shared SFP slots, this switch provides cross-floor data aggregation, high-speed industrial control room routing, and intelligent packet prioritization. Running on the modular ExtremeXOS (EXOS) operating system, it delivers robust Layer 2 switching alongside wire-speed Layer 3 IPv4/IPv6 routing protocols to secure critical automation networks.
When maintaining older or EOL communication platforms, procuring components under a strict Total Cost of Ownership (TCO) calculation is vital. Choosing this New Surplus X460-48T unit completely eliminates the high failure risk associated with refurbished switches, which frequently carry hidden silicon degradation and capacitor wear from years of continuous 24/7 service. For long-term risk mitigation in facilities where this hardware is obsolete, maintaining 1–2 factory-sealed units as on-site buffer stock serves as an essential insurance policy against lead time variability and catastrophic plant-wide stock-out incidents.
5. Installation & Configuration Guide
Stage 1: Pre-Installation (Prep & Safety)
- Power down corresponding power feeds and follow standard lock-out/tag-out safety rules at the breaker panel.
- Secure an ESD-grounded wrist strap to your arm before unboxing or handling the switch chassis.
- Connect a console cable to the active switch and download the running configuration using
upload config <ip_address>or capture the output ofshow configuration. - Document and label all copper station drops, optional stacking paths, and uplink optical transceivers.
Stage 2: Removal
- Unplug the dual AC/DC power cords from the rear power modules.
- Disconnect any rear SummitStack stacking cables by loosening the integrated thumbscrews.
- Carefully extract all copper RJ-45 connections and any front-facing SFP modules, placing them into protective anti-static storage bags.
- Loosen the rack-mounting screws securing the 1U chassis ears to the frame rails, and smoothly pull the switch clear of the rack enclosure.
Stage 3: Installation (Clone & Seat)
- Open the factory-sealed anti-static shipping pack and inspect the front RJ-45 ports and rear option card slots for any alignment anomalies.
- If applicable, transfer the optional 10Gb uplink or SummitStack module from the old switch to the slot on the rear of the new unit.
- Align the switch chassis with the 19-inch mounting posts and tighten the mounting hardware across all four anchor positions.
- Reconnect all copper lines, stacking loops, and optical transceivers into their designated port positions.
Stage 4: Power-On & Testing
- Slide the modular power supplies into the rear bays until they latch, attach the power cords, and ensure the internal cooling fans spin up immediately.
- Establish a direct terminal console session to monitor the boot sequence and confirm the power-on self-test (POST) returns clean.
- Execute
show switchandshow slotto confirm system stability and check that the port link LEDs illuminate a steady green across all active links. - Load the matching system configuration file, verify stack communication sync, and perform baseline ping routines to confirm network routing connectivity.

- X460-48T
- X460-48T
6. Firmware/Software Versions & Upgrade Notes
The Summit X460-48T relies on specific ExtremeXOS (EXOS) image trains to manage its hardware forwarding tables and stacking operations.
When connecting a replacement switch into an existing SummitStack, a firmware mismatch will prevent the new unit from joining the stack logical plane. Before mounting the replacement switch into a production environment, verify its standalone EXOS version via the CLI command show version. If necessary, flash the unit on a test bench to match the active production baseline. Avoid making major firmware version jumps during emergency hardware swaps unless explicitly required to resolve a known bug.
7. Frequently Asked Questions (FAQ)
Q: Are these X460-48T units brand new, or are they refurbished parts? A: This inventory consists entirely of 100% Brand New Surplus components. These switches have never been deployed in a production loop, subjected to operational thermal wear, or modified by third-party technicians. They arrive in unused condition inside factory-sealed anti-static packaging, ensuring pristine backplane electronics and port pins.
Q: Why does this New Surplus switch cost more than used or refurbished alternatives? A: Refurbished network hardware carries significant risks from component aging and cumulative thermal stress. Our New Surplus pricing reflects the true cost of securing verified, zero-runtime legacy inventory. Investing in a new component provides long-term operational peace of mind and guards against unexpected core network failures, which can quickly result in production losses that dwarf the initial purchase savings.
Q: Does this model support hot-swapping for its internal power supplies and fan trays? A: Yes. The Summit X460-48T features fully redundant, hot-swappable power supply units (PSUs). If a single power module fails, it can be pulled and replaced from the rear panel while the switch remains powered on and actively routing traffic, provided the secondary power supply is connected to an active power feed.
Q: Do the 4 SFP ports on the front panel provide independent channels? A: No. The 4 SFP ports (ports 45 through 48) are combo ports shared with the corresponding 10/100/1000Base-T copper ports. Connecting an optical SFP transceiver into port 45 will automatically disable the copper RJ-45 interface for port 45.
Q: How do you verify that this legacy switch is fully functional before shipping? A: Every New Surplus switch undergoes an intensive inbound quality control protocol. We verify the integrity of the factory anti-static packaging, inspect the physical serial numbers against manufacturer records, check the alignment pins, and complete a bench power-on diagnostic check. A detailed QC verification report accompanies every shipped item.



