
 WhatsApp: +86 16626708626
 Email:
  Phone: +86 16626708626
Description
Key Technical Specifications
| Parameter | Value |
|---|---|
| Model | DMC-1832 |
| Manufacturer | Galil Motion Control |
| Series | DMC-18×2 Econo PCI |
| Product Type | 3-axis PCI motion controller |
| Host Bus | PCI |
| Controlled Axes | 3 — X, Y, Z |
| Servo Command Output | ±10 V analog |
| Motor Command Resolution | 16-bit DAC / 0.0003 V |
| Maximum Servo Velocity | 12,000,000 counts/s |
| Maximum Stepper Pulse Rate | 3,000,000 pulses/s |
| Position Range | ±2,147,483,647 counts |
| Encoder Inputs | TTL-compatible, differential or single-ended |
| Maximum Encoder A/B Edge Rate | 12 MHz |
| General-Purpose Outputs | 8 TTL outputs |
| Servo Loop Update Time | 375 µs normal / 250 µs fast firmware |
| Communication/Expansion Connection | 100-pin high-density connector |
| Typical Interconnect | ICM-1900 / ICM-2900 family |
| Supply Requirements | +3.3 V, +5 V, +12 V, -12 V from PCI system |
| Standard Servo Configuration | ±10 V analog command |
| Controller Memory | Non-volatile program memory |
The DMC-1832 is the 3-axis member of Galil’s DMC-18×2 Econo PCI family, using X, Y, and Z axes. The controller was designed for installation directly into a PC PCI bus and uses a 100-pin high-density external connection to an interconnect module or amplifier interface.
For standard servo operation, the controller generates a ±10 V analog command with a 16-bit DAC. Encoder inputs support TTL-compatible signals and quadrature feedback, while the controller can also be configured for stepper operation.
Product Introduction
The GALIL DMC-1832 is a three-axis PCI motion controller for PC-based servo and stepper applications. It controls the X, Y, and Z axes and provides analog servo commands, encoder feedback, programmable I/O, coordinated motion, electronic gearing, contouring, and linear/circular interpolation.
For conventional servo systems, the DMC-1832 outputs a ±10 V command signal and accepts encoder feedback for closed-loop positioning. Its 16-bit command resolution and position range of ±2,147,483,647 counts make it suitable for legacy machine tools, automation equipment, inspection systems, and other PC-controlled motion platforms.
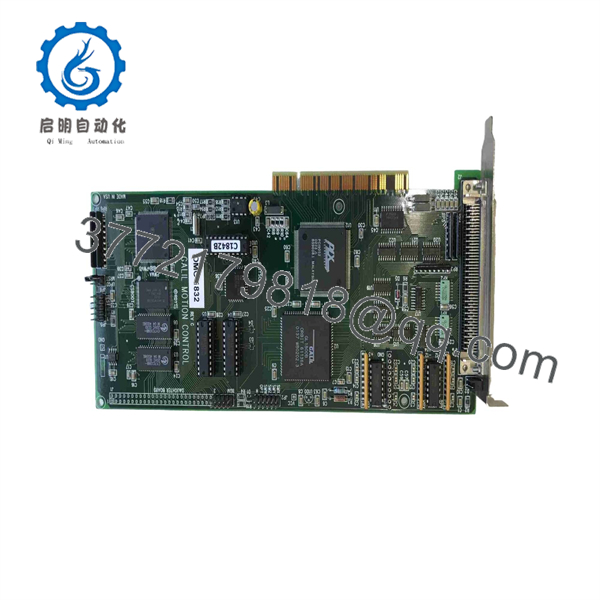
DMC-1832
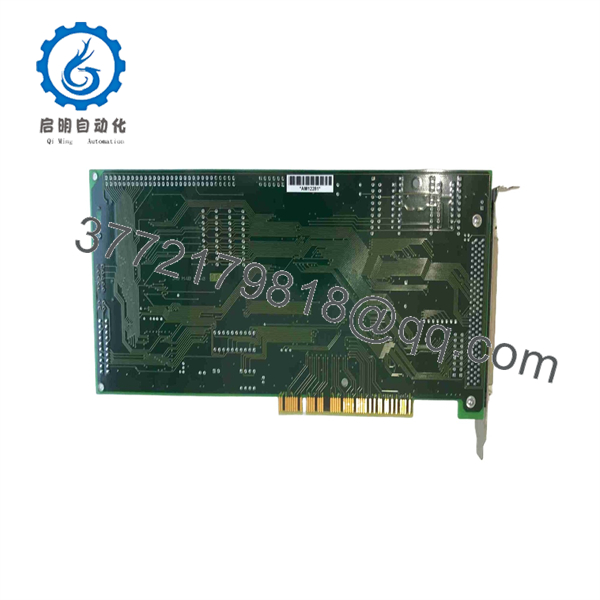
DMC-1832
Installation & Configuration Guide
Stage 1 — Pre-Installation Preparation
- Confirm the replacement is specifically DMC-1832, not DMC-1822 or DMC-1842.
- Verify the host computer provides a compatible PCI slot and operating environment.
- Back up the existing Galil motion program, axis parameters, servo tuning values, I/O assignments, and host application configuration.
- Record encoder wiring, amplifier connections, limit inputs, home inputs, and amplifier-enable wiring.
- Prepare an ESD wrist strap, insulated tools, multimeter, and the correct 100-pin interface cable.
- Identify the installed interconnect hardware. The DMC-18×2 documentation specifies ICM/AMP-1900 or ICM-2900 hardware as part of the normal system architecture.
- Shut down the host PC completely and remove AC power before accessing the PCI chassis.
Stage 2 — Removing the Old Controller
- Power down the PC and disconnect mains power.
- Allow the system to discharge according to the PC manufacturer’s safety procedure.
- Document the PCI slot position and cable orientation.
- Disconnect the 100-pin interface cable without pulling on the cable conductors.
- Disconnect any auxiliary I/O or expansion hardware attached to the controller.
- Remove the PCI retaining screw and carefully withdraw the controller.
- Inspect the PCI connector, 100-pin connector, cable, and interconnect module for contamination or mechanical damage.
Stage 3 — Installing the DMC-1832
- Verify the model number and board condition.
- Insert the card into the correct PCI slot with the board fully seated.
- Secure the card mechanically to the chassis.
- Reconnect the 100-pin cable with the correct connector orientation.
- Reconnect the ICM/AMP interface and verify that X, Y, and Z signals correspond to the original machine axes.
- Restore encoder, limit, home, abort, and amplifier-enable wiring.
- Install the required Galil software/driver environment compatible with the host operating system.
- Restore the backed-up motion program and configuration only after confirming the controller is recognized by the host.
Stage 4 — Power-On & Testing
- Start the PC and verify that the controller is detected correctly.
- Establish communication using the applicable Galil software or terminal interface.
- Query the controller identity and confirm that the expected configuration is present.
- Verify encoder counts independently for X, Y, and Z before enabling servo power.
- Check limit, home, abort, and amplifier-enable signals.
- Verify the ±10 V command output at the appropriate interface before connecting motion to a production load where practical.
- Enable one axis at a time and perform a low-speed jog.
- Confirm commanded direction versus actual motor direction.
- Verify position feedback, following error, acceleration/deceleration, and limit behavior.
- Run the machine through a controlled dry cycle before returning it to automatic production.
Important: Do not assume that a replacement preserves the original machine’s tuning or host-software compatibility. The controller is only one part of the motion chain; amplifier type, encoder feedback, interconnect module, host PCI environment, and Galil program configuration must all remain compatible.
Frequently Asked Questions
Q1. What is the GALIL ?
It is a three-axis PCI motion controller from Galil’s DMC-18×2 Econo series. The three standard axes are X, Y, and Z.
Q2. Does the directly drive a servo motor?
No. The is a motion controller, not a motor power amplifier. In a conventional servo architecture, it generates a ±10 V command and receives encoder feedback while an external amplifier supplies motor power.
Q3. Is the a PCI or PCIe card?
The documented DMC-18×2 version is a PCI-bus controller. Do not assume that a modern PCIe slot is electrically interchangeable with the original PCI interface. Host-computer compatibility must be checked before replacement.
Q4. What encoder signals does the support?
The documented encoder interface is TTL-compatible and supports single-ended or differential A/B signals. The specified maximum A/B edge rate is 12 MHz, with an index input also provided.
Q5. Can the control stepper motors?
Yes. The DMC-18×2 family supports both servo and stepper configurations. Stepper operation uses pulse and direction outputs, with a documented maximum step output frequency of 3 MHz.
Q6. Is the still manufactured?
Current industrial-parts listings identify the as discontinued by the manufacturer. New-surplus and refurbished units are available through secondary-market suppliers, but condition and firmware revision should be verified for each unit.
Q7. What should be checked before purchasing a replacement ?
Verify the exact model, board revision, firmware, PCI compatibility, 100-pin cable, interconnect module, encoder interface, amplifier type, and existing Galil program. For a production-machine replacement, confirm the controller can communicate with the existing host software before removing the functioning unit.



