
 WhatsApp: +86 16626708626
 Email:
  Phone: +86 16626708626
Description
3. Key Technical Specifications
| Parameter | Value |
| Microprocessors | (1) Drive Control, (1) Motor Control, (1) Co-Processor |
| Communication Ports | RS-232C, RS-485, and LAN connectivity |
| I/O Capacity | Supports multiple digital and analog I/O via daughterboards |
| Programming | Configured via EEPROM and specialized software tools |
| Connectors | High-density ribbon cable headers (60-pin, 40-pin) |
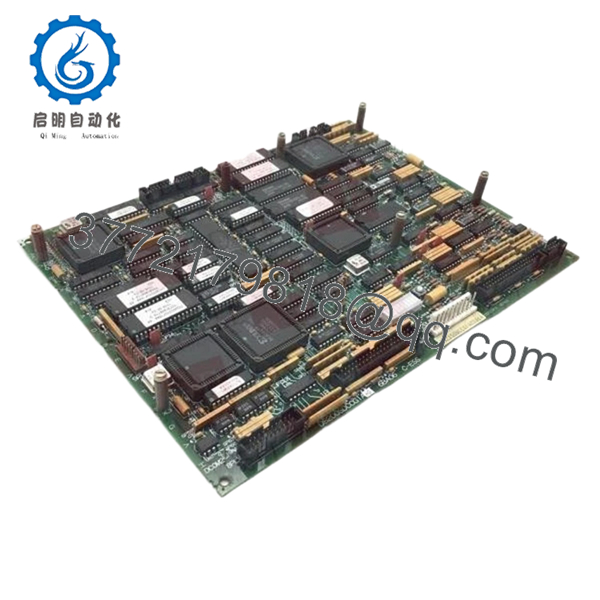
| Status Display | Onboard 7-segment LED for error codes and diagnostics |
| Logic Voltage | Powered via backplane (regulated 5V and 15V) |
| Compatibility | Used in DC2000, AC2000, and Speedtronic Mark V systems |
4. Product Introduction & Supply Chain Strategy
The GE DS200SDCCG1A is the primary intelligence hub for industrial drive systems and turbine controls. It houses the three microprocessors responsible for executing the drive’s control algorithms, processing user inputs, and managing communications between the drive and the higher-level automation network. This card is the critical failure point for legacy DC2000 systems; if the SDCC fails, the entire drive becomes unresponsive.
From an inventory management perspective, relying on refurbished SDCC cards is a high-risk strategy. These boards contain complex logic arrays and surface-mount components that degrade with thermal cycling. Our New Surplus inventory offers a “clean slate” with factory-level reliability, effectively resetting the lifecycle of your drive system. Secure this part as a “Last-time-buy” insurance policy to mitigate the 48–72 hour lead times typically associated with sourcing obsolete semiconductors.
5. Installation & Configuration Guide
Stage 1: Pre-Installation (Prep & Safety)
- Follow LOTO procedures to isolate the drive from all power sources.
- Verify the “G1A” revision matches your existing hardware; firmware chips must often be migrated.
- Ensure you are wearing a grounded ESD wrist strap before touching the card.
Stage 2: Removal
- Carefully disconnect the ribbon cables (1PL, 2PL, 3PL, etc.) using the locking tabs.
- If the old board has EPROMs or EEPROMs with site-specific logic, use a specialized IC puller to remove them for migration.
- Unscrew the board from the nylon standoffs.
Stage 3: Installation (Clone & Seat)
- Transfer any site-specific software chips from the old board to the new DS200SDCCG1A, ensuring correct pin orientation.
- Set the DIP switches (SW1, SW2) and jumpers to match the original board configuration exactly.
- Press the board firmly onto the standoffs until they click.
Stage 4: Power-On & Testing
- Reconnect all cables and apply logic power first (if possible) before main bus power.
- Monitor the onboard 7-segment LED display for the “Running” state code.
- Check the communication handshake with the drive’s operator interface or HMI.

- DS200SDCCG1A
6. Firmware/Software Versions & Upgrade Notes
The DS200SDCCG1A relies on socketed EPROM chips (typically located in sockets U6, U7, etc.) for its operational logic.
- Chip Migration: When replacing this board, you MUST move your existing software chips to the new board unless you are performing a planned system upgrade.
- Revision Compatibility: The “G1A” signifies the base hardware revision. While hardware is generally backward compatible, the firmware version must match your drive’s parameters to avoid protocol mismatches or “Illegal Function” errors.
7. Frequently Asked Questions (FAQ)
Does this board come with the software chips installed?
New Surplus boards typically come with factory-default firmware or empty sockets. Since drive parameters are site-specific, you should plan to migrate your existing EPROMs or have your original configuration files ready for download.
Why shouldn’t I just buy a cheaper refurbished SDCC board?
Refurbished SDCC boards often have “invisible” damage, such as micro-fractures in the multi-layer PCB or weakened communication chips. For a primary control card, the $50,000+ risk of a production stoppage outweighs the small savings of a used part.
Can I use a G1A to replace an older G1 board?
In most cases, yes. The “A” revision usually denotes a minor component update that does not affect form, fit, or function. However, always verify jumper settings as they can vary between sub-revisions.
What does it mean if the 7-segment LED is flashing?
A flashing LED indicates a specific fault code. Refer to your GE DC2000 technical manual to cross-reference the hex code displayed on the board for troubleshooting.
How do you test these boards before shipping?
Every DS200SDCCG1A undergoes a power-on self-test (POST) and a communication handshake verification in our test rack to ensure the processors and I/O bus are fully functional before they leave our ESD-safe facility.


