
 WhatsApp: +86 16626708626
 Email:
  Phone: +86 16626708626
Description
Key Technical Specifications
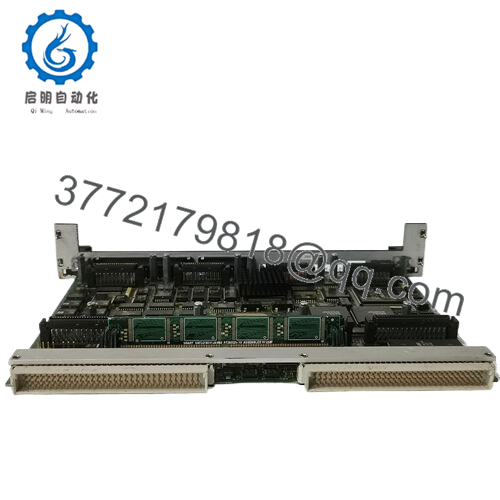
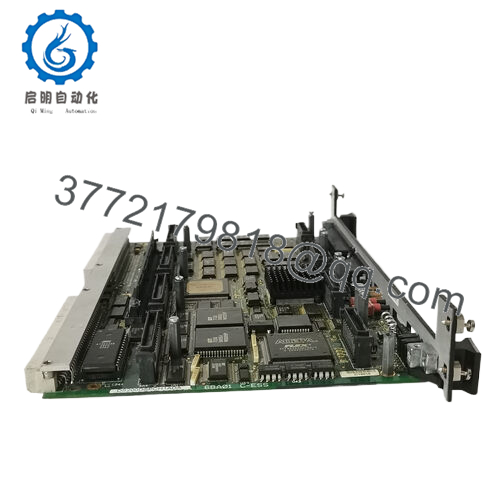
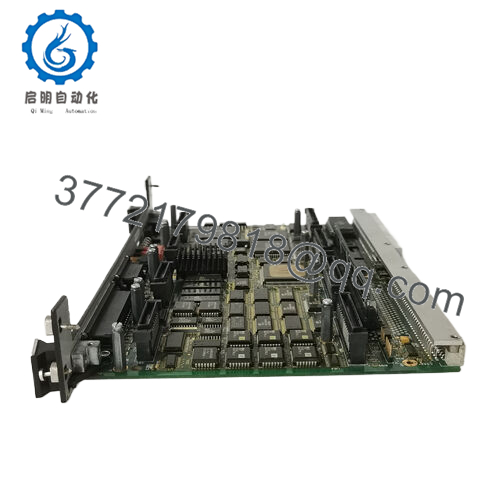
- Model: DS200SHVIG1BHD
- Manufacturer: GE
- Product Type: High Voltage Interface Board
- System Family: Mark V / DC2000
- Function: SCR bridge high-voltage interfacing
- Approx. Dimensions: 7 cm x 13.2 cm x 13.7 cm
- Approx. Weight: 0.44 kg
- Condition: 100% original new parts / new surplus
- Application: Turbine drive / industrial power conversion interface
- Compatibility Note: Verify exact rack and firmware match before replacement
Product Introduction
GE DS200SHVIG1BHD is a Mark V / DC2000 high-voltage interface board used in GE turbine drive and SCR bridge applications. It handles the high-voltage interface side of the control stack and belongs in systems where board-level signal conditioning and power interface integrity matter.
This part is usually chosen when the original board must be replaced without changing the surrounding GE control architecture. The dimensions and weight are compact, and the main decision point is compatibility with the installed Mark V hardware and exact revision set.

- DS200SHVIG1BHD
Installation & Configuration Guide
Stage 1: Pre-Installation Preparation
- Notify operations and isolate the equipment. Confirm the process is in a safe state, apply lockout/tagout, and wait at least 5 minutes for capacitor discharge.
- Gather tools: ESD strap, PH1 screwdriver, multimeter, wire labels, and a smartphone for photos.
- Back up the running logic if applicable, record cabinet labels, and photograph all wiring, jumpers, and any address settings.
Stage 2: Removing the Old Module
- Remove the front cover or bezel.
- Label and disconnect wiring carefully. Do not yank terminals.
- Release the rack or mounting latch and pull the board straight out to protect the pins.
- Inspect the backplane, connector fingers, and cabinet for dust, corrosion, or bent pins.
- Keep the old module until the new one is fully running.
Stage 3: Installing the New Module
- Put on the ESD strap and confirm the exact model number matches before insertion.
- Clone the configuration exactly. Copy every jumper, DIP switch, and selector position from your photo.
- Insert the board into the rack evenly until it seats fully.
- Reconnect wiring using the original labels and the correct torque for the terminal hardware.
- Check that all tabs are locked and the board sits flat.
- Self-check: [] DIPs match, [] wiring secured, [] connectors seated, [] tabs locked.
Stage 4: Power-On & Testing
- Measure the 24 V rail with a multimeter before energizing.
- Power up the rack first, not the field devices.
- Watch the LEDs. Green RUN is generally good; red ERR means stop and verify.
- Connect the engineering software, confirm the hardware is seen correctly, and verify the firmware version.
- Reload the backup logic if required.
- Run a dry test of the I/O and confirm no alarms, comms loss, or unexpected trips.
- If the ERR LED stays solid red, suspect a firmware mismatch first.
Frequently Asked Questions
Q: Can I hot-swap the DS200SHVIG1BHD?
No, I would not treat this as a hot-swap part. Kill power first and let the cabinet discharge. Pulling a live board can damage the rack or the module.
Q: Is this an obsolete GE part?
Yes, this family is legacy hardware and stock is usually limited. That is why buyers need to confirm the exact suffix and revision before ordering.
Q: Is this a direct replacement for DS200SHVIG1A?
Not automatically. The base family is close, but revision and cabinet compatibility still matter. Check the installed board number, wiring, and any site-specific jumper settings before you swap it.
Q: Will my programming be lost when I replace the board?
Usually no, because this is an interface board, not the main controller CPU. Still, back up the configuration and photograph every setting before removal. That saves hours if something does not come back cleanly on startup.
Q: Why is the price lower than OEM list price?
Because this is typically surplus or legacy stock, not factory-direct new production. Lower price does not mean lower value, but you should still ask for test status, cosmetic condition, and return terms.
Q: What condition should I expect?
For this part, the usual offering is New Original / New Surplus. If it is refurbished, the seller should state that clearly and provide test results.
Q: What should I verify before installing it?
Check the exact model suffix, connector style, firmware or system revision, and cabinet power conditions. I have seen plenty of swaps fail because the board was close enough to look right, but not right enough to run.


