
 WhatsApp: +86 16626708626
 Email:
  Phone: +86 16626708626
Description
3. Key Technical Specifications
| Parameter | Value |
|---|---|
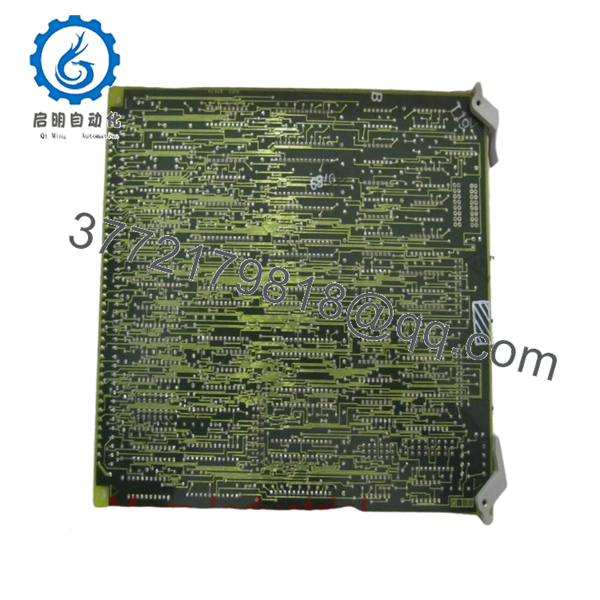
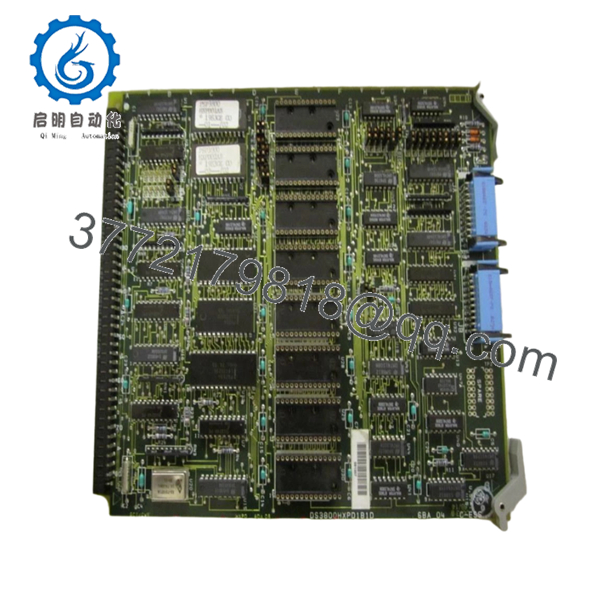
| Model Number | DS3800HXPD1B1D |
| Manufacturer | General Electric (GE) |
| Product Family | Speedtronic Mark IV |
| Product Type | Control Board / Printed Circuit Board |
| System Application | Gas and steam turbine control systems |
| Mounting Method | Mark IV rack/chassis installation |
| PCB Revision | B1D |
| Communication Function | System backplane communication |
| Operating Temperature | Typically 0 °C to 60 °C* |
| Storage Temperature | −40 °C to +85 °C* |
| Environmental Requirement | Industrial control cabinet installation |
| ESD Protection Required | Yes |
| Firmware Storage | System-dependent |
| Condition | New Original / New Surplus |
| Warranty | 12 months |
*Verify exact environmental ratings with the OEM documentation and site configuration. GE Mark IV documentation varies by hardware revision and field retrofit history.
4. Product Introduction
The GE DS3800HXPD1B1D is a control board used within GE Speedtronic Mark IV turbine control systems. It operates as part of the signal processing and control architecture used in industrial gas and steam turbine applications.
In field deployments of Mark IV systems, replacement boards often support long-life asset strategies where operators continue maintaining existing controls instead of performing full migration projects. Plants choose these modules because a controlled board replacement typically costs far less than a complete Mark IV-to-Mark VI migration and avoids extended outage windows.
- DS3800HXPD1B1D

- DS3800HXPD1B1D
5. Installation & Configuration Guide
Stage 1: Pre-Installation Preparation (Estimated Time: 10 minutes)
⚠️ Safety First
Notify operations of planned downtime. Confirm the process is in a safe state. Apply lockout/tagout procedures. Remove cabinet power and wait at least 5 minutes for capacitor discharge.
Tools Required
- ESD wrist strap
- PH1 screwdriver
- Fluke 115 multimeter
- Wire labels
- Smartphone for documentation photos
- ESD work mat
Data Backup
- Export available controller configuration and logic backups.
- Record cabinet and rack positions.
- Photograph connector positions and terminal layouts.
- Capture all jumper settings and any handwritten site labels.
- Document cabinet slot location.
⚠️ Older Mark IV installations often contain undocumented field modifications. I’ve seen jumpers moved years earlier during outage work with no paperwork left behind.
Stage 2: Removing the Old Module (Estimated Time: 5 minutes)
- Remove front cabinet access panels.
- Label every cable before disconnecting.
- Disconnect connectors carefully. Do not twist or force them.
- Release rack locking hardware.
- Pull the module straight out.
⚠️ Do not rock the board side-to-side. Backplane connector damage turns a simple replacement into a long outage.
- Inspect for:
- Bent connector pins
- Dust accumulation
- Corrosion
- Heat discoloration
- Loose hardware
⚠️ Keep the old board nearby until startup is complete.
Stage 3: Installing the New Module (Estimated Time: 5–10 minutes)
Steps:
- Wear ESD protection before touching the board.
- Verify DS3800HXPD1B1D exactly matches the replacement label.
- Configuration Clone (Crucial): Replicate all jumper and switch settings.
- Carefully align with card guides.
- Insert evenly until fully seated.
- Tighten hardware and reconnect cables.
Self-Checklist:
[ ] DIPs/jumpers match
[ ] Connectors secured
[ ] Rack hardware locked
[ ] ESD handling completed
⚠️ This is the most common rookie mistake, but it happens constantly. Take a picture before you pull it. I can’t stress this enough.
Stage 4: Power-On & Testing (Estimated Time: 10 minutes)
Pre-Power Check
Use a multimeter to verify no short exists on the 24 V rail.
Power-on sequence:
- Energize control rack only.
- Observe LED sequence.
- Verify normal boot indications.
- Connect engineering software if available.
- Confirm controller communications.
- Perform dry-run I/O testing.
Expected indications:
- Green RUN: Normal
- Red ERR: Fault condition
⚠️ Troubleshooting Note:
Solid ERR indicators frequently point toward board revision or communication problems. No communication? Start with connector seating and configuration settings.
Field Replacement Survival Guide
❗ Firmware Revision Mismatch
Document everything before removal. I’ve seen outages drag on for two days because a newer board revision changed communication behavior slightly. The control system reported repeated timeout faults and everyone blamed wiring first.
Avoidance:
- Record firmware and board revision
- Request matching revisions during procurement
- Verify compatibility before shutdown starts
❗ DIP Switch / Jumper Misconfiguration
This causes more headaches than failed hardware.
Take a photo before pulling the old board. Mirror every setting exactly.
❗ Terminal and Connector Variations
Even within legacy GE systems, connector arrangements changed over production runs.
Always compare:
- Connector keying
- Shield terminations
- Pin definitions
- Wiring diagrams
Never wire from memory.
❗ Power Draw Considerations
Legacy cabinets often operate close to power limits.
Calculate total cabinet load and maintain a 20% power margin.
❗ ESD Damage
I watched an engineer replace a board during winter conditions without a grounding strap. The board powered up once, emitted smoke immediately, and the outage budget suddenly got very expensive.
Use:
- Grounded wrist strap
- ESD-safe workbench
- Anti-static handling procedures
Keep these checks in mind and you’ll save yourself 90% of typical rework time.
6. Frequently Asked Questions (FAQ)
Q1: Can I hot-swap this module under power?
No. Do not hot-swap this board.
GE Mark IV hardware was not designed around modern hot-swap concepts. Pulling boards under power risks backplane damage and unpredictable controller faults. Kill power first.
Q2: Is GE DS3800HXPD1B1D obsolete, and is it genuinely new?
Yes. This is an obsolete GE Mark IV component.
Most available inventory today comes from controlled surplus channels. “New Original” generally means unused OEM inventory held in storage rather than current factory production.
Ask for:
- Date codes
- Packaging photos
- Serial numbers
- Test reports
Q3: What if this module is out of stock?
There is no universal direct successor.
GE turbine systems evolved through Mark V and later platforms, but board migration typically requires engineering review. Verify exact rack architecture before considering substitutions.
Q4: Will I lose my programming logic when replacing this board?
Usually no.
Control logic in Mark IV systems typically resides elsewhere within the system architecture. Still, back up everything before shutdown. I’ve seen undocumented site edits create unpleasant surprises.
Q5: Why is surplus pricing lower than OEM factory pricing?
Because OEM production ended years ago.
Pricing often reflects secondary inventory channels, surplus stock acquisition, and varying traceability levels—not necessarily lower quality.
Q6: How do you verify functionality before shipment?
Our inspection process follows a documented sequence:
- OEM source and serial verification
- Anti-counterfeit inspection
- Visual checks for scratches, corrosion, UV yellowing, and rework marks
- Functional testing on compatible GE hardware where available
- Communication and power checks
- Insulation resistance testing using a 500 V Megger (>10 MΩ)
- QC sign-off and ESD packaging
Testing photos and videos are available upon request.
Q7: Is refurbished inventory acceptable for turbine control systems?
Depends on the application.
For critical turbine shutdown or trip circuits, many plants prefer new surplus inventory. For non-critical replacement stock or maintenance spares, properly tested refurbished units can be practical. Request test reports, not just cosmetic photos.


