
 WhatsApp: +86 16626708626
 Email:
  Phone: +86 16626708626
Description
Key Technical Specifications
| Parameter | Value |
|---|---|
| Manufacturer | GE Fanuc Automation |
| Model Number | IC693DNM200 |
| Product Series | Series 90-30 |
| Module Type | DeviceNet Master Module |
| Mounting Location | Series 90-30 main rack, any slot except slots 0 and 1 |
| Communication Network | DeviceNet |
| Maximum Slave Devices | 63 DeviceNet slave nodes |
| Supported Baud Rates | 125 Kbaud, 250 Kbaud, 500 Kbaud |
| I/O Connection Types | Poll, Strobe, Cyclic, Change-of-State (COS) |
| Input Data Transfer | Up to 255 bytes per slave; 3,972 bytes per master |
| Output Data Transfer | Up to 255 bytes per slave; 3,972 bytes per master |
| DeviceNet Connector | Removable spring-clamp terminal |
| Service Port | RS-232 9-pin D connector |
| Backplane Current Consumption | 450 mA at 5 VDC typical |
| DeviceNet Network Current | 50 mA at 24 VDC typical; 80 mA peak |
| Operating Temperature | 0 to 60 °C (32 to 140 °F) |
| Storage Temperature | -40 to 85 °C (-40 to 185 °F) |
| Module Width | Single-slot module |
| Compatible Software | Proficy Machine Edition Logic Developer PLC |
| Compatible Platforms | GE Fanuc Series 90-30, PACSystems RX3i (with firmware requirements) |
The IC693DNM200 is specified as a Series 90-30 DeviceNet Master Module supporting up to 63 slave devices, standard DeviceNet baud rates, and multiple I/O connection methods including Poll, Strobe, Cyclic, and COS.
Product Introduction
The GE Fanuc IC693DNM200 is a Series 90-30 PLC DeviceNet Master Module designed to connect a PLC control system with DeviceNet field devices. It manages communication between the PLC CPU and up to 63 DeviceNet slave nodes through standard DeviceNet network messaging.
The module supports 125 Kbaud, 250 Kbaud, and 500 Kbaud communication rates, with Poll, Strobe, Cyclic, and Change-of-State data exchange methods. It is commonly used for maintaining legacy automation systems where DeviceNet I/O networks remain in operation.
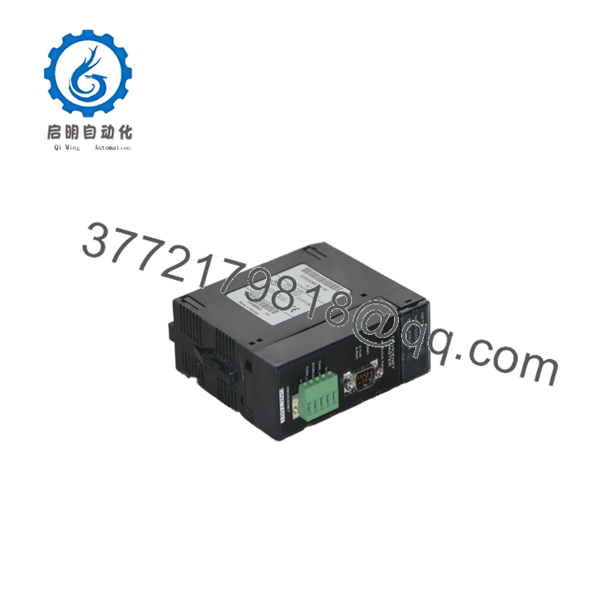
IC693DNM200
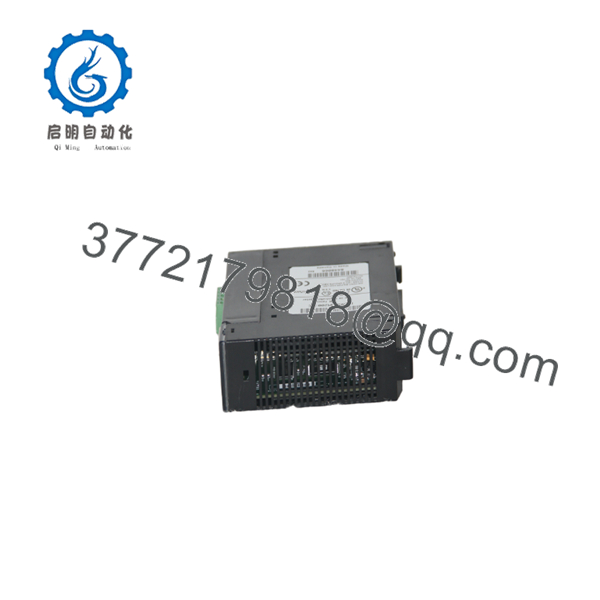
IC693DNM200
Installation & Configuration Guide
Stage 1: Pre-Installation Preparation (Estimated Time: 10 Minutes)
⚠️ Safety First
- Notify plant operations before beginning replacement.
- Place the machine or process into a controlled safe state.
- Apply lockout/tagout procedures.
- Remove rack power.
- Wait at least 5 minutes for stored energy discharge before handling the module.
Tools Required
- ESD wrist strap
- PH1 screwdriver
- Digital multimeter
- Wire labels
- Smartphone/camera for configuration records
Data Backup
Before removing the existing IC693DNM200:
- Upload and save the PLC project using compatible GE programming software.
- Record:
- DeviceNet node configuration
- Slave device list
- Baud rate setting
- Scan configuration
- COMMREQ instructions
- Photograph:
- Module position
- DeviceNet wiring
- DIP switches or rotary settings if applicable
- Network termination arrangement
⚠️ Never remove a DeviceNet communication module without documenting the network configuration first.
Stage 2: Removing the Old Module (Estimated Time: 5 Minutes)
- Remove the front rack cover if installed.
- Label the DeviceNet cable connections.
- Disconnect the DeviceNet terminal block carefully.
- Remove any RS-232 service connection.
- Release the rack locking tabs.
- Pull the module straight outward.
Inspect:
- Backplane connector pins
- Rack slot condition
- Dust contamination
- Terminal block condition
⚠️ Keep the old module until the replacement is communicating correctly. DeviceNet faults are often configuration-related, not hardware failures.
Stage 3: Installing the New Module (Estimated Time: 10 Minutes)
- Wear an ESD wrist strap.
- Verify the replacement module label:
GE Fanuc IC693DNM200
- Confirm the module revision and hardware condition.
- Install the module into the correct Series 90-30 rack slot.
Configuration Clone Procedure
- Copy the existing DeviceNet configuration.
- Verify:
- Node address
- Baud rate
- Slave scan list
- I/O connection type
- Poll/Cyclic/COS settings
- Insert the module firmly until fully seated.
- Reconnect the DeviceNet terminal block.
Self-Checklist
- Correct IC693DNM200 model installed
- DeviceNet wiring verified
- Node address confirmed
- Baud rate matched
- Module locked into rack
⚠️ Do not assume factory defaults match the running plant network. DeviceNet node settings must match the existing configuration.
Stage 4: Power-On & Testing (Estimated Time: 15 Minutes)
Pre-Power Check
- Measure rack power supply voltage.
- Verify no short condition exists.
- Confirm DeviceNet power polarity:
- V+
- V-
- CAN_H
- CAN_L
- Shield
Power-On Steps
- Power the PLC rack.
- Observe module status LEDs.
- Verify module initialization.
- Connect programming software.
- Confirm:
- recognition
- DeviceNet configuration download
- Slave communication status
- Test field device communication.
- Verify PLC data exchange.
⚠️ Troubleshooting Notes
- No DeviceNet communication: Check baud rate, node address, and termination resistors.
- Module fault: Verify CPU compatibility and software version.
- Intermittent communication: Inspect cable shielding and network voltage.
Common Replacement Pitfalls From Field Experience
❗ Firmware and Software Compatibility Mismatch
The requires correct software support. Series 90-30 systems typically require Proficy Machine Edition Logic Developer PLC for configuration. Older tools such as Logicmaster or VersaPro are not compatible with this module configuration.
I have seen technicians replace a communication module successfully from a hardware perspective, then lose hours because the programming environment could not open or download the DeviceNet configuration.
Avoidance:
- Record the existing programming software version.
- Save the DeviceNet configuration file.
- Verify CPU firmware compatibility before replacement.
❗ DeviceNet Node Address and Baud Rate Errors
This is one of the most common field mistakes.
A replacement module may power up normally but fail to communicate because the network parameters do not match.
Avoidance:
- Record every DeviceNet setting before removal.
- Verify all slave node addresses.
- Confirm network baud rate.
❗ DeviceNet Wiring Problems
DeviceNet uses a CAN-based physical layer. Incorrect wiring can create unstable communication.
Check:
- CAN_H and CAN_L polarity
- Shield grounding
- Network termination resistors
- 24 VDC DeviceNet supply
⚠️ Do not wire DeviceNet from memory. Similar-looking networks can use different pin arrangements.
❗ Rack Slot Compatibility
The cannot be installed in every rack position.
For Series 90-30 systems, installation is limited to the main rack and excludes CPU reserved slots.
Always confirm rack layout before installation.
❗ ESD Damage
Use proper ESD handling procedures:
- Grounded wrist strap
- ESD mat
- Anti-static packaging
A communication module can appear normal externally while suffering internal electronic damage after static discharge.
Keep these checks in mind and you’ll save yourself most of the typical rework time during legacy DeviceNet module replacement.
Frequently Asked Questions (FAQ)
Q1: Can the GE Fanuc be hot-swapped?
No. The is not designed for live removal in a standard Series 90-30 rack. Power should be removed before replacing the module. Removing it under power risks backplane damage and uncontrolled communication faults.
Q2: Is the obsolete?
Yes. The Series 90-30 platform is a legacy PLC family. The is no longer a current-generation communication module, but it remains available through industrial surplus inventories and tested replacement suppliers.
Q3: How many DeviceNet devices can the control?
The module can operate as a DeviceNet master for up to 63 slave devices. It supports Poll, Strobe, Cyclic, and Change-of-State communication methods.
Q4: Will replacing the delete my DeviceNet configuration?
The module replacement itself does not automatically recreate the previous network configuration. The DeviceNet setup is stored through the PLC application configuration process.
Always save the project before removing the original module.
Q5: What is the direct replacement for ?
The replacement path depends on the PLC architecture.
Options may include:
- Another for minimal downtime.
- PACSystems RX3i-compatible migration hardware.
- DeviceNet gateway solutions for newer Ethernet-based systems.
Verify the existing CPU, rack, software, and field devices before selecting a migration option.
Q6: Why is the price lower than the original OEM price?
Legacy automation pricing depends on inventory source and condition.
Typical conditions:
- New Original / New Surplus: Unused module stored in inventory.
- Factory Sealed: Original packaging condition when available.
- Refurbished (tested): Previously installed unit inspected and function tested.
A lower price does not automatically indicate lower quality. The key factors are traceability, testing records, and warranty terms.
Q7: What inspection process should be performed before shipment?
A professional QC process should include:
- Inbound inspection and serial verification.
- Visual inspection for corrosion, scratches, or modification marks.
- Power-up testing on a genuine Series 90-30 rack.
- DeviceNet communication verification.
- LED status verification.
- Firmware documentation.
- Final QC report creation.
Test photos and videos should be available upon request.



