
 WhatsApp: +86 16626708626
 Email:
  Phone: +86 16626708626
Description
3. Key Technical Specifications
| Parameter | Value |
|---|---|
| Manufacturer | GE Fanuc / Emerson |
| Model | IC698CPE040-JP |
| Product Series | PACSystems RX7i |
| Product Type | CPU Module |
| Processor | Intel Pentium® M, 1.8 GHz |
| User Memory | 64 MB RAM |
| Non-Volatile Memory | 64 MB Flash |
| Ethernet Ports | Integrated 10/100 Mbps Ethernet |
| Serial Interfaces | 2 × RS-232, 1 × RS-485 |
| Programming Software | Proficy Machine Edition |
| Backplane | RX7i Universal VME64 Backplane |
| Supported Programming Languages | IEC 61131-3 (LD, FBD, ST, SFC) |
| Operating Temperature | 0 °C to +60 °C |
| Installation | Single slot in RX7i CPU rack |
The IC698CPE040-JP is a high-performance RX7i CPU designed for demanding industrial automation applications. The -JP hardware revision ships with CPU firmware 6.75 and Ethernet firmware 6.20, adding SNTP local time zone support, daylight saving enhancements, and corrected smart battery detection.
4. Product Introduction
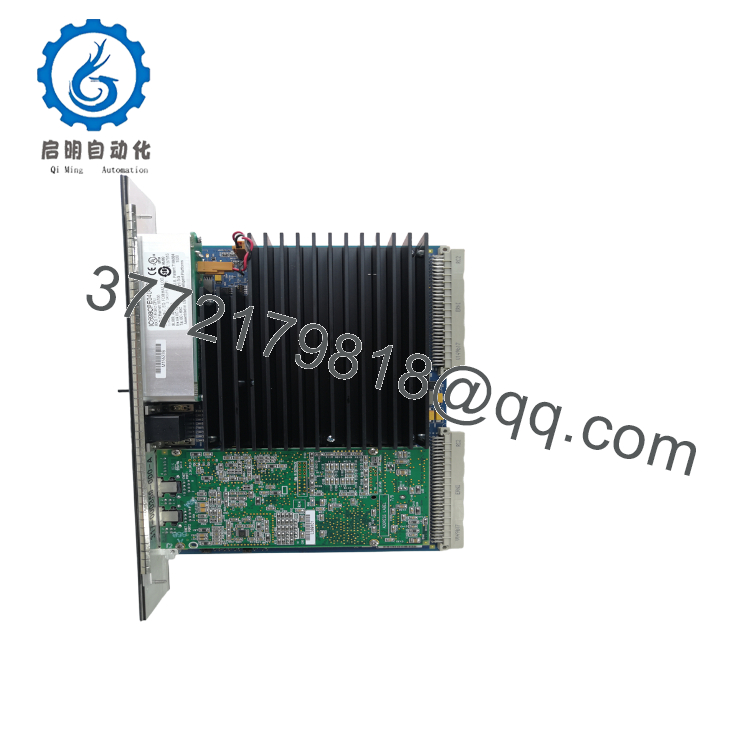
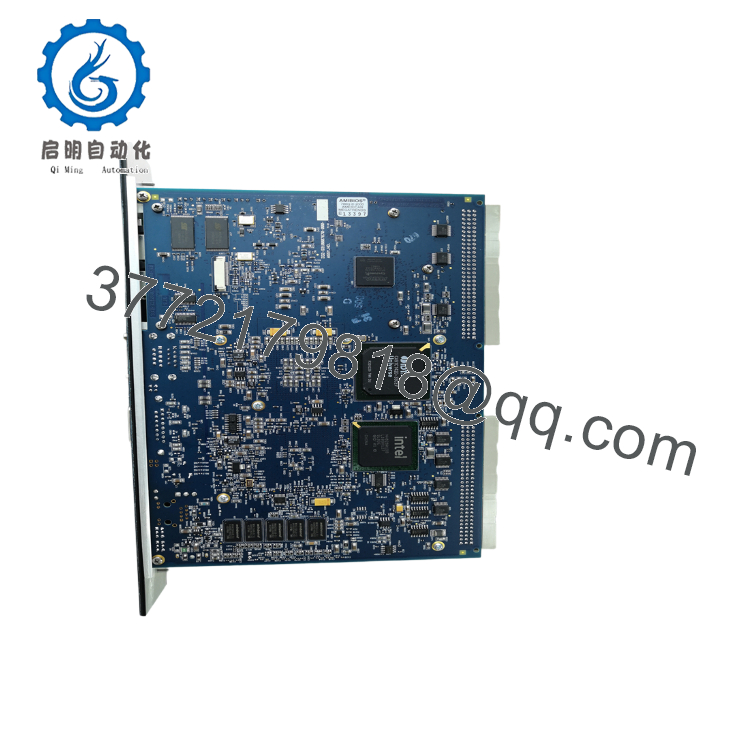
The GE IC698CPE040-JP is a high-performance PACSystems RX7i CPU module designed for large-scale machine automation, process control, and distributed industrial systems. It combines a Pentium® M processor, integrated Ethernet communications, and substantial user memory to execute complex control strategies while supporting extensive local and remote I/O.
The -JP hardware revision represents one of the latest production versions of the CPE040 family. It incorporates firmware improvements, enhanced Ethernet functionality, and corrected smart battery identification. Before replacing an earlier CPU revision, verify firmware compatibility with existing RX7i hardware and application software.

- IC698CPE040-JP
- IC698CPE040-JP
5. Installation & Configuration Guide
Stage 1 – Pre-Installation Preparation (10 Minutes)
⚠️ Safety First
- Notify operations of the scheduled shutdown.
- Bring the controlled process to a safe operating state.
- Apply Lockout/Tagout procedures.
- Remove power from the RX7i rack.
- Wait at least 5 minutes before removing the CPU.
Tools Required
- Grounded ESD wrist strap
- PH1 screwdriver
- Fluke 115 digital multimeter
- Laptop with Proficy Machine Edition
- Ethernet cable tester
- Smartphone for documentation
Data Backup
Before removal:
- Upload the complete PLC application.
- Save the hardware configuration.
- Record the CPU firmware revision.
- Document IP addresses and network settings.
- Photograph all wiring and module locations.
- Record battery status.
Stage 2 – Removing the Old Module (5 Minutes)
- Remove rack power.
- Disconnect Ethernet and serial cables.
- Label every cable.
- Release the retaining mechanism.
- Pull the CPU straight from the backplane.
Inspect:
- Backplane connector
- Battery compartment
- Ethernet ports
- Module guides
- Connector pins
⚠️ Keep the original CPU until the replacement has successfully completed commissioning.
Stage 3 – Installing the New Module (10 Minutes)
- Wear a grounded ESD wrist strap.
- Verify the exact model:
IC698CPE040-JP
- Install the CPU fully into the RX7i rack.
- Confirm the ejector levers are locked.
- Reconnect communication cables.
- Install or verify the backup battery.
- Restore the saved hardware configuration if required.
Installation Checklist
- Correct catalog number
- CPU fully seated
- Ethernet connected
- Battery installed
- Configuration restored
Stage 4 – Power-On & Testing (20 Minutes)
Pre-Power Check
- Verify backplane voltage.
- Confirm battery condition.
- Verify Ethernet wiring.
- Check for short circuits.
Startup Procedure
- Energize the rack.
- Observe CPU LEDs.
- Verify the CPU enters RUN mode.
- Connect with Proficy Machine Edition.
- Confirm firmware version.
- Download the application if required.
- Test local and remote I/O.
- Verify Ethernet communications with HMIs and SCADA.
⚠️ Troubleshooting Note
If the CPU remains in STOP mode:
- Verify firmware compatibility.
- Check battery status.
- Confirm hardware configuration.
- Verify rack slot assignments.
- Review diagnostic fault tables.
SOP Quality Verification
1. Inbound Inspection & Traceability
- Verify OEM serial numbers.
- Inspect labels and revision markings.
- Check for corrosion, scratches, or rework.
- Review available traceability documentation.
2. Live Functional Testing
Testing should be performed on a genuine PACSystems RX7i Universal Backplane.
Verification includes:
- Power-on self-test
- CPU boot sequence
- Ethernet communication
- Serial communication
- Logic execution
- Memory verification
- Continuous operation for more than 24 hours
- Thermal monitoring
A formal functional test report should accompany production-critical shipments. Test photos and videos should be available upon request.
3. Electrical Testing
- 500 V insulation resistance test (>10 MΩ)
- Ground continuity verification
- Backplane power measurement
4. Firmware Verification
- Record CPU firmware revision.
- Record Ethernet firmware revision.
- Verify compatibility with installed RX7i modules.
5. Final QC
- QC inspector approval
- ESD-safe packaging
- Bubble-wrap protection
- Heavy-duty shipping carton
- QC Passed label with inspection date
Technical Pitfalls & Survival Guide
❗ Firmware Revision Compatibility
One lesson from several plant upgrades is that CPU firmware matters just as much as the hardware.
I’ve seen a replacement CPU boot successfully but fail to communicate with legacy Ethernet devices because the original controller was running an older firmware revision. Always document the existing firmware before removing the CPU. The -JP revision includes CPU firmware 6.75 and Ethernet firmware 6.20, which introduce additional Ethernet features and security-related behavior.
❗ Smart Battery Detection
The -Jx hardware revision corrects hardware identification so the CPU properly detects compatible smart batteries.
If battery alarms appear after replacement, verify that both the battery type and hardware revision are compatible before assuming the battery is defective.
❗ Ethernet Configuration
Never assume the replacement CPU will inherit network settings automatically.
Record:
- IP address
- Subnet mask
- Gateway
- Station Manager password
- FTP and Web server settings
I’ve watched commissioning teams spend hours troubleshooting what turned out to be an incorrect IP configuration.
❗ Backplane Seating
RX7i CPUs require complete engagement with the VME backplane connector.
If the ejector levers are not fully locked, intermittent faults can appear that resemble firmware or communication problems.
❗ Electrostatic Discharge (ESD)
Modern RX7i CPUs contain high-density processors and memory devices that are highly sensitive to static electricity.
Always wear a grounded wrist strap and handle the module only on an ESD-safe work surface.
Keep these checks in mind and you’ll avoid most of the problems that delay commissioning after a CPU replacement.
6. Frequently Asked Questions (FAQ)
Q1. What does the IC698CPE040-JP do?
It is the primary controller for a PACSystems RX7i PLC. The CPU executes the application program, manages communications, performs diagnostics, and coordinates local and remote I/O operations.
Q2. Can I hot-swap the IC698CPE040-JP?
No.
The CPU is not designed for hot replacement. Always remove rack power before replacing the processor to protect the backplane and preserve system integrity.
Q3. What distinguishes the -JP revision?
The -JP revision includes CPU firmware 6.75 and Ethernet firmware 6.20, adding SNTP local time zone and daylight saving support, correcting smart battery identification, and including updated Ethernet behavior.
Q4. Will I lose my application program when replacing the CPU?
If the project has been uploaded and backed up before removal, you can restore it to the replacement CPU. Always create a verified backup of the application, hardware configuration, and communication settings before beginning maintenance.
Q5. Why won’t the replacement CPU communicate with my HMI?
The most common causes are:
- Incorrect IP address
- Firmware mismatch
- Different hardware configuration
- Station Manager security settings
- Network switch configuration
In practice, configuration differences are much more common than CPU hardware failures.
Q6. What inspections should I request before shipment?
For production-critical installations, request:
- OEM serial number verification
- Visual inspection for connector damage
- Functional testing in a genuine RX7i rack
- CPU boot verification
- Ethernet and serial communication testing
- Memory diagnostics
- 24-hour operational burn-in
- Firmware revision documentation
- ESD-safe packaging
- Complete QC test report
Requesting startup photographs and communication test records before shipment can substantially reduce commissioning risk when maintaining legacy PACSystems RX7i installations.



