
 WhatsApp: +86 16626708626
 Email:
  Phone: +86 16626708626
Description
Key Technical Specifications
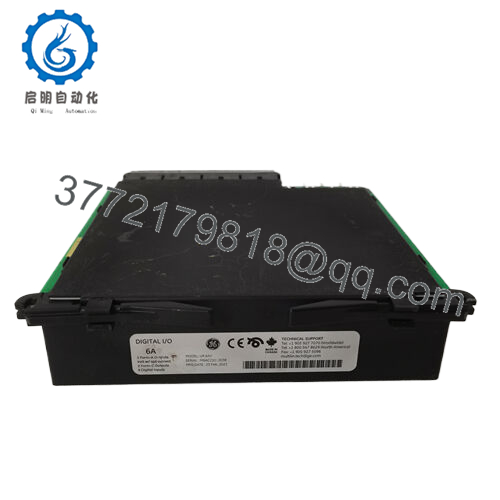
- Model: UR6RH
- Manufacturer: GE Multilin
- Product Type: Digital I/O Module
- Series: UR Universal Relay
- Inputs: 8 digital inputsmakerspace.
- Input Voltage Range: 24 to 250 VDC/AC
- Input Impedance: 2.2 kΩ
- Outputs: 2 Form-A outputs, 4 Form-C
- Function: Expansion module for UR relay
- Comm Speed Context: Relay-to-relay comms under 4 ms in UR family overview
Product Introduction
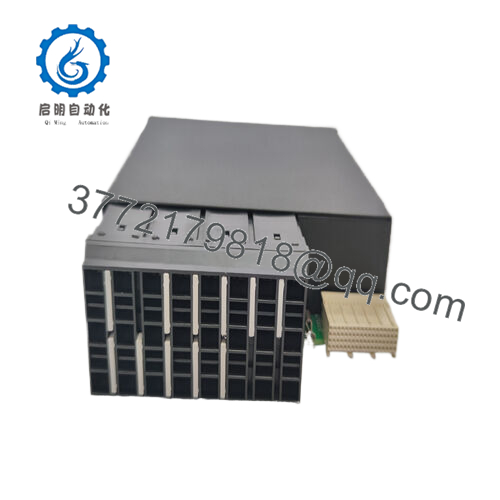
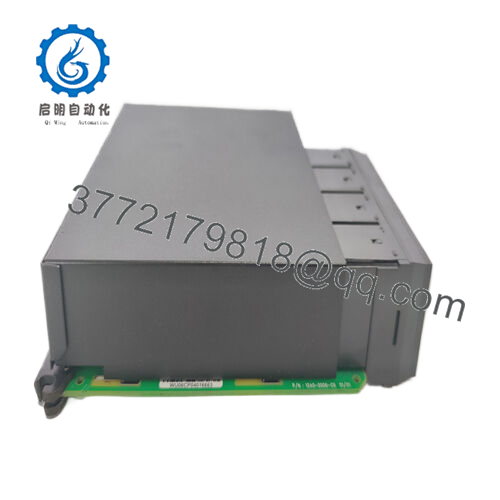
GE UR6RH is a digital I/O expansion module for the GE Multilin UR Universal Relay family. It adds auxiliary digital inputs and relay outputs to a UR platform used in industrial protection and control applications.
This module is chosen when the base UR relay needs more hardwired I/O without replacing the whole relay. The key checks are input voltage range, contact form count, and the exact UR chassis compatibility. In the field, that is what keeps a simple expansion from turning into a weekend rewire.makerspace.

- UR6RH
Installation & Configuration Guide
Stage 1: Pre-Installation Preparation
- Notify operations and isolate the equipment. Confirm the relay panel is in a safe state, apply lockout/tagout, and wait at least 5 minutes for capacitor discharge.
- Gather tools: ESD strap, PH1 screwdriver, multimeter, wire labels, and a smartphone for photos.
- Back up the relay settings, record the slot assignment, and photograph all terminal wiring and jumpers.
Stage 2: Removing the Old Module
- Remove the front bezel or module cover.
- Label and disconnect wiring carefully. Do not force terminals.
- Release the mounting latch and pull the module straight out to protect the connectors.
- Inspect the backplane, connector fingers, and cabinet for bent pins, dust, or heat damage.
- Keep the old module until the new one is fully running.
Stage 3: Installing the New Module
- Put on the ESD strap and verify the exact model number matches before insertion.
- Clone the configuration exactly. Copy every jumper, relay assignment, and terminal map from your photo.
- Insert the module evenly until it seats fully.
- Reconnect wiring using the original labels and the correct torque for the terminal hardware.
- Check that all tabs are locked and the module sits flat.
- Self-check: [] settings match, [] wiring secured, [] connectors seated, [] tabs locked.
Stage 4: Power-On & Testing
- Measure the control supply with a multimeter before energizing.
- Power up the relay base first, not the field circuits.
- Watch the LEDs. Green RUN is generally good; red ERR means stop and verify.
- Open the UR settings software, confirm the module is recognized, and verify the slot mapping.
- Test each digital input and output with a dry-run sequence.
- If the ERR LED stays solid red, check module seating and firmware compatibility first.
Frequently Asked Questions
Q: Can I hot-swap the UR6RH?
Not unless the specific UR relay installation manual says it is allowed. On most panels, I would still power down first. A live swap can damage the connector or trigger nuisance alarms.
Q: Is this model obsolete?
The UR family is still in service, but exact stock depends on the seller and the specific suffix. Treat it as a controlled spare, not a commodity item.
Q: Is this genuinely new or refurbished?
That depends on the listing. For surplus stock, you should expect either New Original or New Surplus unless the seller clearly states refurbished and provides test documentation.
Q: Will I lose relay settings when I replace this module?
Usually no, because this is an I/O expansion module, not the main protection CPU. Still, back up the relay settings before replacement. I have seen enough late-night surprises to trust backups more than assumptions.
Q: Why is the price lower than OEM list price?
Because the market is often surplus, legacy, or overstock inventory rather than factory-direct production. Lower price is fine, but you should still demand clear condition, test status, and warranty terms.
Q: What is the biggest install mistake on this part?
Misreading the output form count or input voltage range. That is the classic rookie mistake. Take a photo of the old module before you pull it and mirror the wiring exactly.
Q: What should I verify before installation?
Check the UR chassis compatibility, input voltage range, contact form arrangement, and slot assignment. If those do not match, the module may fit physically and still fail at startup.


