WhatsApp: +86 16626708626
 Email:
 Phone: +86 16626708626
Description
Key Technical Specifications
- Module Type: Digital Input/Output (DI/DO) Card
- Operating Voltage: 24 V DC nominal (range: 18 to 30 V DC)
- Channel Capacity: 32 channels (configurable)
- Isolation: Optically isolated channel-to-bus and channel-to-channel
- Communication Protocol: Series C native backplane protocol
- Power Dissipation: 4.5 W typical under full load
- Operating Temperature: 0 to +60 °C
- Storage Temperature: −40 to +85 °C
- Relative Humidity: 5% to 95% non-condensing
- Mounting Type: Series C I/O carrier slot
- Dimensions: 175 mm x 32 mm x 120 mm
- Weight: 0.45 kg
Product Introduction
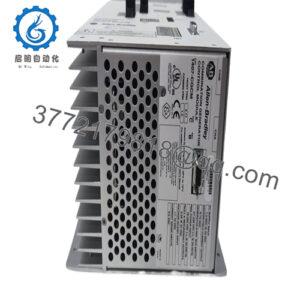
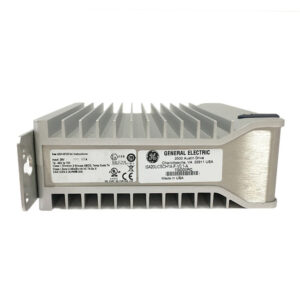
The Honeywell MC-PDIY22 (80363972-150) is a high-density digital input/output module engineered for Honeywell Experion PKS distributed control systems. It manages discrete plant signals in continuous process manufacturing environments, interfacing field sensors and actuators directly with the controller backplane.
This module is selected for brownfield expansions and system maintenance because of its native Series C architecture compatibility and rigorous fault-annunciation features. It delivers reliable signal processing without requiring custom field rewiring, minimizing shutdown windows during routine component lifecycle replacements.
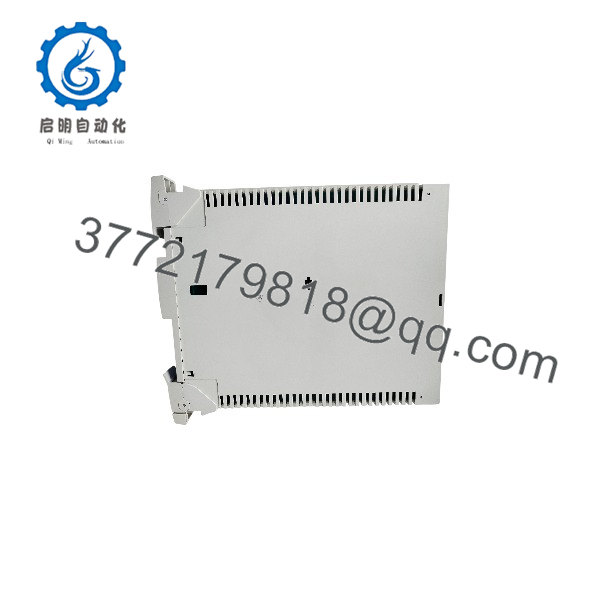
MC-PDIY22 80363972-150
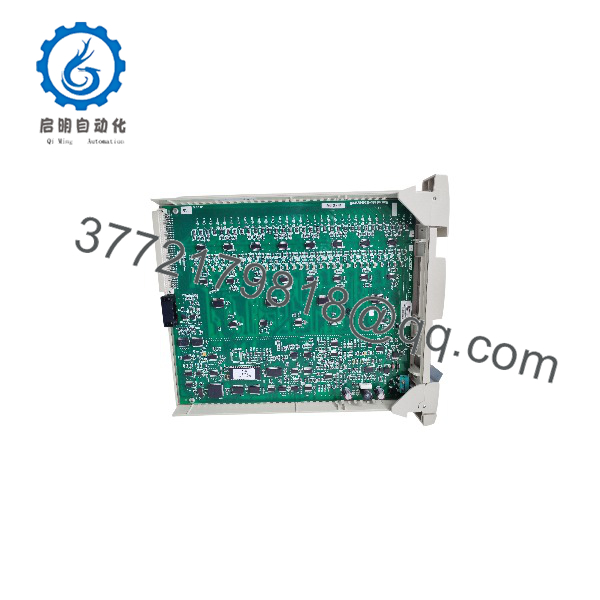
MC-PDIY22 80363972-150
Installation & Configuration Guide
Stage 1: Pre-Installation Preparation
- ⚠️ Safety First: Notify operations of impending control loop downtime, verify the process is in a safe manual state, execute Lock Out/Tag Out (LOTO) on rack power supplies, and wait 5 minutes for bus capacitors to fully discharge.
- Tools Required: ESD grounding wrist strap, #1 Phillips screwdriver, Digital Multimeter (Fluke 115 or equivalent), wire labels, smartphone for reference photography.
- Data Backup: Export the current controller configuration via Experion Control Builder, document the slot address, and photograph existing terminal block wiring connections.
Stage 2: Removing the Old Module
- Release and remove the upper and lower protective module covers.
- Label each field wire attached to the terminal block before unseating them. Do not force connectors.
- Pinch the top and bottom retention latches, then pull the module straight out of the Series C carrier slot to protect backplane pins.
- Inspect the backplane slot for dust accumulation, oxidation, or bent contact pins.
- Self-Check: Verify the backplane connector pins are clean and perfectly aligned. Keep the old module nearby for reference until the replacement is verified operational.
Stage 3: Installing the New Module
- Put on your ESD wrist strap and connect it to a validated earth ground point on the cabinet frame. Verify the part number suffix matches your Bill of Materials.
- Configuration Clone: Check physical address jumpers or electronic keying configurations to match the removed unit precisely.
- Align the module with the carrier slot rails and push straight back until the retention latches click firmly into place.
- Reattach the terminal block assembly and tighten terminal screws to manufacturer torque specifications.
- Self-Check: Confirm that the retention tabs are fully locked and all field wires are secured tightly in their correct terminal slots.
Stage 4: Power-On & Testing
- Pre-Power Check: Use a multimeter in continuity mode across the 24 V DC power rail to ensure no dead shorts exist on the loop.
- Power-On Steps:
- Energize the rack power supply while keeping field devices isolated if possible.
- Observe the front LED status panel. (Expected: Green RUN solid, green PWR on, red ERR off).
- Connect to Experion Station or QuickBuilder, verify communication health, and confirm the module is recognized at the correct node address.
- Perform an I/O point checkout, forcing individual channels via software to validate field loop wiring.
- ⚠️ Troubleshooting Note: If the ERR LED flashes or stays solid red, check for a firmware version mismatch between the module and the controller executive. If communication fails entirely, verify the Series C backplane seating and node address switches.
Frequently Asked Questions (FAQ)
Can this module be hot-swapped under power?
Honestly, Series C I/O modules are designed to support removal and insertion under power if installed on an approved redundant carrier, but standard plant safety protocol strongly advises dropping power to the specific slot or rack to prevent backplane arcing or transient voltage spikes. If you are working on a non-redundant single carrier, always kill power first.
Is this model obsolete, and is it genuinely new?
Honeywell transitions older Series C revisions through formal lifecycle notices, but active plant footprints maintain high demand for exact-match hardware. Units supplied as “New Original” or “New Surplus” are factory-authentic components that have never been placed into active industrial service, often sourced from excess plant inventory or authorized warehouse liquidations.
What is the direct replacement if this exact model is out of stock?
You must stick strictly to the exact part number and suffix (MC-PDIY22 / 80363972-150) within the Series C ecosystem. Substituting an unverified revision or different model family will cause configuration faults in Experion Control Builder and break software marshaling definitions.
Will I lose my configuration logic when I swap this I/O module?
No. The station configuration and control logic reside in the controller (C300 or similar controller) and the Experion server database, not on the discrete I/O card itself. Once the replacement module is physically seated and addressed properly, the controller will automatically push the appropriate configuration parameters to it.
Why is your price lower than the OEM factory list price?
Surplus and independent automation distributors source excess inventory from plant upgrades, canceled capital projects, and closed facilities. Because these items bypass traditional tier-one OEM distribution channels, we pass those direct acquisition savings along to maintenance teams looking to avoid steep manufacturer markups and extended factory lead times.