
 WhatsApp: +86 16626708626
 Email:
  Phone: +86 16626708626
Description
Key Technical Specifications
| Parameter | Specification |
|---|---|
| Manufacturer | KEBA |
| Model | CU313 |
| Product Family | KeControl |
| Product Type | Central CPU / control unit |
| Controller Function | Machine logic and real-time control |
| Ethernet | Supported on documented CU313/C-SI variant |
| CAN Interface | Supported on documented CU313/C-SI variant |
| SIO Interface | Supported on documented CU313/C-SI variant |
| PCI Interface | PCI-type slot on documented CU313/C-SI/63036/06 |
| Auxiliary Input | Present on documented CU313/C-SI variant |
| Software Environment | KEBA control-system environment |
| Lifecycle | Variant-dependent; /C-SI/63036/06 listed discontinued |
| Mounting | System-specific |
| Supply Voltage | Verify against exact variant |
| Memory | Verify against exact variant |
Important identification note: “” is a family-level designation. Public records show different configurations, including /C-SI/63036/06, so electrical and interface specifications should not be generalized across every variant.
A technical discussion involving an original KEBA also notes that the controller can support OPC read/write capabilities and that some implementations were developed for specific KEBA partners.
Product Introduction
The serves as a central controller for industrial machine automation, executing control logic and coordinating connected automation hardware. Documented variants provide interfaces such as Ethernet, CAN, and SIO for system-level communication.
For replacement work, the complete ordering code is critical. A /C-SI/63036/06, for example, has a specific hardware configuration that should not be assumed to match another revision or derivative.
Installation & Configuration Guide
Stage 1 — Pre-Installation Preparation
Estimated time: 15–30 minutes
- Place the machine in a safe state.
- Notify operations and apply the site’s LOTO procedure.
- Isolate the controller from its power source.
- Wait at least 5 minutes for stored energy to dissipate.
- Verify the absence of hazardous voltage.
- Use an ESD wrist strap when handling the CPU.
- Photograph all communication cables and configuration hardware.
- Record the complete KEBA part number, hardware revision, and serial number.
- Back up the PLC/machine application and controller configuration before removal.
⚠️ Do not order solely from the “” designation. Verify the complete suffix and hardware identification.
Stage 2 — Removing the Existing Module
Estimated time: 10–20 minutes
- Confirm electrical isolation.
- Label Ethernet, CAN, SIO, and auxiliary connections.
- Disconnect the cables without pulling on the conductors.
- Release the module’s mechanical retaining hardware.
- Remove the CPU carefully from the system carrier.
- Inspect the mating connector and backplane.
- Check for bent pins, contamination, or heat damage.
- Keep the original CPU available until commissioning is complete.
Stage 3 — Installing the Replacement
Estimated time: 15–30 minutes
- Compare the complete replacement identification with the removed CPU.
- Verify the exact hardware revision.
- Confirm the required communication interfaces.
- Check any PCI-type or auxiliary hardware configuration.
- Install the controller without forcing the mating connectors.
- Reconnect Ethernet, CAN, SIO, and auxiliary connections according to the original wiring.
- Confirm that every connector is fully seated.
- Inspect the installation before applying power.
Stage 4 — Power-On & Testing
Estimated time: 30–60 minutes
- Check power wiring before energizing the controller.
- Power the control system according to the machine manufacturer’s procedure.
- Observe controller status indicators.
- Connect the authorized KEBA engineering environment.
- Verify CPU identification and hardware configuration.
- Check application and firmware compatibility.
- Restore the backed-up machine configuration if required.
- Verify Ethernet/CAN/SIO communications.
- Test machine I/O and interlocks.
- Perform a controlled manual-cycle test before automatic production.
⚠️ If the replacement CPU does not boot or the application does not start, do not repeatedly cycle power. First verify hardware revision, firmware/application compatibility, configuration data, and the exact ordering code.
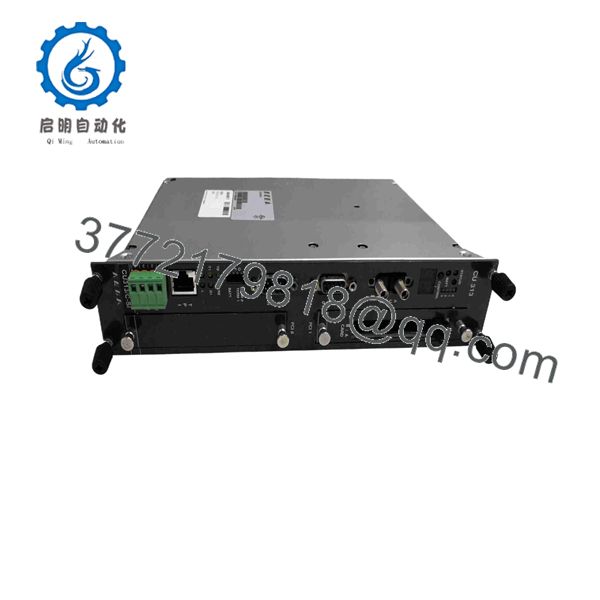
CU313
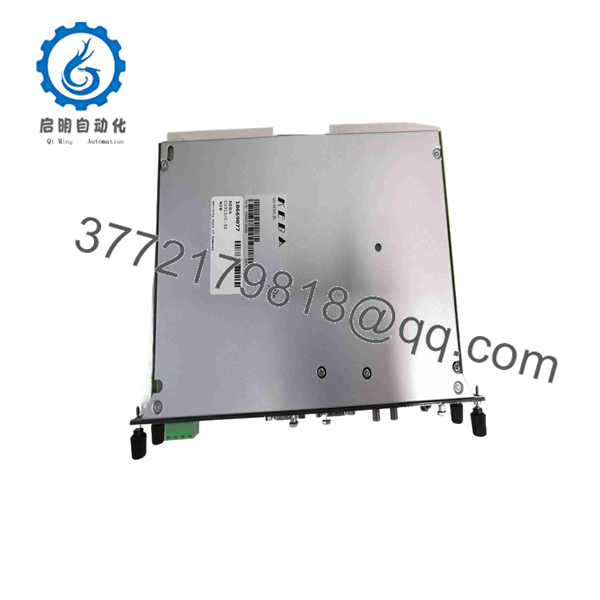
CU313
FAQ
1. What is the KEBA ?
The is a KEBA industrial control/CPU designation used within KEBA automation systems. Specific variants can provide CPU processing together with Ethernet, CAN, SIO, and auxiliary interfaces.
2. Is a PLC CPU?
Yes, in documented configurations it functions as a CPU/control module for an industrial automation system. The exact capabilities depend on the complete variant.
3. Is KEBA discontinued?
The lifecycle is variant-dependent. For example, /C-SI/63036/06 is explicitly listed as discontinued by the manufacturer in a current industrial parts database.
4. Does support Ethernet?
Documented /C-SI configurations include an Ethernet port. However, the complete interface set should be confirmed against the exact part number on the installed controller.
5. Does support CAN?
Yes. The documented /C-SI/63036/06 configuration includes a CAN connection.
6. Can I replace one with another ?
Not automatically. Verify the complete ordering code, hardware revision, memory configuration, interfaces, firmware, and machine application. derivatives can have different hardware configurations.
7. What information should I provide when sourcing a replacement?
Provide a photograph of the complete KEBA nameplate and ordering code, especially any suffix such as C-SI/63036/06. Also provide the machine/controller system designation if available. This is the most reliable way to distinguish compatible variants.



