
 WhatsApp: +86 16626708626
 Email:
  Phone: +86 16626708626
Description
Key Technical Specifications
| Parameter | Value |
|---|---|
| Model | E1421B |
| Manufacturer | Keysight Technologies / Agilent |
| Product Type | C-size VXI mainframe |
| Slot Count | 6 |
| VXI Format | C-size |
| Bus Architecture | VXIbus |
| System Platform | Agilent 75000 VXI |
| Input Power | 100–240 VAC |
| Mounting | Portable or rack-mount |
| Cooling | Pressurized air-channel cooling |
| Airflow | Intake through right side; exhaust through left side |
| Power Supply Access | Rear-panel service access |
| Application | VXI automated test and measurement systems |
| Product Status | Obsolete |
Keysight describes the E1421B as a compact 6-slot C-size VXI mainframe. The chassis provides injector rails for the QUIC module insertion/extraction system and uses a pressurized air-channel cooling design.
A historical Agilent service note also identifies E1421B power-supply revisions and documents an issue involving low-input-voltage operation. For legacy equipment, checking the power-supply revision is therefore worthwhile before putting an old chassis back into service.
Product Introduction
The Keysight E1421B, formerly sold under the Agilent name, is a six-slot C-size VXI mainframe for the Agilent 75000 VXI measurement platform. It provides the mechanical enclosure, VXIbus backplane, system power, and forced-air cooling required by compatible C-size VXI instruments.
This is a test-and-measurement platform component, not a PLC or DCS module. Its replacement must be evaluated against the installed VXI modules, controller configuration, power requirements, cooling path, and rack arrangement. Keysight identifies the E1421B as obsolete, so remaining inventory is primarily a legacy-system maintenance concern.
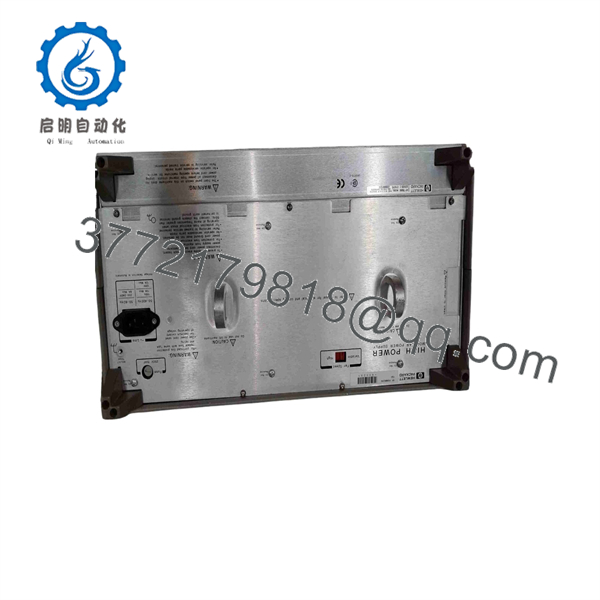
E1421B
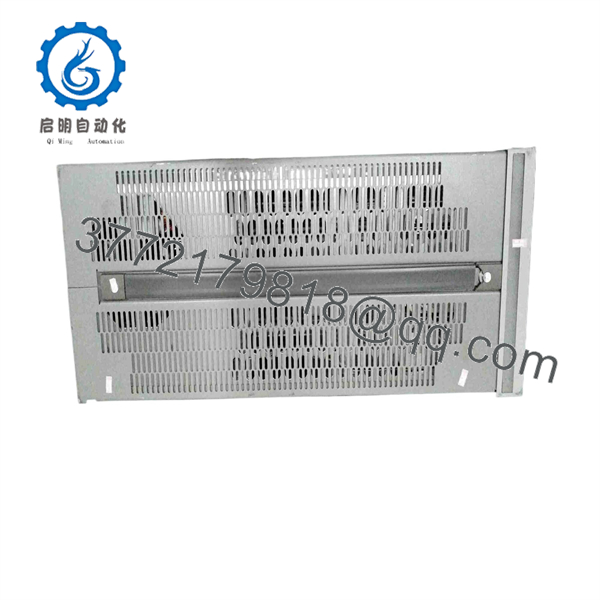
E1421B
Installation & Configuration Guide
Stage 1: Pre-Installation Preparation — About 10–15 Minutes
⚠️ Safety First
- Notify the test-system operator and establish a controlled maintenance window.
- Shut down the VXI system through the normal operating procedure.
- Disconnect the AC input from the mainframe.
- Allow the internal power supply to discharge before opening or servicing the chassis.
- Verify that the incoming AC supply is isolated before disconnecting the mainframe.
Tools Required
- ESD wrist strap
- Digital multimeter
- Phillips screwdriver
- Rack-mount hardware tools, if applicable
- Camera or smartphone
- Module labels
- Appropriate torque-controlled screwdriver
Data Backup
Before removing the old E1421B:
- Record the installed VXI module positions.
- Photograph the front and rear of the complete chassis.
- Record the slot-0 controller and instrument module model numbers.
- Document external GPIB, LAN, trigger, or other system connections.
- Record any rack-mount hardware configuration.
- Save the test-system software configuration and instrument driver versions.
⚠️ Do not assume that the slot order is irrelevant. Legacy VXI systems can depend on a specific module arrangement, controller configuration, or installed instrument-driver set.
Stage 2: Removing the Old Mainframe — About 10 Minutes
- Shut down the VXI system completely.
- Disconnect the AC input.
- Disconnect external interface cables and label each cable.
- Remove the installed VXI modules according to their individual extraction procedures.
- Support each module during removal. Do not allow a heavy VXI module to hang from its connector.
- Remove rack-mount screws or brackets if the is installed in a cabinet.
- Remove the mainframe from the rack or test fixture.
- Inspect the backplane connectors for bent contacts, contamination, or mechanical damage.
- Inspect the cooling path for dust accumulation.
⚠️ Keep the original available until the replacement system has passed functional testing.
Stage 3: Installing the Replacement Mainframe — About 10–15 Minutes
- Wear the grounded ESD wrist strap.
- Verify that the replacement is specifically marked .
- Inspect the VXI backplane before inserting any modules.
- Confirm that the chassis ventilation path is unobstructed.
- Install the mainframe into the rack if rack mounting is required.
- Secure the chassis without distorting the enclosure.
- Reinstall the VXI modules into their documented original slots.
- Ensure each module is fully seated and the injector/extractor hardware is correctly engaged.
- Reconnect external cables using the photographs from Stage 1.
- Connect the AC input only after completing the wiring inspection.
Self-Checklist
- model verified
- Six-slot C-size chassis confirmed
- Backplane inspected
- Module positions documented
- VXI modules fully seated
- Cooling path unobstructed
- External cables correctly identified
- Rack hardware secured
Stage 4: Power-On & System Testing — About 10–20 Minutes
- Verify the AC input and system grounding before energizing.
- Power on the without immediately starting the complete automated test sequence.
- Observe the mainframe power indicators.
- Check for abnormal fan noise, overheating, arcing, or unusual odor.
- Confirm that the VXI controller recognizes the chassis and installed modules.
- Verify that each VXI instrument is identified correctly by the control software.
- Run the applicable VXI system self-tests.
- Execute a representative measurement from each critical instrument.
- Confirm communication with the host controller.
- Allow the system to operate long enough to establish stable cooling and power behavior.
Technical Pitfalls & Survival Guide
1. ⚠️ Power-Supply Revision
The has a documented historical power-supply service issue involving low input voltage. Agilent’s service note specified updated power-supply assemblies and revision requirements for affected units. When buying old surplus equipment, check the power-supply revision rather than assuming every is electrically identical.
2. ⚠️ Cooling Clearance
The uses a defined airflow path, with intake through the right side and exhaust through the left. Blocking these areas with cabinet panels, cables, or adjacent equipment can compromise thermal performance.
3. ⚠️ VXI Module Seating
A module that is almost fully inserted can still have poor backplane contact. Use the proper injector/extractor mechanism rather than forcing a module into the chassis.
4. ⚠️ Slot Configuration
Photograph the original chassis before removing modules. Put each instrument back into its documented slot. This removes one variable when diagnosing a legacy VXI system that fails to initialize.
5. ⚠️ ESD
VXI measurement modules can contain sensitive analog, digital, and RF circuitry. Use ESD controls when handling the modules, particularly when transferring them between mainframes.
Frequently Asked Questions (FAQ)
Is the Keysight obsolete?
Yes. Keysight’s current product page explicitly lists the as obsolete. The unit is therefore a legacy VXI mainframe, and replacement availability depends on remaining new-surplus, used, or refurbished inventory.
What exactly is the ?
The is a 6-slot C-size VXI mainframe, not an individual VXI measurement card. It provides the chassis, backplane, power supply, and cooling infrastructure for compatible VXI modules.
Is compatible with Agilent 75000 VXI modules?
The was designed for the Agilent 75000 VXI system and complies with the VXIbus architecture. However, compatibility should still be checked against the exact VXI module models, controller, slot requirements, and system configuration.
Can I hot-swap a VXI module in the ?
Do not assume hot-swap capability. The is a legacy VXI mainframe, and safe module replacement depends on the individual VXI module and system design. For routine maintenance, power down the mainframe before removing or installing modules unless the module’s documentation explicitly permits live insertion.
Does the accept 100–240 VAC?
Available documentation and current secondary-market specifications identify 100–240 VAC input. Because these units are decades-old equipment, inspect the actual rear-panel rating label before energizing a specific chassis.
Why is the still being purchased if Keysight lists it as obsolete?
The reason is usually legacy-system maintenance. A production or laboratory test system may contain several VXI instruments that are already integrated, validated, and supported by existing software. Replacing the complete VXI architecture can require substantially more engineering work than replacing a failed mainframe.
What condition should I specify when purchasing an ?
Be explicit. New Original / New Surplus, Refurbished (tested), and Used (tested) are materially different conditions. Ask for the actual chassis photographs, model/nameplate confirmation, power-on test evidence, and warranty terms. Current secondary-market listings demonstrate that units are available in different conditions, including tested used equipment and unused surplus stock.



