
 WhatsApp: +86 16626708626
 Email:
  Phone: +86 16626708626
Description
Key Technical Specifications
| Parameter | Value |
|---|---|
| Manufacturer | Kollmorgen / Kollmorgen Seidel |
| Series | 6SM |
| Model | 6SM57S-3.000-G |
| Motor Type | Brushless AC synchronous servo motor |
| Rated Speed | 3,000 RPM |
| Rated Output Power | Approximately 0.94 kW |
| Rated Voltage | Approximately 330 V |
| Rated Current | Approximately 2.8 A |
| Standstill / Holding Torque | Approximately 3.2 Nm |
| Rated Torque | Approximately 2.5 Nm |
| Holding Brake | Integrated, 24 VDC |
| Protection Rating | IP64 |
| Insulation Class | Class F |
| Feedback | Resolver-based feedback configuration |
| Weight | Approximately 5.2 kg including brake |
Supplier documentation identifies the 6SM57S-3.000-G as a 3,000 RPM, approximately 0.94 kW servo motor with approximately 330 V and 2.8 A ratings. Another technical listing gives 3.2 Nm standstill torque, 2.5 Nm rated torque, IP64 protection, Class F insulation, and a 24 VDC holding brake.
Important specification note: Published secondary sources are not completely consistent on individual electrical values. Before procurement, verify the motor nameplate and original Kollmorgen documentation for the exact winding/feedback configuration installed at your site.
Product Introduction
The Kollmorgen 6SM57S-3.000-G is a legacy 6SM-series brushless AC synchronous servo motor rated for 3,000 RPM. The “-G” version includes an integrated 24 VDC holding brake, making the exact brake configuration important when replacing an existing motor. Available listings identify approximately 0.94 kW output, 3.2 Nm standstill torque, and approximately 330 V operation.
This motor is typically encountered in older Kollmorgen Seidel servo installations and remains available through specialist spare-parts channels. Exact replacement should be based on the complete model suffix, mechanical dimensions, feedback arrangement, winding data, and brake specification—not simply the 6SM57S family designation.
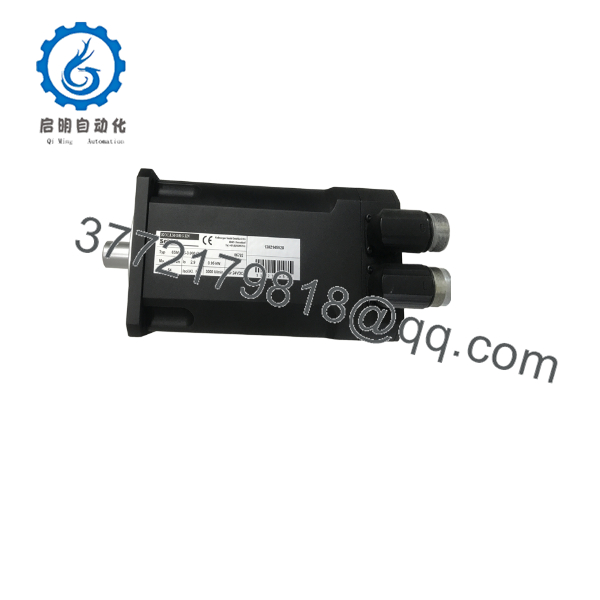
6SM57S-3.000-G
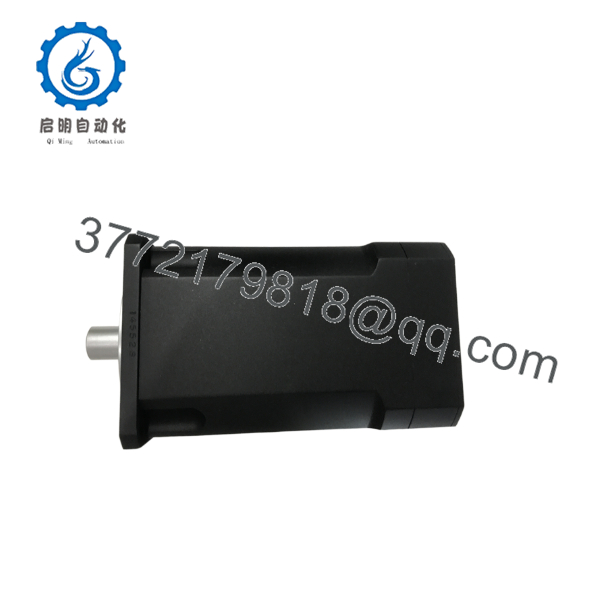
6SM57S-3.000-G
Installation & Configuration Guide
Stage 1: Pre-Installation Preparation — Approximately 10 minutes
⚠️ Safety First: Isolate the servo amplifier and apply the site’s lockout/tagout procedure. Verify that the DC bus has discharged before disconnecting the motor.
Tools Required:
- ESD wrist strap
- Multimeter
- Appropriate screwdrivers
- Wire labels
- Mechanical alignment tools
- Smartphone for documenting wiring and connector orientation
Data Backup:
- Record the complete motor nameplate.
- Photograph the existing motor and connectors.
- Record the servo amplifier model.
- Back up the drive configuration.
- Photograph resolver/feedback wiring.
- Record the brake supply wiring separately from the motor power wiring.
- Document the coupling and shaft orientation.
⚠️ The “-G” suffix matters. It identifies a brake-equipped version in the available product documentation. Do not substitute a visually similar 6SM57S motor without checking the brake and electrical configuration.
Stage 2: Removing the Old Motor — Approximately 10 minutes
- Shut down the machine according to the approved procedure.
- Apply lockout/tagout.
- Verify zero hazardous voltage.
- Confirm the servo DC bus has discharged.
- Label the three-phase motor connections.
- Label the resolver/feedback connector.
- Label the separate 24 VDC brake wiring.
- Photograph all connections before removal.
- Release the mechanical coupling.
- Remove the mounting hardware and withdraw the motor without loading the shaft laterally.
⚠️ Do not energize the motor while the mechanical coupling is disconnected unless the drive manufacturer’s commissioning procedure explicitly permits it.
Stage 3: Installing the New Motor — Approximately 10 minutes
- Verify the exact model: Confirm 6SM57S-3.000-G on the nameplate.
- Compare the replacement’s shaft, flange, connector arrangement, and mounting dimensions with the removed motor.
- Inspect the coupling for wear or damage.
- Install the motor squarely against the mounting face.
- Tighten mounting hardware according to the machine builder’s specified torque.
- Align the coupling without forcing the shaft.
- Connect motor power.
- Connect the resolver/feedback wiring.
- Connect the 24 VDC brake circuit.
- Verify cable shielding and protective grounding.
Brake Check — Critical: The holding brake is mechanically applied when its release circuit is de-energized. Verify the brake release voltage and drive interlock sequence before commanding torque. A supplier’s technical description specifies a 24 VDC brake associated with the -G variant.
Self-Checklist:
- Exact model: 6SM57S-3.000-G
- Motor power wiring verified
- Resolver wiring verified
- 24 VDC brake wiring verified
- Coupling aligned
- Mounting hardware secured
- Grounding verified
- Drive motor parameters checked
Stage 4: Power-On & Testing — Approximately 10 minutes
- Keep the machine in a mechanically safe condition.
- Power the control system.
- Verify that the servo amplifier reports no feedback fault.
- Apply the brake-release command according to the drive sequence.
- Confirm that the brake physically releases.
- Perform a low-speed jog.
- Verify rotation direction.
- Check actual versus commanded speed.
- Monitor motor current.
- Gradually increase speed toward the required operating point.
⚠️ Do not immediately command 3,000 RPM. First confirm resolver feedback, commutation, brake release, rotation direction, and mechanical alignment.
If the brake does not release, stop the commissioning procedure. Do not allow the servo drive to force rotation against an engaged holding brake.
Frequently Asked Questions (FAQ)
What does the “-G” suffix mean on 6SM57S-3.000-G?
The available technical listing identifies -G as the brake-equipped version, with an integrated 24 VDC holding brake. This is a critical distinction when replacing a 6SM57S motor.
What is the rated speed?
The model is rated at 3,000 RPM. Supplier listings also identify approximately 0.94 kW output and approximately 330 V electrical rating.
What is the motor torque?
One technical listing specifies approximately 3.2 Nm standstill/holding torque and 2.5 Nm rated torque. Because this is a legacy motor, verify the nameplate and original technical documentation before using these values for drive sizing.
Is the 6SM57S-3.000-G obsolete?
It is a legacy Kollmorgen Seidel 6SM motor, and current sourcing is primarily through specialist spare-parts, surplus, and refurbishment channels. For example, specialist suppliers currently list the exact model as available, while other suppliers provide repair or replacement services. Availability and condition vary by supplier.
Can I replace it with a 6SM57S-3.000 without the “-G”?
Do not treat those two part numbers as interchangeable. The -G version has the integrated holding-brake configuration, so removing that feature can affect a vertical axis or any application that relies on motor holding torque during power loss. Verify the machine’s brake circuit and safety function before selecting an alternative.
Can I replace it with a modern Kollmorgen AKM motor?
Potentially, but it should be treated as a motor migration, not a simple drop-in exchange. Mechanical mounting, shaft dimensions, feedback technology, brake configuration, motor constants, amplifier compatibility, and drive parameters all need verification. A current AKM motor should not be selected solely from the 6SM57S nameplate power or speed.
Does replacing the motor erase the servo program?
Replacing the physical motor normally does not erase the servo amplifier’s stored configuration. However, the amplifier’s motor parameters and feedback configuration must be checked after installation. Back up the drive configuration before removing the original motor, and retain the original motor until commissioning has been completed.



