
 WhatsApp: +86 16626708626
 Email:
  Phone: +86 16626708626
Description
Key Technical Specifications
| Parameter | Value |
|---|---|
| Manufacturer | Kollmorgen (Pacific Scientific) |
| Model | JK0603-3 |
| Product Type | Digital servo amplifier |
| Series | JK Series |
| Application | Industrial servo motion control |
| Motor Type | Brushless servo motor systems |
| Input Power | Configuration dependent |
| Output Current | Configuration dependent |
| Feedback Interface | Motor feedback dependent |
| Control Interface | Configuration dependent |
| Communication | System dependent |
| Mounting | Industrial cabinet mounting |
| Cooling | Forced-air / cabinet cooling dependent |
| Operating Temperature | Verify OEM documentation |
| Firmware | Revision dependent |
| Replacement Method | Exact model and revision matching required |
⚠️ Identification note: The JK0603-3 designation should be verified against the complete product label. Pacific Scientific/Kollmorgen servo products often include additional model characters defining voltage, current rating, feedback option, and control interface.
Product Introduction
The Kollmorgen Pacific Scientific JK0603-3 is a legacy servo amplifier used in industrial motion-control systems. It provides controlled power output to servo motors in applications such as CNC equipment, packaging machines, robotics, and automated production systems.
Replacement decisions for JK Series drives require more than matching the front-panel model number. Engineers should verify motor compatibility, feedback type, command interface, tuning parameters, and firmware revision before installation.
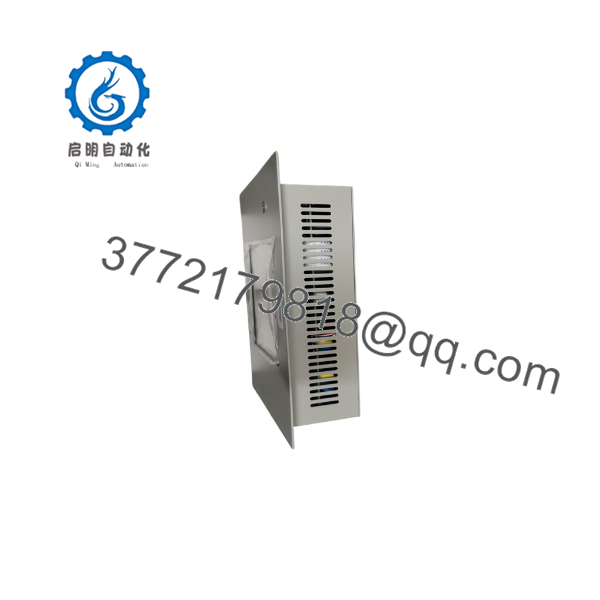
JK0603-3
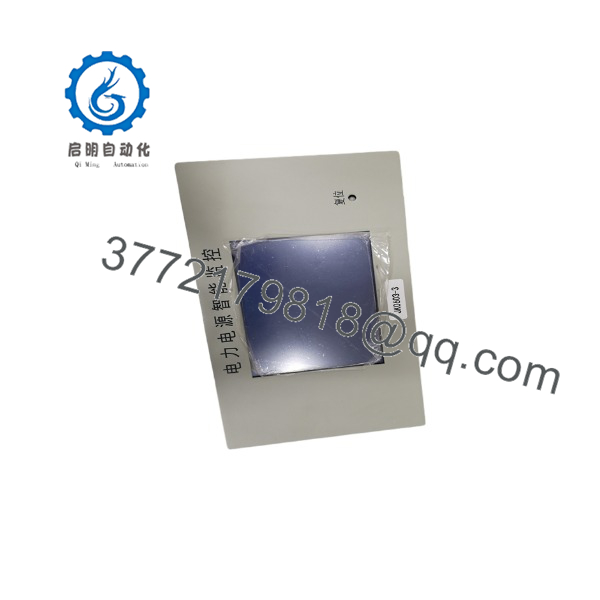
JK0603-3
Installation & Configuration Guide
Stage 1: Pre-Installation Preparation — 10 minutes
⚠️ Safety First
- Notify production personnel before removing the servo amplifier.
- Place the machine in a safe maintenance condition.
- Apply lockout/tagout procedures.
- Remove AC input power.
- Wait for DC bus discharge according to the equipment manual.
- Confirm voltage has dropped to a safe level using a properly rated multimeter.
Tools Required
- ESD wrist strap
- PH1 screwdriver
- Digital multimeter
- Wire labels
- Smartphone for wiring photos
- Torque screwdriver
Data Backup
- Photograph the complete JK0603-3 nameplate.
- Record motor model and encoder/feedback information.
- Photograph all terminal connections.
- Record drive parameter settings.
- Save motion controller programs.
- Document amplifier address and communication settings.
⚠️ Do not remove the original drive before documenting all wiring and parameter settings. Servo systems are sensitive to small configuration differences.
Stage 2: Removing the Old Module — 5–10 minutes
- Remove cabinet covers.
- Verify DC bus voltage is discharged.
- Label motor power cables.
- Label feedback cables.
- Disconnect command and communication wiring.
- Remove mounting screws.
- Slide the amplifier out carefully.
- Inspect connectors and cabinet wiring.
⚠️ Keep the old amplifier available until the replacement completes commissioning. It may contain important configuration references.
Stage 3: Installing the New Module — 10 minutes
- Wear an ESD wrist strap.
- Confirm the replacement matches the original JK0603-3 designation.
- Verify voltage and current ratings.
- Check motor feedback compatibility.
Configuration Clone (Critical)
- Match amplifier parameters.
- Match motor scaling values.
- Match encoder settings.
- Match command mode.
- Match current limits.
- Match communication settings.
- Mount the replacement amplifier.
- Connect motor power wiring.
- Connect feedback cable.
- Reconnect command wiring.
- Verify grounding connections.
Self-Checklist
- Model verified
- Motor compatibility checked
- Feedback wiring checked
- Power wiring secured
- Parameters restored
- Ground connection verified
Stage 4: Power-On & Testing — 15 minutes
- Perform final wiring inspection.
- Measure supply voltage.
- Energize control power first.
- Check drive status indicators.
- Connect commissioning software if available.
- Verify amplifier identification.
- Restore saved parameters.
- Enable servo at low torque/speed.
- Test direction and feedback.
- Run machine dry cycle.
⚠️ Troubleshooting Note
- Drive faults immediately: Check motor data and feedback wiring.
- Servo oscillation: Verify tuning parameters and encoder scaling.
- No enable: Check command wiring and controller output.
- Overcurrent faults: Confirm motor phase wiring and current settings.
Frequently Asked Questions (FAQ)
Can I hot-swap the Kollmorgen JK0603-3?
No. Servo amplifiers contain high-energy power circuits and DC bus capacitors. Remove power and verify discharge before replacement.
Is the obsolete?
Yes, the JK Series is a legacy Pacific Scientific/Kollmorgen product family. Availability depends on remaining inventory, surplus stock, and repair channels.
Is a complete replacement number?
Not always. The full identification label is required. Servo drives with similar model prefixes can differ in voltage rating, feedback support, and control configuration.
Will my servo tuning parameters transfer automatically?
No. Unless the replacement contains the same stored configuration, parameters may need to be restored manually. Always save the original drive settings before removal.
Can I replace with another Kollmorgen servo amplifier?
Possibly, but it requires engineering verification. Check motor voltage, current rating, feedback type, command interface, mechanical mounting, and controller compatibility.
Why are used or surplus units available below OEM pricing?
Legacy industrial parts are often sourced from removed production equipment, maintenance inventory, or surplus warehouses. Price depends on condition: New Original/New Surplus, refurbished tested, and used units should not be treated as equivalent.
What information should I provide when ordering a ?
Provide:
- Complete nameplate photo
- Servo motor model
- Machine manufacturer/model
- Feedback type
- Existing wiring photos
- Drive fault history
This information helps avoid installing a visually similar but electrically incompatible amplifier.



