
 WhatsApp: +86 16626708626
 Email:
  Phone: +86 16626708626
Description
Key Technical Specifications
| Parameter | Specification / Value |
| Supply Voltage | 24 V DC (18 to 32 V DC range) |
| Power Consumption | 15 W maximum |
| Input Signal Range | ±10 V DC / 0 to 20 mA / 4 to 20 mA (DIP switch configurable) |
| Output Current | ±100 mA max valve drive current |
| Form Factor | 19-inch Eurocard format (3U height) |
| Operating Temperature | 0 to +60 °C (32 to 140 °F) |
| Connector Type | DIN 41612 Type F 48-pin edge connector |
| Feedback Protocols | LVDT, Quadrature Encoder, ±10 V Analog |
| Response Time | Less than 1.5 ms step response |
Product Introduction & Supply Chain Strategy
The Moog D136-001-008 servo amplifier board manages closed-loop position, velocity, and pressure control for high-precision industrial hydraulics and direct-drive valves. It integrates directly into standard 19-inch rack systems to execute high-speed valve drive calculations, maintaining strict micro-meter precision in heavy industrial motion applications.
Sourcing this module as New Surplus eliminates the high failure rate associated with aged, degraded capacitors found on second-hand market boards. Because Moog has transitioned newer production runs to revised digital platforms, keeping a factory-sealed D136-001-008 on-site acts as essential insurance against unplanned line stoppages. It lowers your Total Cost of Ownership (TCO) by avoiding premature, costly hydraulic retrofits.
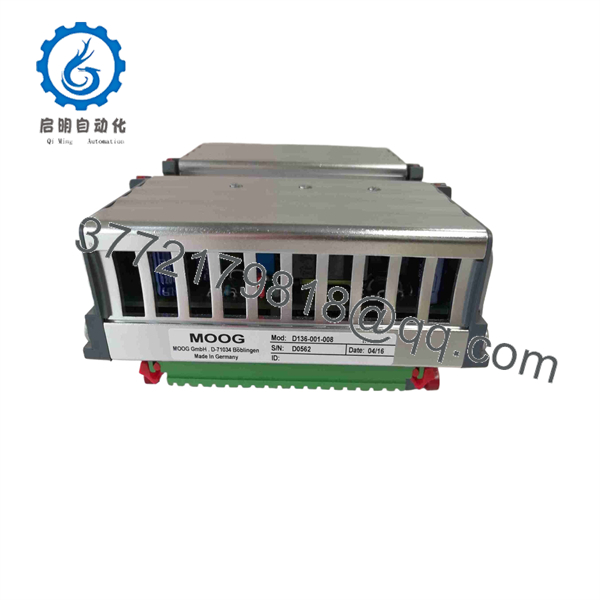
D136-001-008
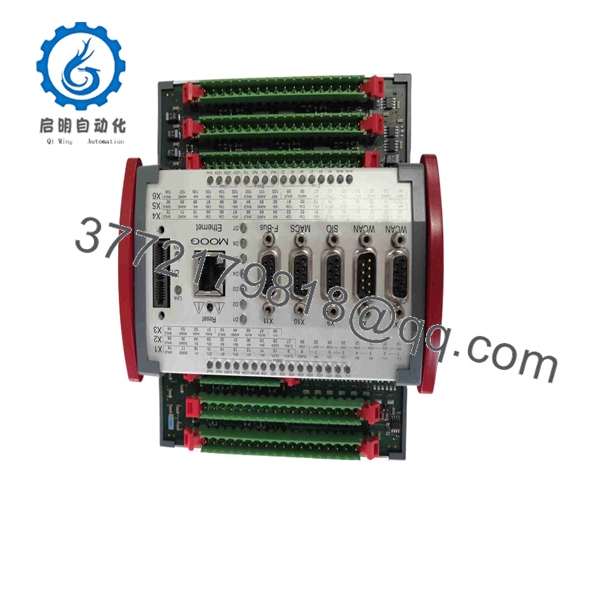
D136-001-008
Installation & Configuration Guide
Stage 1: Pre-Installation (Prep & Safety)
- Execute Lock-out/Tag-out (LOTO) on main hydraulic power and control cabinet supply.
- Strap on a grounded ESD wrist strap before handling the replacement module.
- Take high-resolution photos of all DIP switches, jumper positions, and potentiometer trimmers on the original card.
Stage 2: Removal
- Loosen the top and bottom retaining screws on the front panel of the legacy card.
- Carefully pull the card ejector levers outward to unseat the edge connector.
- Slide the card out along the card guide rails, avoiding side-to-side twisting to protect backplane pins.
Stage 3: Installation (Clone & Seat)
- Match the DIP switch settings and hardware jumpers on the new D136-001-008 to mirror the old card exactly.
- Align the new board with the rack guide rails and push it inward until the backplane contacts touch.
- Press the ejector handles inward until the card seats fully into the DIN 41612 connector, then tighten the retaining screws.
Stage 4: Power-On & Testing
- Verify 24 V DC supply rails with a multimeter before energizing the system.
- Apply logic power without hydraulic pressure energized; confirm the status LEDs illuminate green with no fault indicator.
- Apply low hydraulic system pressure and verify baseline feedback voltages match setup specifications before full production startup.
Firmware/Software Versions & Upgrade Notes
- Base Board Revision: Hardware revision level must match existing rack configuration to maintain calibration curves.
- Compatibility Constraints: Hardware revision V1.x boards use discrete analog adjustments, whereas V2.x and later incorporate digital EEPROM storage. Interchanging revision levels requires recalibrating system loop gain values.
- Upgrade Risks: Avoid changing firmware/hardware revisions during emergency repairs. Altering board generations changes null-bias voltage settings and can cause uncontrolled actuator motion upon initial power up.
Frequently Asked Questions (FAQ)
Why is this unit priced lower than OEM list but higher than refurbished boards?
Our pricing reflects verified New Surplus inventory secured from global industrial plant spares. It avoids full OEM distribution markups while providing genuine, unused factory hardware. Refurbished parts cost less upfront, but carry internal component degradation that drastically increases downtime risk.
Is this unit truly brand new and unused?
Yes. This module is a genuine New Surplus unit. It has never been installed in an operating panel or subjected to field duty cycles. It was pulled from held spare inventories, remaining stored in static-shielded packaging.
How do I handle the EOL (End of Life) status of the D136 series?
Since the D136 series is legacy hardware, maintaining 1 to 2 New Surplus buffer stock units on-site is recommended. Relying on market availability during a line stoppage leaves your plant vulnerable to multi-week lead times.
Is it safe to hot-swap the Moog D136-001-008 module while energized?
No. Hot-swapping card-edge industrial boards risks arcing across the DIN 41612 pins and damaging the backplane bus or driving high current spikes into the servo valve coil. Always isolate power before extraction or insertion.
What warranty coverage is provided with this module?
Every Moog -001-008 New Surplus unit includes a comprehensive 1-year replacement warranty, giving you complete operational peace of mind compared to short 30-day guarantees on used boards.



